Although this is a very serious video, you still have to gossip before getting into the main topic (I will not waste everyone's precious time in the video (and traffic... ))
First of all, please clarify the positioning of the video - this product is not "10 minutes to make a blind circle of friends xxxx", how to cleverly avoid the difficulty in baking is a science, but not in the main scope of this set of videos (of course, later will also share with you some simple and can go to the hall decoration ideas).
In contrast, the purpose of this set of videos is to find Waterloo in baking, then find a solution, and then, repeat the exercises, solve it.
Why does Chiffon collapse and shrink and have an eggy smell?
Why does the cake embryo defoam the cocoa powder into a hemp face?
Why is the plaster the same as the dog's?
Why can't my cake be eaten in a mold? (Can't get rid of the mold...) )
Of course, we can't take off the mold, we can use disposable paper cups; we can't wipe the noodles, we can make naked cakes; a cocoa powder will defoam? Then I'll just use Oreo.
It is actually good to simply experience the joy of baking, but if you want to make progress, the places that cannot be broken will be like a fish in the throat, and it is inevitable that when you will jump out and sting you a few times.
But it won't be difficult, so let's cheer up together
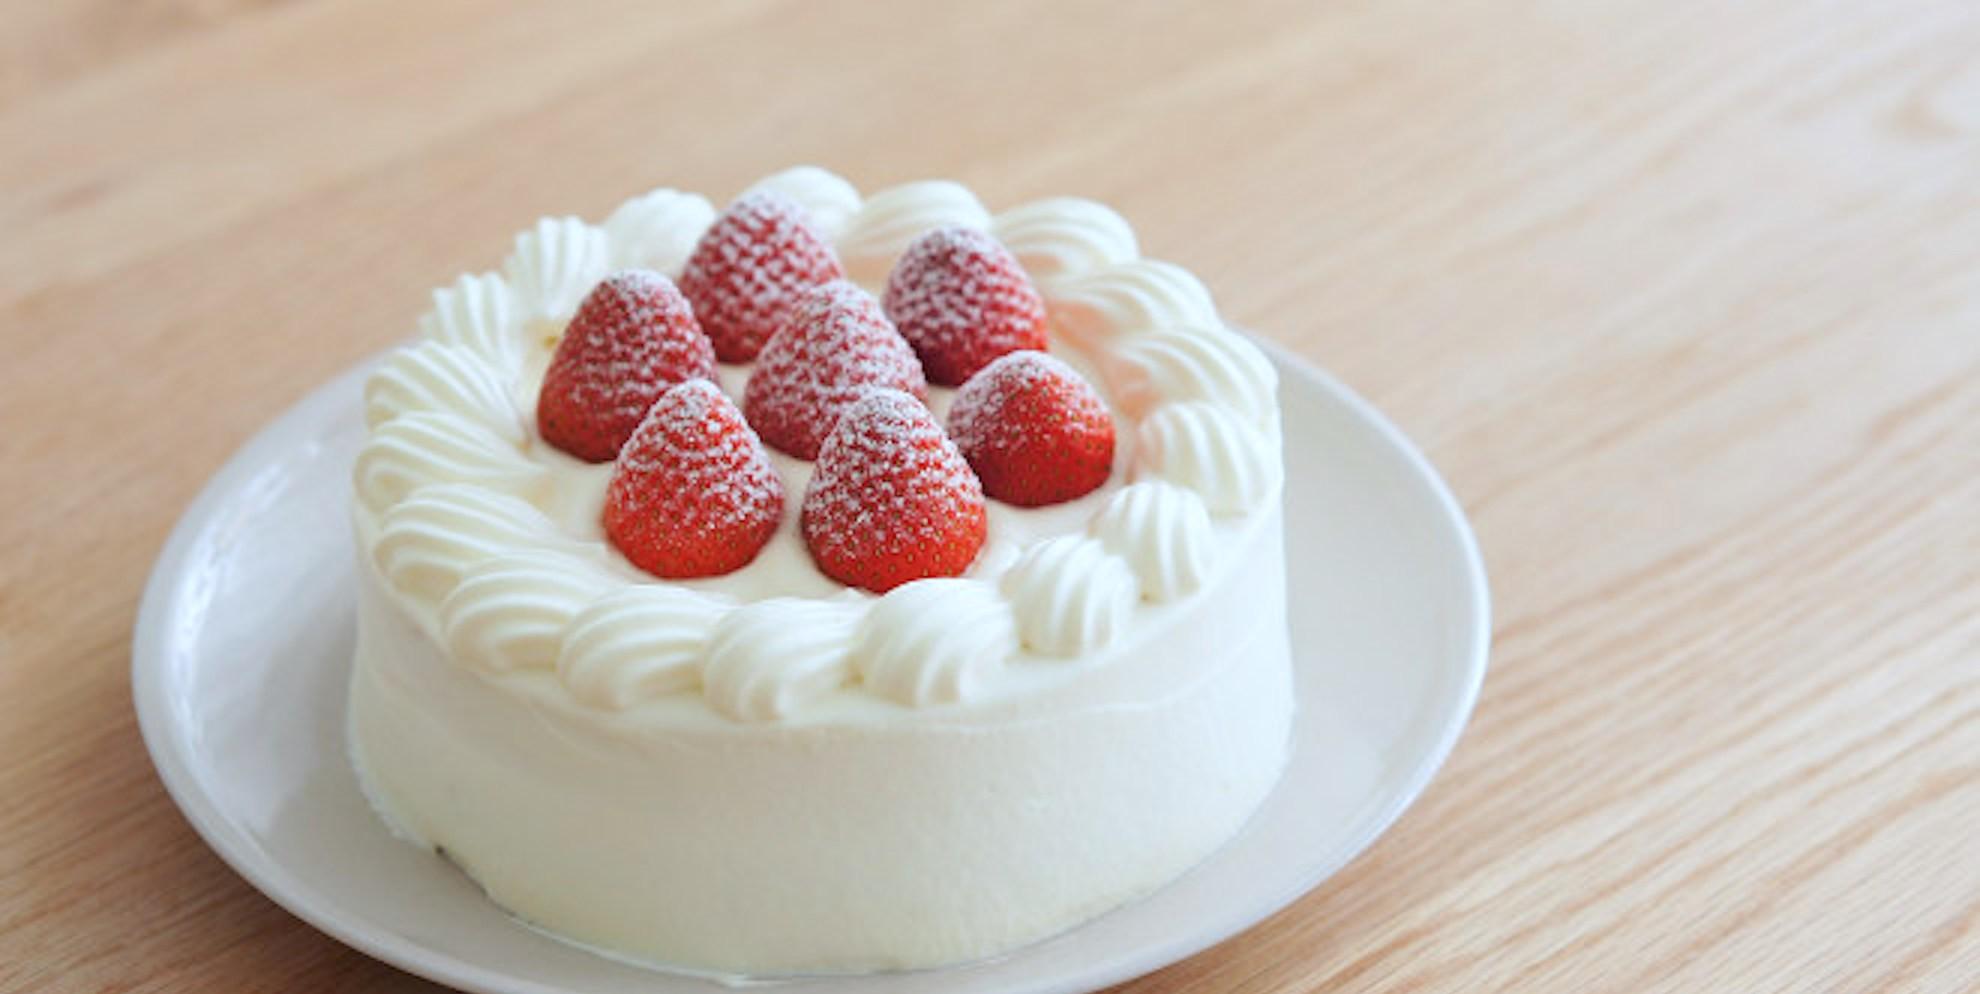
Let's make strawberry cream cake today, this rustic-looking cake is actually not easy to make.
The difficulty is that a simple cake contains the baking, demoulding, cutting, light cream plastering, mounting and transfer techniques of chiffon embryos.
However, after making this cake, you can basically make any cream cake you want.
(What do you want to do in the chiffon embryo, honey bean raisins are OK, what do you want to add to the cream, of course, it is best not to squeeze half a tube of mustard down oh ~)
Video loading...
First, let's look at the raw materials needed for chiffon embryos.

3 eggs
Caster sugar 45g
Vegetable oil 25g
Water 30g
Vanilla extract a few drops
Low gluten flour 55g
The 8 inch formula is as follows:
5 eggs
Caster sugar 75g
Vegetable oil 45g
Water 50g
Low gluten flour 95g
(8 inch baking time 140 ° C, 70-80 minutes, still a bamboo skewer inserted into the pumping without adhesion on the good )
(It is recommended to put the liquid in a basin when weighing, so that you can wash the dishes less.) )
"Regarding the role of raw materials on the cake preform:
1. Eggs.
Try to choose fresh eggs, because fresh eggs are more open and sticky, easy to whip and more stable.
2. Vegetable oil
Please choose odorless liquid oil, salad oil, corn oil, sunflower oil can be, do not choose peanut oil such a heavy taste is good (unless special requirements, generally so. )
3. Water
Water can be exchanged for milk, but the milk flavor does not weigh much
(30g of milk is not in the chiffon is like adding a spoonful of salt in the sea.) In the want to increase the milk flavor by not adding flavor, you should choose concentrated dairy products, such as adding 10g of milk powder, the amount of water should be added as appropriate 5-10g, otherwise the egg yolk paste is not easy to mix. )
4. Vanilla extract
Can not be down, can also be under the vanilla pod or other vanilla products (it is not recommended to put down vanilla powder specific reasons will be discussed later. )
5. Low gluten flour
If not, it can be replaced with 40g of medium gluten flour + 15g of cornstarch. 」
Preheat oven to 150°C
2. Separate the egg yolk protein and place the egg whites in an anhydrous and oilless beaten egg bowl.
Why is it important to ensure that there is no water and no oil?
If there is residual grease/moisture/egg yolk in the egg bowl, it will prevent the egg whites from foaming, wipe them clean, and be careful when dividing the eggs
(This is also the reason why fresh eggs are selected as much as possible, fresh eggs are not easy to scatter yellow).
Experience
The egg bowl for the egg whites should preferably be larger, and then stir well.
3. Place the egg yolks in a basin filled with liquid, sift in the low gluten flour and set aside.
Putting the yolk first and sifting the powder immediately is a (lazy) tip, otherwise the yolk will crust when it comes into contact with the air.
4. It is best to send the protein into three times under the sugar, which can make the protein send more high speed and the volume can also expand larger.
After the egg whites are whisked until they are blistered, one-third of the fine granulated sugar is placed underneath.
Bubbles crackle
The sugar was poured down
Whisk the egg white bubbles to be delicate, but when lifted on the whisk, the egg whites will slide back into the basin for the second time.
Bubbles hula hula hula bubbling
The sugar poured down
Whisked to lift the whisk, the egg whites will attach to the beaten egg head while pouring in the remaining sugar.
Whisk until the basin does not fall, lift the meringue can bend a small pointed hook can be.
"Because of the operating habits, different people have different requirements for the degree of meringue, and whether the wheelless is wet, neutral, or dry foaming can make a successful chiffon."
It's just that individuals prefer to send neutral foaming between wet and dry, and it's easier to mix well with egg yolk paste."
5. Make the egg yolk paste immediately, beat the egg head without cleaning, directly put it into the egg yolk paste without turning on the machine and turn it manually, and then stir at low speed until it is uniform and particle-free.
Lazy people think a lot
6. Scoop a scraper meringue and egg yolk paste and mix well.
Stir while turning the beaten egg bowl and scooping it up from the bottom.
I really can't take a screenshot to watch the video
If the meringue is played properly, it should be the consistency in the video after the mixing is complete, and no bubbles will appear.
7. Mix well and pour back into the remaining meringue.
Start by scraping the surrounding meringue into the middle.
Then the spatula is scooped up against the bottom and mixed gently, reminiscent of our cooking method, of course, not so fierce.
The spatula is a spatula and the batter is rice
Our goal is the sea of stars
The mixed batter should be fluffy, viscous, smooth and delicate, and after scooping, it will slide smoothly like a streamer, and the traces will not disappear.
This phrase will continue to appear in the future
8. Mold into the mold.
Inserting the mold at a high place can eliminate large bubbles
9. Shake out large bubbles.
Bake in an oven at 150°C, lower and middle, for about 60 minutes.
10. After coming out of the oven, gently drop it to shake out the hot gas, and invert the buckle to cool.
After the cake is cooled, it is not in a hurry, and can be put into a plastic bag together and refrigerated overnight before demolding.
In this way, the organization will be more stable, and the release section will be easier to operate.
Let's remove the mold after it has cooled completely.
Hold the cake mold with four fingers of both hands, and press the edge of the cake with your thumb and gently press outward and downward, separating the cake from the mold.
After making sure the cake die and edges are completely separated, gently push up the cake base holder with force.
Next separate the bottom bracket.
The left hand holds the cake tray, the right hand holds the cake at the mouth of the tiger, and the thumb gently pulls outward.
Turning while pressing, it will be easy to separate from the cake tray if baked in place.
The bottom is spread with plastic wrap and there will be some debris
There are many ways to release the mold, you can also use the mold release knife, like the reason for freehand release is that the cake will not leave debris on the mold.
(All fell on plastic wrap)
Next the slice.
I use a 2cm high positioning bar, the specific customization method will be shared with you in the next article.
If you want to split into 3 layers, you can use a 1.5 cm high positioning bar.
The left hand holds the cake embryo in place, the right hand attaches the serrated knife to the positioning strip, and the front and back saws gently cut the cake.
Next look at the ingredients needed for decoration:
Light cream 250g
Caster sugar 25g
Garnish with 7-8 strawberries
Sandwich 6-7 strawberries
"The amount of light cream can be added as appropriate, and the sugar is 10% good"
That is, add 10g of sugar to every 100g of light cream
Pick out the evenly sized strawberries for decoration, and slice the remaining strawberries in a sandwich.
Cut the sandwich layer first with strawberry slices.
Strawberry sweetness is reduced by the tip to the stem, and cutting off the flat part of the stem can make the taste more even.
The strawberry cut surface will be more prominent when it comes into contact with the cream, and cutting off a little skin can increase the contact area
Then remove the stalk evenly.
Next, whip the cream, add the sugar and drop a few drops of vanilla extract as appropriate,
Whisk the light cream until it thickens
The cream ice water will be more stable.
It is recommended to whip light cream at low to medium speeds.
In addition to avoiding over-firing, you can also avoid splashing.
Because I eat it myself, the cream is a little softer, and everyone can beat it harder.
But don't over-beat your head, too, because the cream will harden when you wipe it.
A dozen heads of hatred
When wiping the noodles, I personally like to put on the silicone pad, if you operate directly, you must first smear a little cream to fix the cake.
The baked side can be wet with cream to wet the body of the cake
Butt up
Scoop a large spoonful of cream and spread it with a spatula.
By gently placing strawberries, you can get started directly, but as a Chinese prefer to use chopsticks.
For easy slitting, do not put strawberries in the center
Apply another layer of cream.
Add a second layer of cake slices and gently compact them as you rotate the turntable.
Spread the cream off the edges.
Pour more light cream over the top of the cake and use a spatula to spread it forward and backward towards the edges.
Push the edges of the cream back and forth on the sides.
If there is any bare area, you can use a spatula to scoop a little to fill.
Scrape the cream on the mat clean with a spatula.
Press the spatula against the side of the cake and gently turn it around to smooth it out.
In the last circle, the angle formed between the spatula and the side of the cake should be as small as possible, and it is better to pass through a thin layer to avoid repeatedly pushing the cake away.
Finally, gently scrape the edges of the cream flat toward the middle.
Because the back is also crowded with flowers, it is also possible that the surface is not so flat.
Insert two spatulas into the bottom of the cake with two spatulas, hold it up and transfer it to the cake pan.
Starters can wipe their faces directly on the plate
After filling the spout, tighten the mounting bag, find a taller container to prop open the flower bag, and fill the remaining light cream.
I use the three-energy medium eight-tooth mounting mouth SN7092, other flower mouths can also use this squeezing method, but the shape of the out is different.
After filling the cream, the right hand tiger mouth twists the opening a few times so that the cream does not leak out from the back.
When closing the mouth, the hand naturally relaxes and gently disconnects.
Put on the prepared strawberries.
Sift with powdered sugar.
Mirror pectin can also be applied
The cake is ready
The next video is Chocolate Cream Cake, where you can share the tips of chocolate chiffon without defoaming, and the rich and delicate chocolate cream recipe.
Then we'll see you next time :)