Starry Sky Kong Ming Lantern Origami Tutorial, the first day of August make a wish bar Starry Sky Kong Ming Lantern Origami Tutorial Illustrated
Love life, love handicrafts, I am a little Xi who loves to do handicrafts!
Today is a good day, it is the August 1st Founding Day, here to pay tribute to the great Chinese people's liberation army!
Today I bring you - starry sky kong ming lantern origami tutorial. You can tie a rope below, stick a card, and write your blessings. The production process is also very simple, let's take a look at it with XiaoXi!
<h1 class="pgc-h-arrow-right" > illustration of the starry sky Kong Ming Lantern origami tutorial</h1>
Let's start with the picture
Starry Sky Kong Ming Lantern Origami Tutorial, the first day of August make a wish bar Starry Sky Kong Ming Lantern Origami Tutorial Illustrated
Starry Sky Kong Ming Lantern Origami Tutorial, the first day of August make a wish bar Starry Sky Kong Ming Lantern Origami Tutorial Illustrated
Starry Sky Kong Ming Lantern Origami Tutorial, the first day of August make a wish bar Starry Sky Kong Ming Lantern Origami Tutorial Illustrated
The material we need to prepare is: a square piece of paper.
First take out the square paper and fold a "meter" word.
Starry Sky Kong Ming Lantern Origami Tutorial, the first day of August make a wish bar Starry Sky Kong Ming Lantern Origami Tutorial Illustrated
Fold inward along the crease. At this point the opening is up.
Starry Sky Kong Ming Lantern Origami Tutorial, the first day of August make a wish bar Starry Sky Kong Ming Lantern Origami Tutorial Illustrated
The bottom folds up a small corner.
Starry Sky Kong Ming Lantern Origami Tutorial, the first day of August make a wish bar Starry Sky Kong Ming Lantern Origami Tutorial Illustrated
The left and right sides are folded inward as shown in the figure.
Starry Sky Kong Ming Lantern Origami Tutorial, the first day of August make a wish bar Starry Sky Kong Ming Lantern Origami Tutorial Illustrated
Flip to the back, and the back is the same folding method.
Starry Sky Kong Ming Lantern Origami Tutorial, the first day of August make a wish bar Starry Sky Kong Ming Lantern Origami Tutorial Illustrated
Fold the upper triangle down. Then stuff it into the crevice inside.
Starry Sky Kong Ming Lantern Origami Tutorial, the first day of August make a wish bar Starry Sky Kong Ming Lantern Origami Tutorial Illustrated
Starry Sky Kong Ming Lantern Origami Tutorial, the first day of August make a wish bar Starry Sky Kong Ming Lantern Origami Tutorial Illustrated
The back is the same folding method.
Starry Sky Kong Ming Lantern Origami Tutorial, the first day of August make a wish bar Starry Sky Kong Ming Lantern Origami Tutorial Illustrated
We folded it to the left and turned it over to the other side.
Starry Sky Kong Ming Lantern Origami Tutorial, the first day of August make a wish bar Starry Sky Kong Ming Lantern Origami Tutorial Illustrated
The left and right corners fold toward the center.
Starry Sky Kong Ming Lantern Origami Tutorial, the first day of August make a wish bar Starry Sky Kong Ming Lantern Origami Tutorial Illustrated
The upper part is folded downwards.
Starry Sky Kong Ming Lantern Origami Tutorial, the first day of August make a wish bar Starry Sky Kong Ming Lantern Origami Tutorial Illustrated
Then stuff it inside.
Starry Sky Kong Ming Lantern Origami Tutorial, the first day of August make a wish bar Starry Sky Kong Ming Lantern Origami Tutorial Illustrated
The other side is the same folding method.
Open the small triangle below.
Starry Sky Kong Ming Lantern Origami Tutorial, the first day of August make a wish bar Starry Sky Kong Ming Lantern Origami Tutorial Illustrated
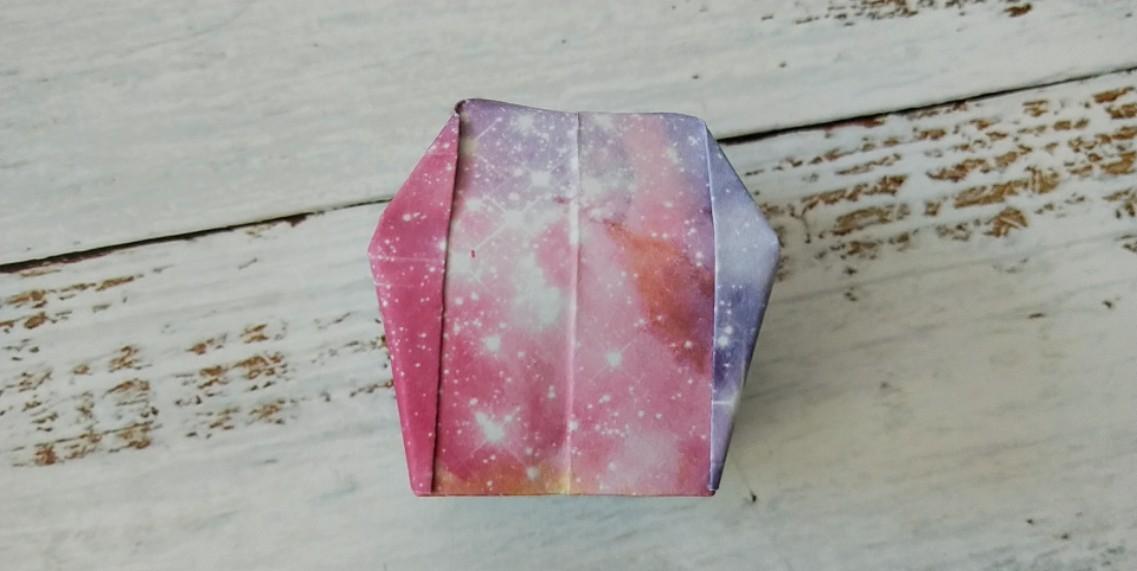
Finally, the whole is propped up along the middle, and a simple starry sky hole lamp is completed! Have you learned?
Starry Sky Kong Ming Lantern Origami Tutorial, the first day of August make a wish bar Starry Sky Kong Ming Lantern Origami Tutorial Illustrated
Well, today's tutorial ends here, and we'll see you next time.
If you like my tutorial, don't forget to click Follow! Pay attention to Xiao Xi, and from then on origami will not get lost.
If you like my tutorials, don't forget to bookmark, like, retweet, comment! Your support is the driving force for Xiaoxi to continue to create!
I only posted original graphic manual tutorials in today's headlines, and the same content on other platforms is plagiarism, please pay attention to discernment.