Take 400 episodes of ps basics to the end of the advanced tutorial to see the end of the article.
This tutorial through the ps to make vibrato effect style poster, vibrato style is also called fault effect and phantom effect, the former is called more, such a style was very popular before, with the popularity of vibrato, the whole is popular again, students can learn through the tutorial, their favorite pictures into such effects, I believe many people will be curious about how you do it.
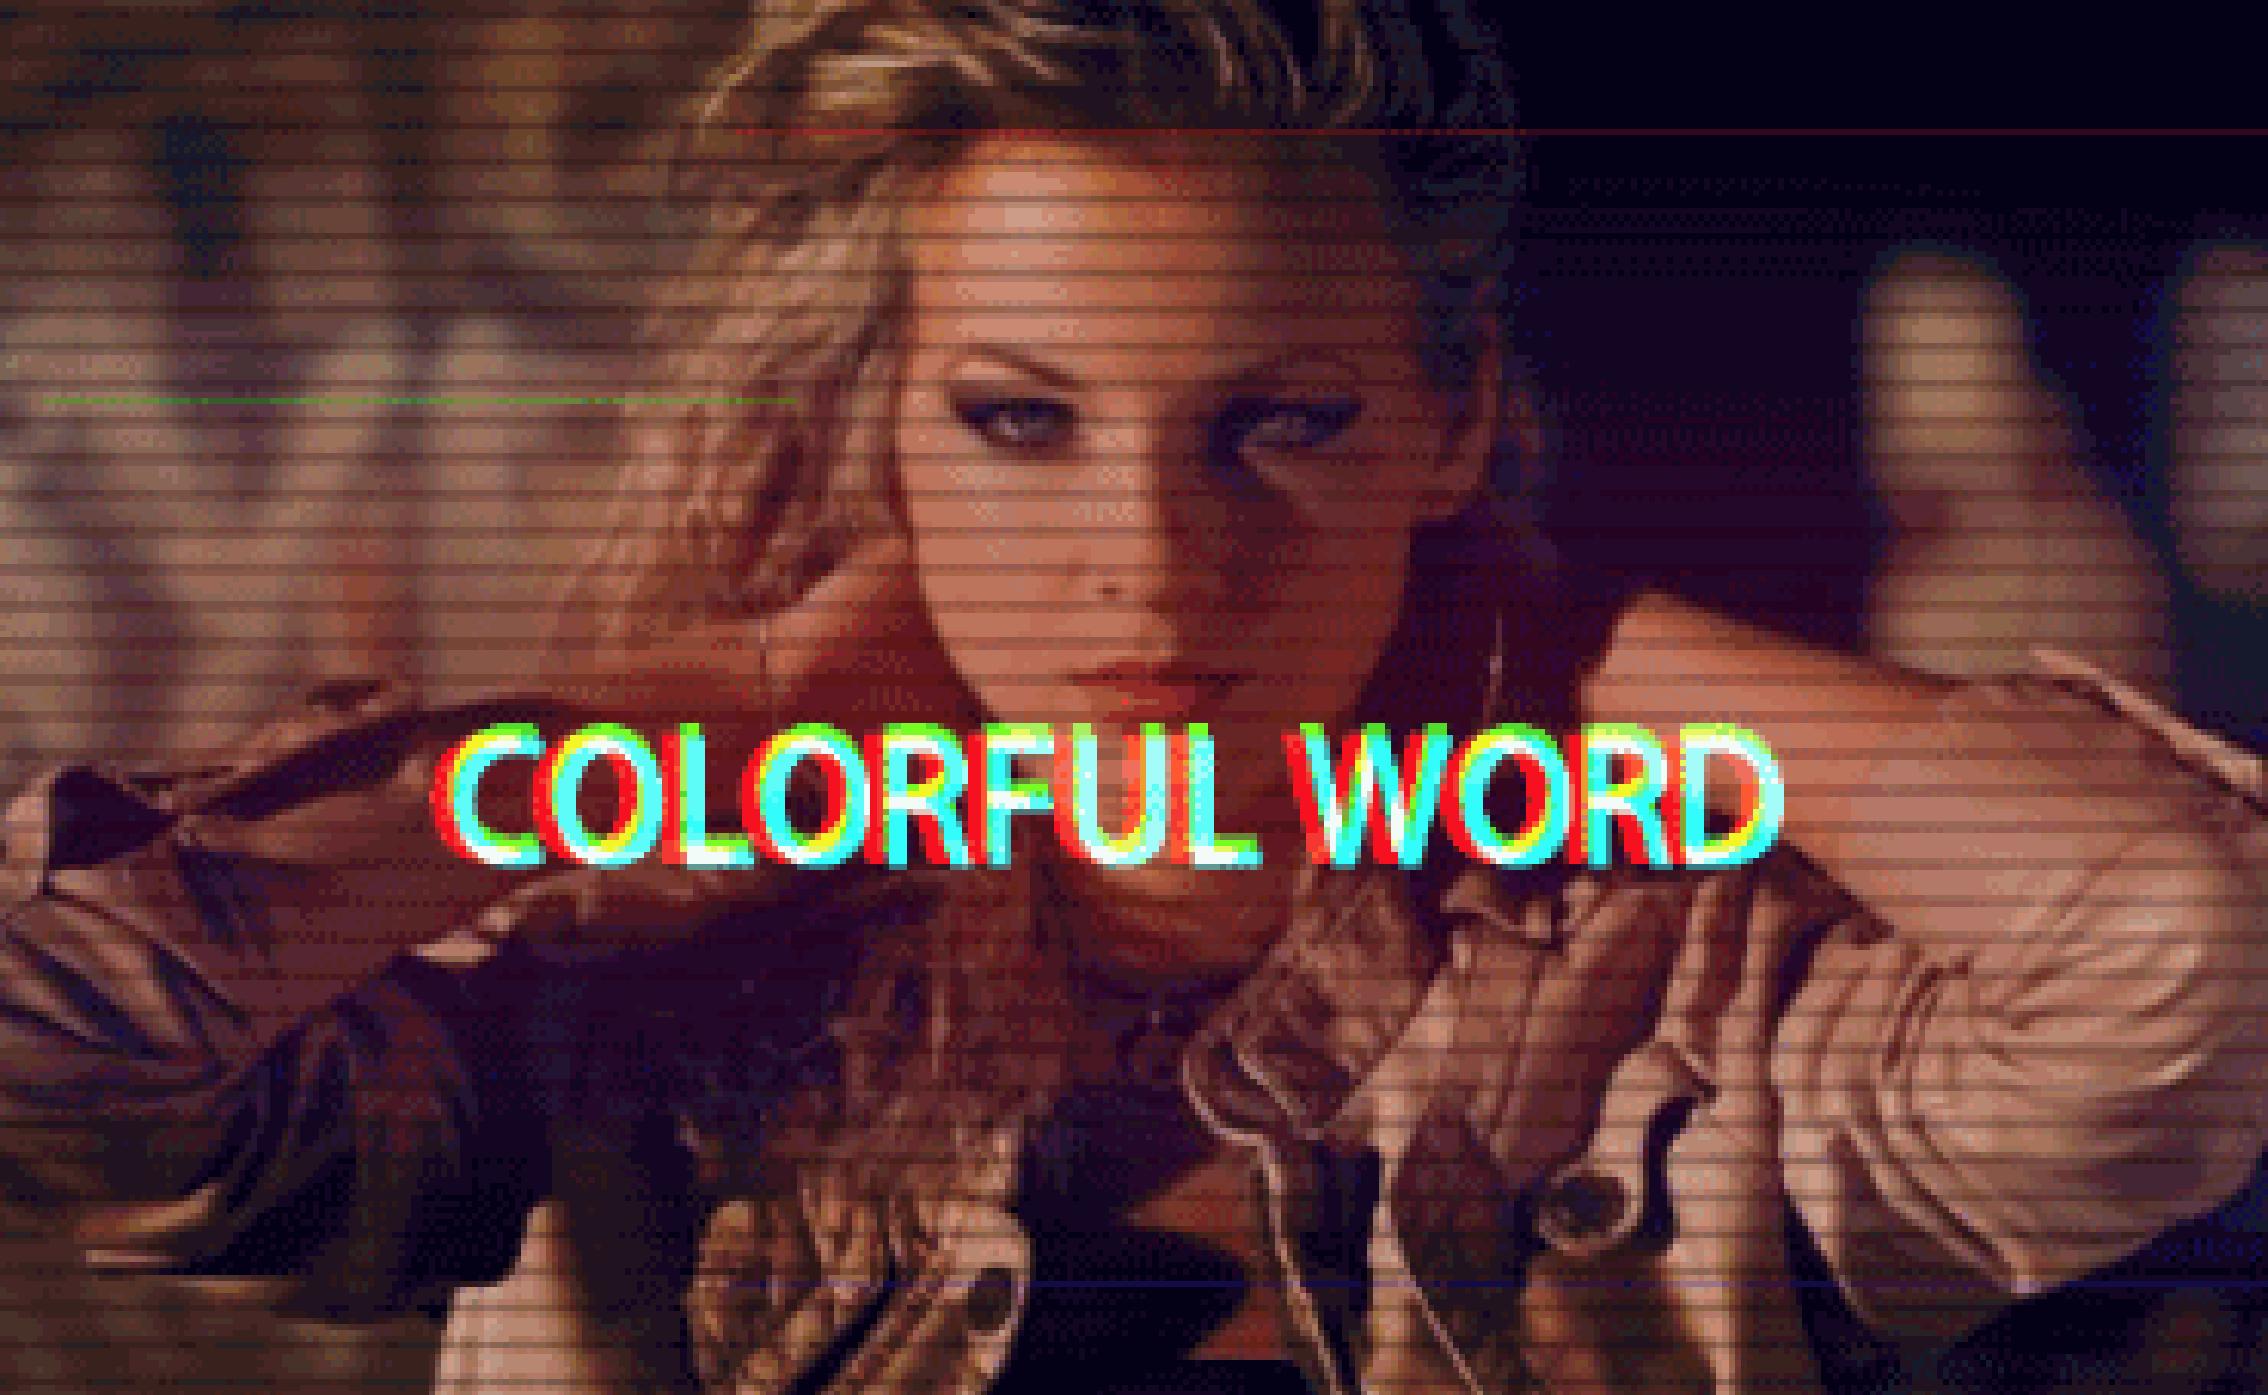
Renderings:
1. Open the footage photo in ps, and then ctrl+j to copy one layer (layer 1).

2. Select Layer 1 to open the blending mode in the layer style, remove the r-channel √, and then ctrl+j to copy a layer (layer 1 copy).
3. Select the duplicate layer (Layer 1 Copy) and move it 5px to the left and 5px to the right, depending on the size of the picture and the final rendering.
4. Select the Rectangle Tool, create a new layer, draw a shape consistent with the size of the picture, fill it with black, create, click the toolbar black and white gradient, pull up the gradient (according to the effect you want), the upper mask is made; then ctrl+j copy a layer of mask layer, then ctrl click to copy the mask thumbnail of the layer, get a selection of the mask, then select ctrl+t, right-click to rotate 180°, move to the position symmetrical with the upper mask, and the lower mask is made.
5. Select the upper and lower rectangle layers that create the mask, change the layer mode to Overlay, Opacity 55%
6. Select the Rectangle tool, create a new layer (Rectangle 1) to draw a graphic that matches the size of the picture, fill it with white, place it on the front level, open the layer style pattern overlay, and select the following:
7. Place the rectangle 1 layer, change the opacity to 30%, fill 0%.
8. Select the Rectangle tool, create a new layer (Rectangle 2) to draw a graphic that matches the size of the picture, fill color #6a0000 (The color of the fill is determined by the overall picture color system, set the layer blending mode to Dark, Opacity 24%, Fill 75%.
9. Draw a rectangular layer (rectangle 3) in the center of the picture, aligned left and right with the picture, fill color #881000, mask attribute feather value of 55%, opacity 60%.
10. Add text as white, center vertical alignment, ctrl+j copy 2 layers of type layer, select the 1st type layer, open the blending option in the layer style, channel only √ select r, select the 2nd type layer, select only √ g, select the 3rd type layer, √ select g, b, move the layer as you started to achieve the effect.
11. Select the Line tool to draw red, green and blue lines, reduce the opacity, and increase the artistry of the effect.
finish:
Students should pay attention to the order of the layers when doing it and save and name the layers in time when drawing, and be careful when doing it, basically it can be completed.
400 episodes of ps tutorials
Complete self-paced tutorials.
How to get it:
Follow + retweet or comment then private message: ps
Click on my avatar to see the private message function on the homepage