The new house has been installed, the furniture has been entered, and it turns out that the window is empty, which is too wasteful. Thinking about it, I finally decided to make a "concave" type card holder by myself, which has many benefits and mood! The finished effect is as follows▼
Benefit 1: Nature is for comfort, the middle sunken area can be used as a bay window cabinet, when the weather is good, lie here in the sun, read a book and drink tea, leisurely and comfortable.
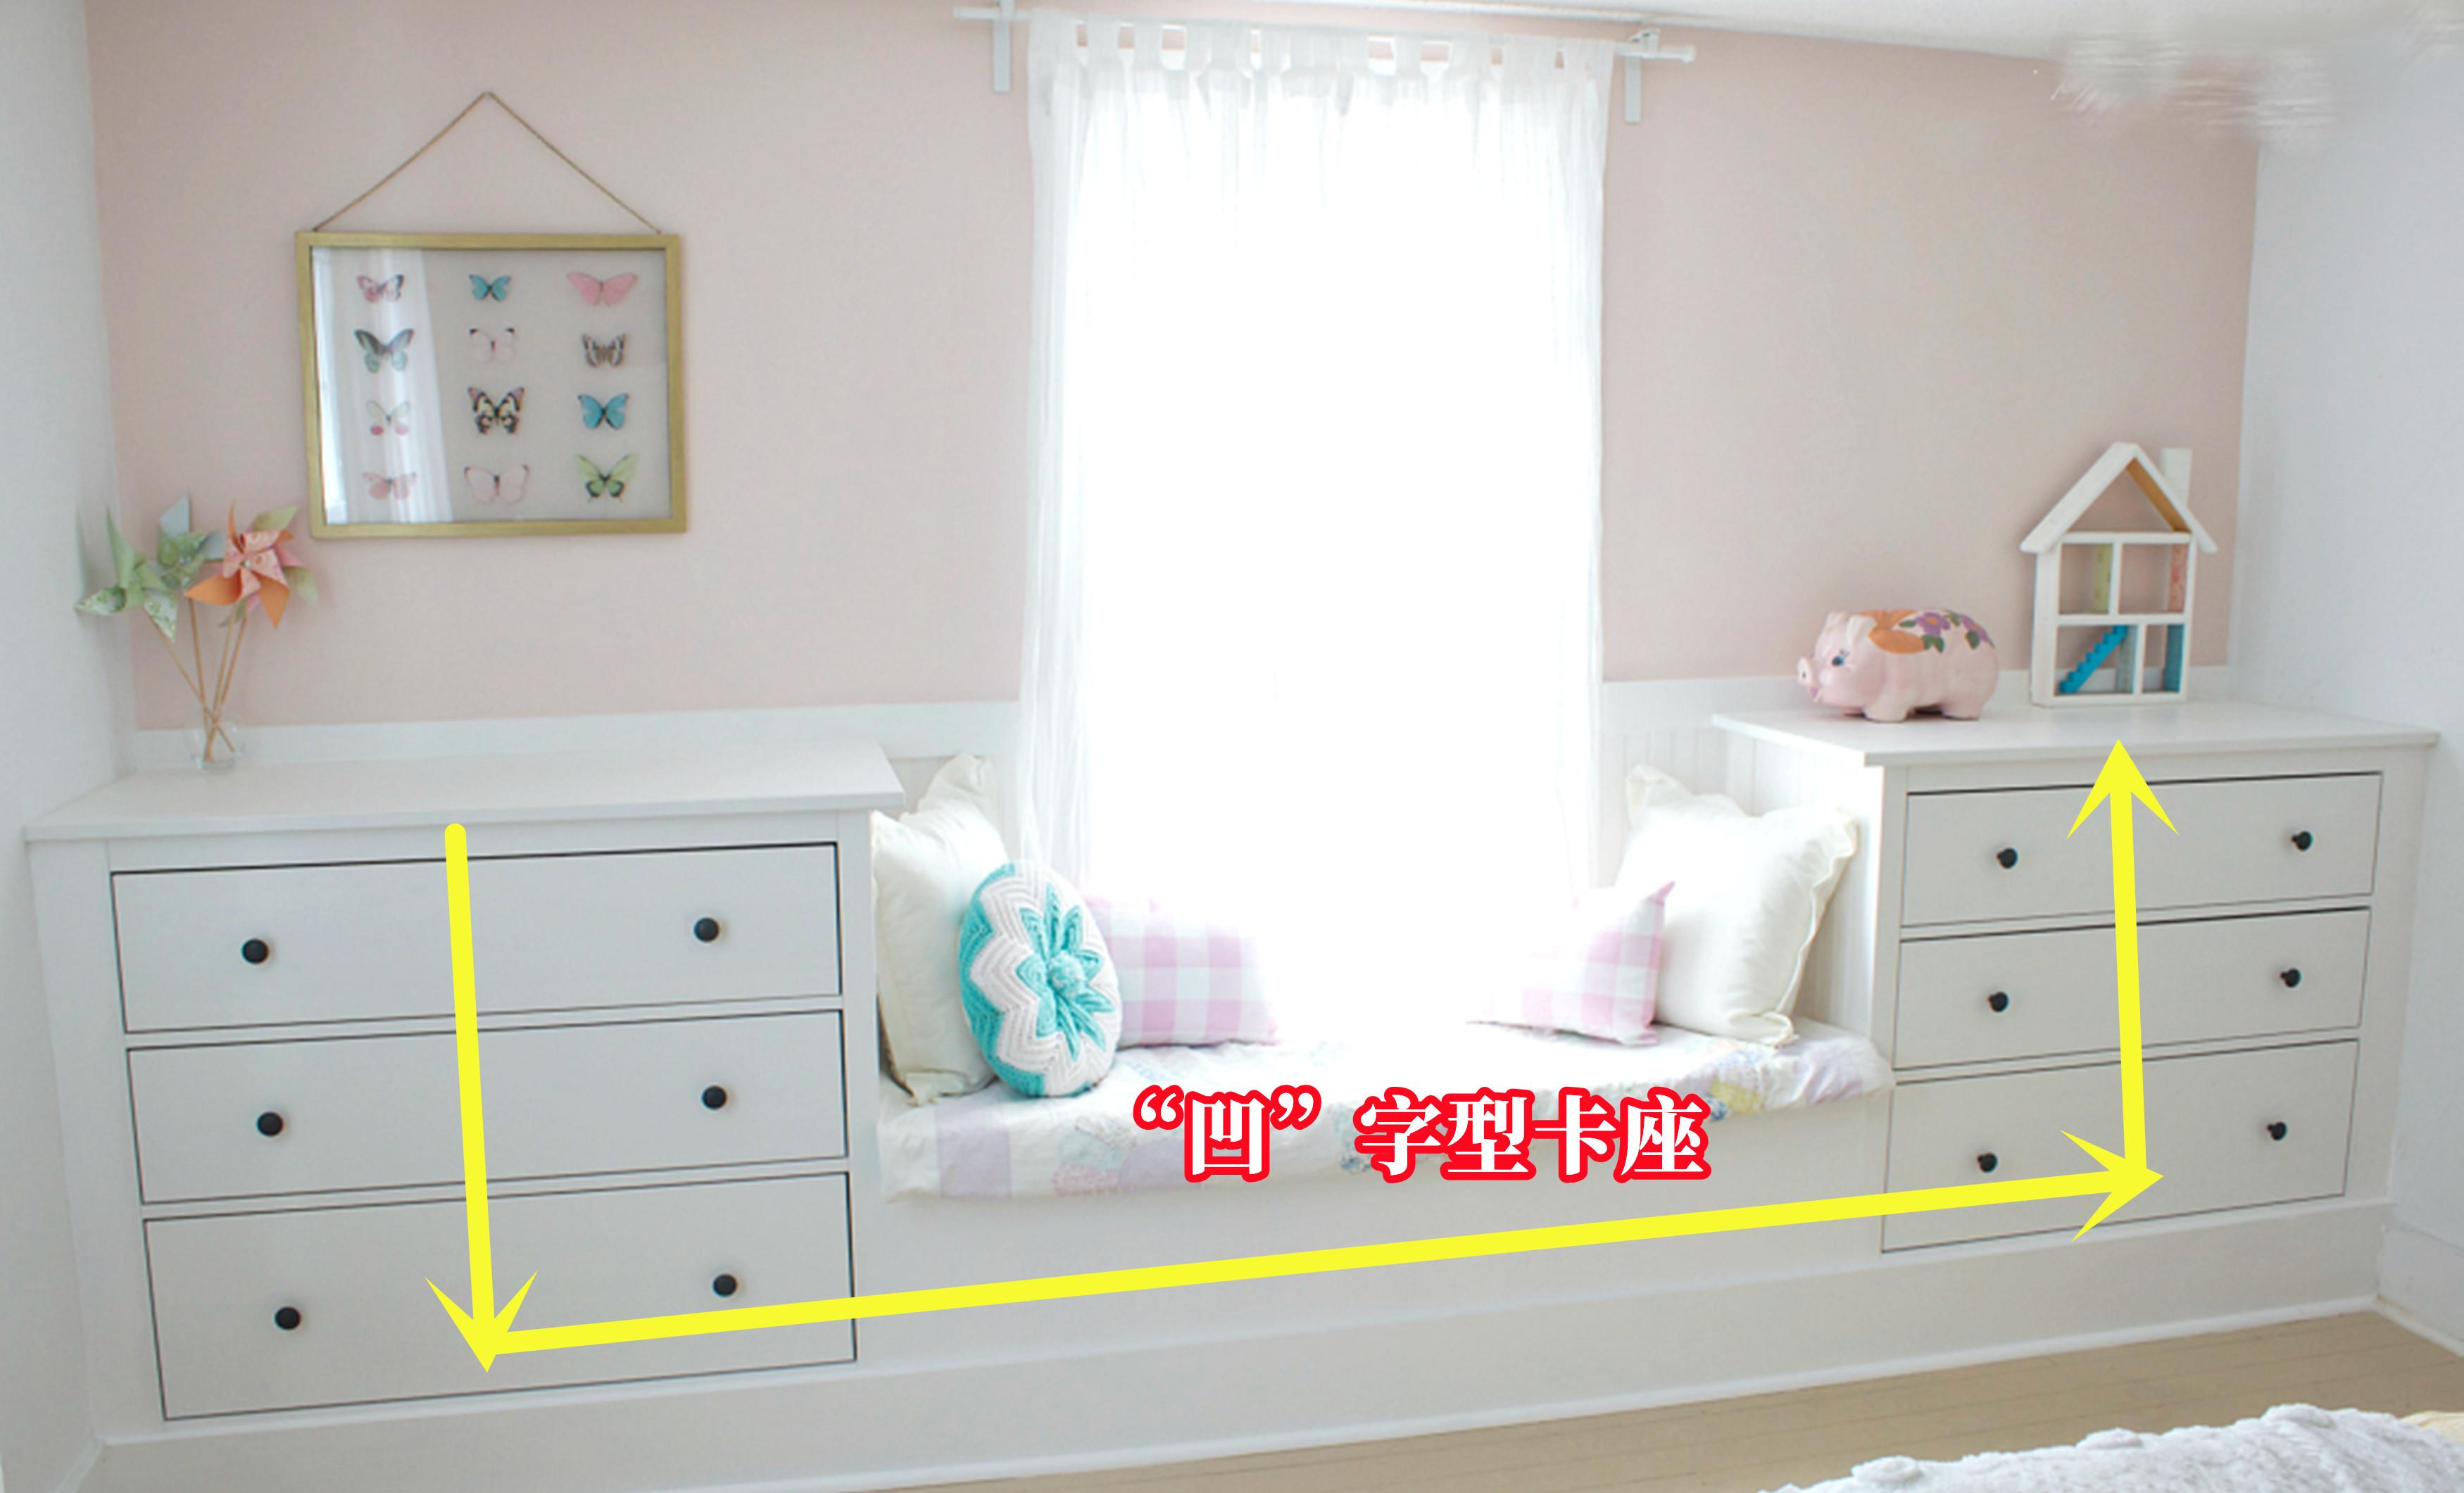
Advantage 2: Storage space can not be less, each side has 3 groups of drawers, bedroom sundries, underwear, socks, etc., all can exist in this ah, classified storage is also good to take. By the way, the middle card seat can also be stored underneath, which greatly enhances the storage space in the bedroom.

Benefit 3: aesthetics are not lost, to the bay window cabinet with beautiful cushions, pillows, on both sides of the cabinet put on the ornaments, vases or photo frames, appropriate embellishment, instant this set of "concave" type card holder has become the highlight of the entire bedroom, how to see the beauty.
Q: How is the "concave" type card holder made?
Ingredients to be prepared: 2 unused bedside tables, plywood, wooden slats, rulers, hammers, nail guns, etc.
Step 1: Fill in the gaps between the bedside table and the wall
The operation of the left and right side of the bedside table is the same, the bedside table is placed well, it cannot fit completely with the wall, directly cut a hole in the skirting line, and then insert the wooden slats into it, fix the gap disappears, perfectly integrates with the wall, and does not have to worry about the area of ash, reducing a lot of trouble.
Step 2: Backplane installation
Then there is the board, the friend's home is plywood, paved on the exposed wall, painted with white paint, looks refreshing, has protection, and is not afraid of staining the wall paint.
Step 3: Card holder installation
After the bedside table is fixed, the middle card seat wooden frame is installed, leaving storage space, and leaving a door above that can be opened and closed.
Finally, don't forget to seal the bottom with a wooden slat and stick it tightly to the ground, which is also to avoid the problem of ash collection. Finish the effect to everyone to dry!
Both sides are high, the middle is low, if you don't know how to use your own window, then try this "concave" type card holder, even if it is an attic can be installed! (Image from the Internet)