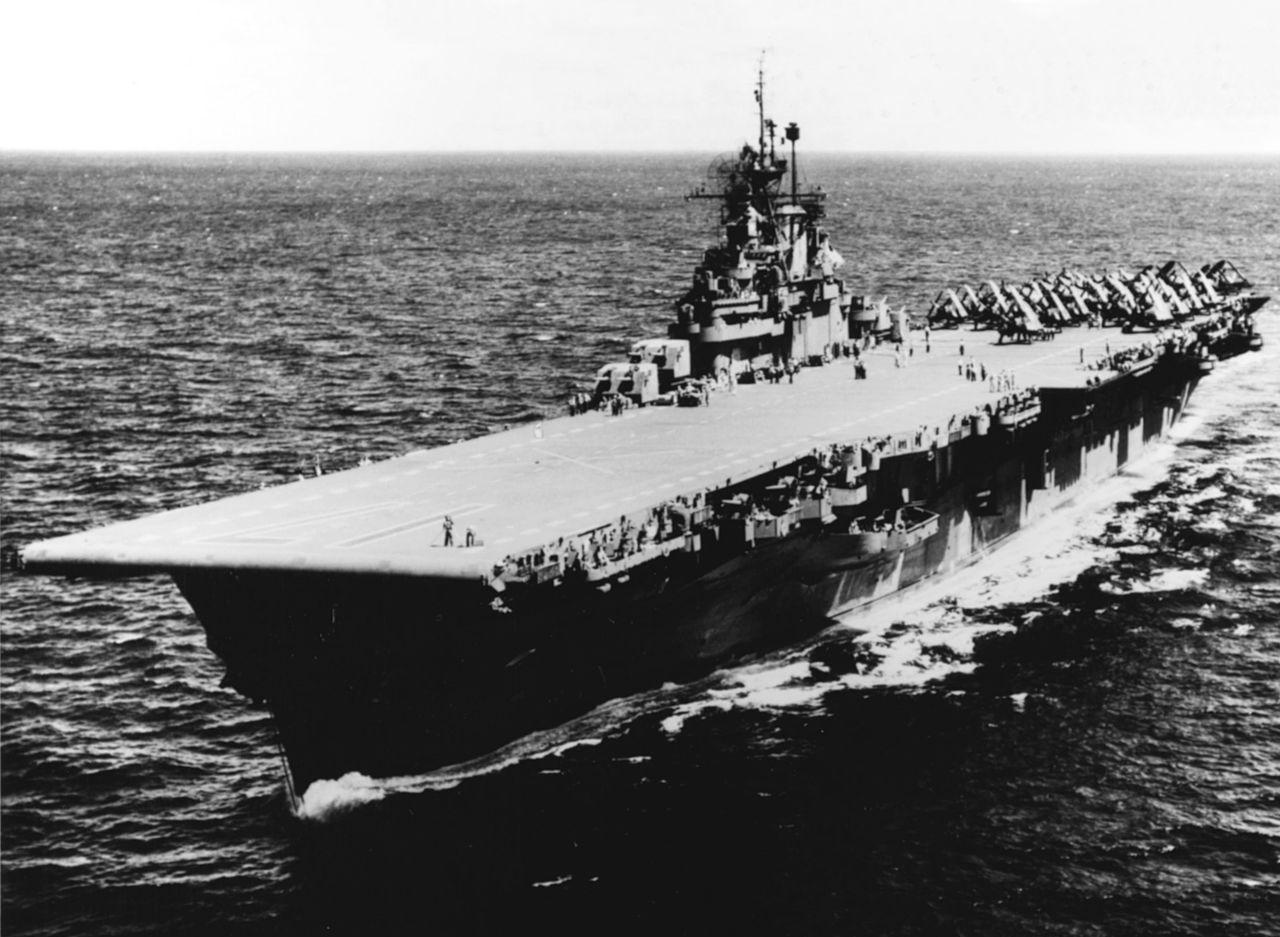
Bunker Hill at sea. Photographed in 1945.
On the morning of May 11, the U.S. fleet continued on duty. At 10 a.m., Bunker Hill was preparing to reclaim the patrol aircraft, while the flight deck was full of standby aircraft.

On June 19, 1944, during the Battle of the Philippine Sea, bunker hill was attacked by Japanese bombers, and the bombs exploded only on the side of the ship.
At 10:02, three Zero suicide fighters suddenly flew out of the low clouds, and bunker Hill immediately opened fire, but it was too late. The first Zero swooped at a low angle on the starboard side of the Bunker Hill and dropped a 250 kg armor-piercing shell. The armor-piercing shell penetrated the rear lift platform, then penetrated the lower deck of the flight deck and the hangar deck, and finally penetrated the starboard side of the hull and exploded at a close distance outside the hull, while the Zero followed, first crashing into the flight deck near the rear lift, then crashing all the aircraft along the way, and finally sliding out of the runway and landing into the sea.
On February 10, 1945, the Fifth Fleet left Ulisi for an air raid on Japan. This was the first U.S. Navy attack on the Japanese mainland after the air raid on Tokyo. The fore deck of bunker hill is shown berthed with aircraft, while the third squadron's light carrier, the Corbens, and the flagship Essex, are seen in the foreground. Six days later, the aircraft of the Third Detachment will take the lead in attacking Tokyo Bay.
Just a few tens of seconds later, the second Zero flew directly above bunker Hill and began swooping at a 70-degree angle, pointing straight at the base of the island. Although the anti-aircraft guns of bunker hill and the escort carrier hit the Zero several times, the Zero managed to continue diving, and first dropped a 250 kg semi-armor-piercing shell. The bomb hit the inner edge of the starboard lift (near the central axis of the deck), exploding a 50-foot hole and lifting the lower deck of the flight deck; bombs and other debris flew across the island; the Zero immediately crashed into the flight deck near the island, part of the fuselage penetrated the pilot's preparation room on the island formation, and then exploded and caught fire.
On May 11, 1945, bunker hill was hit by two suicide planes, causing a fire, and the officers and men on board rushed to avoid. During the Battle of Okinawa, the U.S. fleet has raised its alert, but there are still fish that have slipped through the net. Japanese suicide planes were very good at using cloud and sunlight cover to avoid U.S. radar and lookouts, so that the U.S. military often did not realize the great trouble until a moment before the attack.
Mitchell and Brigadier General Arleigh Burke were in the control room behind the bridge on the first floor of the island, less than 20 feet from the second Zero attack point. [94] As the moored aircraft were filled with fuel, the explosion instantly caused a fire on the flight deck and hangar; the starboard part of the anti-aircraft gun mount and ammunition exploded after the first Zero attack; the radar failed; the pilots in the pilot's reserve room were almost all killed after the impact; all radio communications outside the ship were interrupted, and word was to be transmitted orally so that the lower deck had once misreported that bunker Hill was sinking.
On 11 May 1945, bunker hill was hit by a suicide plane, and the hangar caught fire and billowing smoke; some of the wounded were being cabled to the light cruiser Wilkes-Barry. Damaged anti-aircraft gun mounts are visible next to the hangar, but are not related to the Japanese attack, but were deliberately destroyed by the Wilkes-Barry to save the trapped gunners. Since the starboard gun mount was an additional addition and was not found in the original hull design, the gunner had no way to escape when the hangar was on fire.
While the ship's sailors were busy putting out firefighting, the third Zero attacked bunker Hill at 10:27 a.m., pointing directly at the bridge control room, but was shot down by anti-aircraft guns in time, and the fuselage flew over the deck and fell into the sea. The accompanying American warships assisted shortly after the attack; wilkes-Barry ventured into the bunker hill's starboard gun mount, allowing the trapped gunner to escape directly to the cruiser deck; and four other destroyers rescued people and fires.
After World War II, many Essex classes became redundant warships, the so-called Mothball Fleet. From the foreground are Essex, Ticonderoga, Yorktown, Lexington, Bunker Hill and Good Guy Richard. During the Korean War, most of the Essex class returned to active service, with only Bunker Hill and Franklin remaining sealed. Photo taken on Bremerton Phuket Bay on April 23, 1948.
The fire began to be controlled in the afternoon, and Mitchell transferred the flagship to the Enterprise at 4:30 p.m. The attack resulted in 353 deaths, 43 missing and 264 wounded on board. On 12 May, bunker Hill traveled to Ulisi, arriving on the 14th and preparing to return home. The Bunker Hill departed port on the 17th, arrived at Pearl Harbor on the 25th, and finally returned to Bremerton for repairs on the 30th. When Japan surrendered on August 15, bunker Hill was still repaired at the shipyard.