概述
之前物聯網平台自定義Topic均做消息的直接透傳,不做類似物模型模式的資料腳本解析。平台最新推出的自定義Topic腳本解析功能,裝置通過攜帶解析标記(?_sn=default)的自定義Topic上報資料,物聯網平台收到資料後,調用您在控制台送出的資料解析腳本,将自定義格式資料轉換為JSON結構體,再流轉給後續業務系統。本文主要示範該功能的具體功能實作。
Step By Step
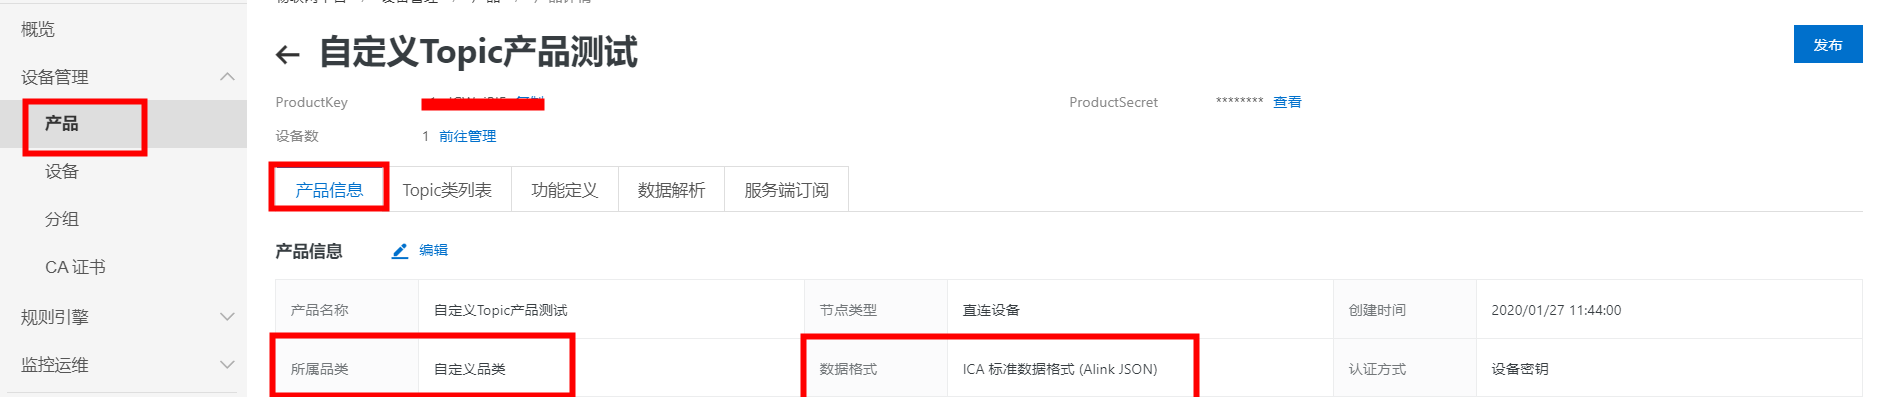
1、建立産品和裝置

2、添加腳本
示例腳本
3、裝置端通過自定義Topic模拟上行資料
import com.alibaba.taro.AliyunIoTSignUtil;
import com.google.common.util.concurrent.ThreadFactoryBuilder;
import org.eclipse.paho.client.mqttv3.*;
import org.eclipse.paho.client.mqttv3.persist.MemoryPersistence;
import java.util.HashMap;
import java.util.Map;
import java.util.concurrent.ScheduledExecutorService;
import java.util.concurrent.ScheduledThreadPoolExecutor;
import java.util.concurrent.TimeUnit;

// 透傳類裝置測試
public class IoTDemoPubSubDemoForPersonalTopic {

    // 裝置三元組資訊
    public static String productKey = "a1wJG******";
    public static String deviceName = "Device1";
    public static String deviceSecret = "40YEyiGzXmvhDdpvbUVFCHjC********";
    public static String regionId = "cn-shanghai";

    private static String pubTopic = "/"+ productKey + "/" + deviceName  + "/user/update?_sn=default";//自定義Topic做腳本解析
    private static MqttClient mqttClient;

    public static void main(String [] args){

        initAliyunIoTClient(); // 初始化Client
        ScheduledExecutorService scheduledThreadPool = new ScheduledThreadPoolExecutor(1,
                new ThreadFactoryBuilder().setNameFormat("thread-runner-%d").build());

        scheduledThreadPool.scheduleAtFixedRate(()->postDeviceProperties(), 10,10, TimeUnit.SECONDS);
    }

    /**
     * 初始化 Client 對象
     */
    private static void initAliyunIoTClient() {

        try {
            // 構造連接配接需要的參數
            String clientId = "java" + System.currentTimeMillis();
            Map<String, String> params = new HashMap<>(16);
            params.put("productKey", productKey);
            params.put("deviceName", deviceName);
            params.put("clientId", clientId);
            String timestamp = String.valueOf(System.currentTimeMillis());
            params.put("timestamp", timestamp);
            // cn-shanghai
            String targetServer = "tcp://" + productKey + ".iot-as-mqtt."+regionId+".aliyuncs.com:1883";

            String mqttclientId = clientId + "|securemode=3,signmethod=hmacsha1,timestamp=" + timestamp + "|";
            String mqttUsername = deviceName + "&" + productKey;
            String mqttPassword = AliyunIoTSignUtil.sign(params, deviceSecret, "hmacsha1");

            connectMqtt(targetServer, mqttclientId, mqttUsername, mqttPassword);

        } catch (Exception e) {
            System.out.println("initAliyunIoTClient error " + e.getMessage());
        }
    }

    public static void connectMqtt(String url, String clientId, String mqttUsername, String mqttPassword) throws Exception {

        MemoryPersistence persistence = new MemoryPersistence();
        mqttClient = new MqttClient(url, clientId, persistence);
        MqttConnectOptions connOpts = new MqttConnectOptions();
        // MQTT 3.1.1
        connOpts.setMqttVersion(4);
        connOpts.setAutomaticReconnect(false);
        connOpts.setCleanSession(true);

        connOpts.setUserName(mqttUsername);
        connOpts.setPassword(mqttPassword.toCharArray());
        connOpts.setKeepAliveInterval(60);

        mqttClient.connect(connOpts);
    }

    /**
     * 彙報屬性
     */
    private static void postDeviceProperties() {

        try {
            //上報資料
            System.out.println("自定義Topic上報屬性值");
            //0x000000000100320100000000
            String hexString = "000000000100320100000000";
            byte[] payLoad = hexToByteArray(hexString);
            MqttMessage message = new MqttMessage(payLoad);
            message.setQos(0);
            mqttClient.publish(pubTopic, message);
        } catch (Exception e) {
            System.out.println(e.getMessage());
        }
    }

    /**
     * hex字元串轉byte數組
     * @param inHex 待轉換的Hex字元串
     * @return  轉換後的byte數組結果
     */
    public static byte[] hexToByteArray(String inHex){
        int hexlen = inHex.length();
        byte[] result;
        if (hexlen % 2 == 1){
            //奇數
            hexlen++;
            result = new byte[(hexlen/2)];
            inHex="0"+inHex;
        }else {
            //偶數
            result = new byte[(hexlen/2)];
        }
        int j=0;
        for (int i = 0; i < hexlen; i+=2){
            result[j]=hexToByte(inHex.substring(i,i+2));
            j++;
        }
        return result;
    }

    /**
     * Hex字元串轉byte
     * @param inHex 待轉換的Hex字元串
     * @return  轉換後的byte
     */
    public static byte hexToByte(String inHex) {
        return (byte) Integer.parseInt(inHex, 16);
    }
}
參考連結: LoRaWAN裝置資料解析及開源MQTT SDK裝置端模拟
4、上行消息檢視
5、注意事項
1、在物聯網平台建立自定義Topic時按正常Topic定義,不添加該解析标記;
2、僅解析裝置上報雲端的資料,不解析雲端下行資料;
3、僅解析上報資料的Payload,并傳回解析後的Payload;
4、解析前後,資料所在Topic不變。例如,裝置發送到/${productKey}/${deviceName}/user/update的資料,解析後仍在該Topic中。