這裡我們使用 django-allauth 子產品來實作第三方賬号驗證登入,官方文檔如下: https://django-allauth.readthedocs.io/en/latest/
。
安裝 django-allauth
pip install django-allauth 注意,django-allauth 需要在 Django1.10以上版本使用。
在建好的項目 settings.py 檔案中加入:
INSTALLED_APPS = (
    ...
    # 需要的 app
    'django.contrib.auth',
    'django.contrib.sites',

    'allauth',
    'allauth.account',
    'allauth.socialaccount',
    # 提供你想接入的第三方驗證賬戶,這裡以百度為例
    'allauth.socialaccount.providers.baidu',
)

SITE_ID = 1
LOGIN_REDIRECT_URL = '/'
除了 allauth.socialaccount.providers.baidu 外,也可以把 baidu 換成 twitter 或 github 等幾十種不同的網站驗證,官方網站列出了所有支援的網站(
https://django-allauth.readthedocs.io/en/latest/providers.html)
不過國内的支援倒不多,有百度,微網誌,微信等。
在 urls.py 中加入一行
re_path(r'^accounts/', include('allauth.urls')), 使用
./manage.py migrate 同步資料庫。
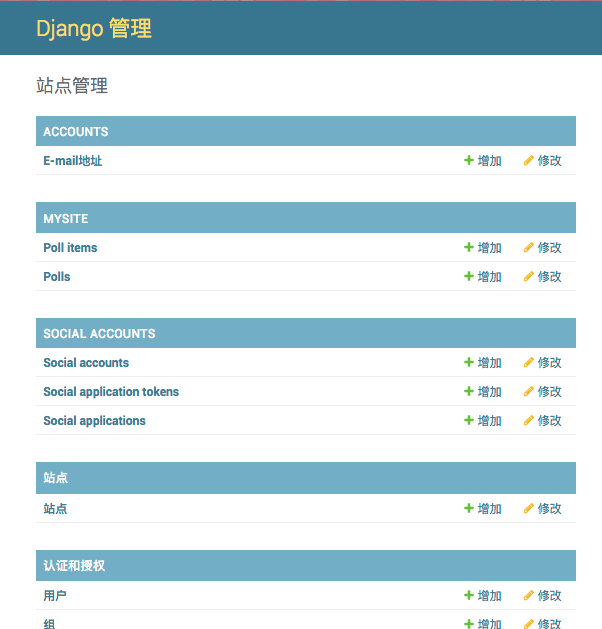
上述工作完成後,進入網站的背景管理,就可以看到下圖所示界面,多出了許多和網站驗證設定相關的資料表。
修改站點内容為你網站的域名,我這裡測試用,直接是本地位址

在 Social Accounts › Social applications 下新增一個 Social applications
關于 Client id 和 Secret key 内容需要我們到授權的第三方賬号網站開發者建立應用後拿到 對應的 id 和 key,這裡以百度為例,登入百度開發者中心,建立應用後我們便拿到相應的 API Key(Client id)和 Secret Key 。
将 API Key 和 Secret Key 填入 Django 背景的 Social applications 中。
添加授權回調頁位址 http://your domain/accounts/baidu/login/callback/
接下來我們重新打開我們的登入界面,便有了百度的登入連結
界面有點醜,這是 django-allauth 預設的登入界面,我們可以在 project/templates/account 下建立 login.html 便可覆寫 djano-allauth 的預設登入模闆,allauth自帶的模闆放在 allauth/templates/account 下,也可以在這裡替換。
登入 -> 授權 -> 成功!