1. 概述
老話說的好:一條路走不通,就去走另一條路,A計劃執行不下去,就按B計劃執行,多準備幾套方案總是有用的。
好了,言歸正傳,今天我們來聊聊 SpringCloud 的 分布式配置中心 Config,微服務架構中,服務節點很多,如果修改一個配置,就要每個服務都改一遍,那簡直就是災難了。
是以我們就需要用到 Config 這個元件,幫我們實作修改一遍,就可以在所有相關的服務都生效。
Config 支援将配置存儲在本地檔案、資料庫、SVN、Git 等,這裡我們就以 Git 為例,聊一下 Config 的那些事兒。
閑話不多說,直接上代碼。
2. Git 準備
2.1 在 GitHub 官網注冊賬戶
官網位址:https://github.com/
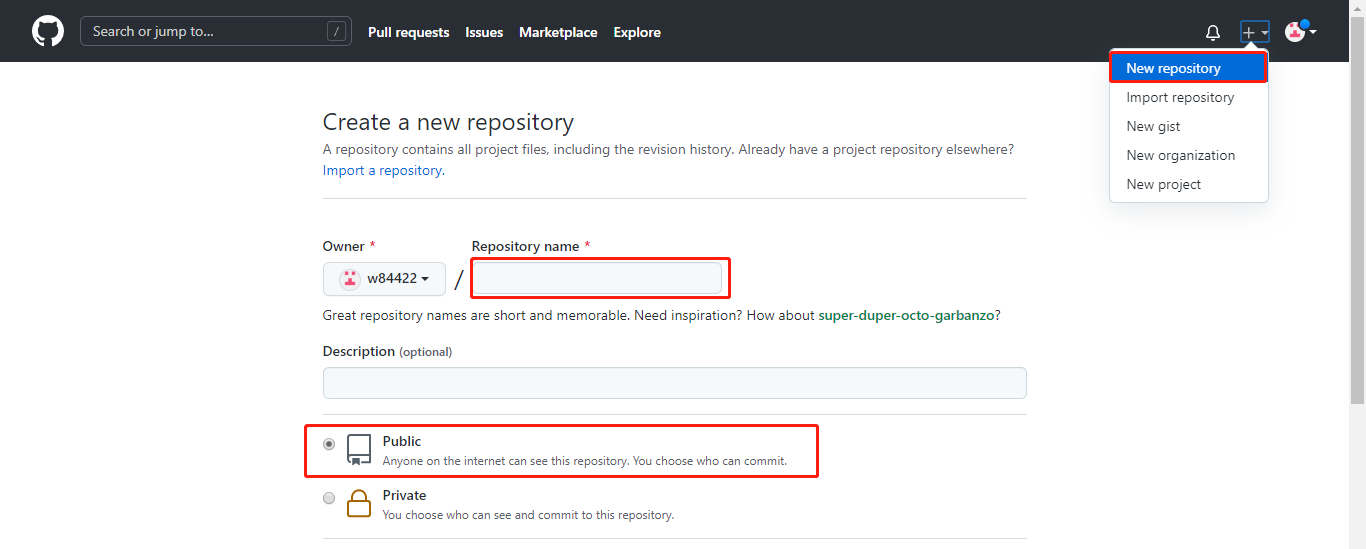
2.2 建立一個 repository
建立一個 repository,用于放置配置檔案,例如:my-config-repo
2.3 在建立的 repository 建立檔案
1) 建立 my-config-client-dev.yml 配置檔案,内容如下:
info:
  profile: dev

name: zhuifengren
desc: hello world dev
2)建立 my-config-client-prd.yml 配置檔案,内容如下:
info:
  profile: prd

name: zhangsan
desc: hello world prd
3)檔案格式說明
{application}-{profile}.yml
3. Config Server 的搭建
3.1 主要依賴
<dependency>
            <groupId>org.springframework.cloud</groupId>
            <artifactId>spring-cloud-starter-netflix-eureka-client</artifactId>
        </dependency>
        <dependency>
            <groupId>org.springframework.cloud</groupId>
            <artifactId>spring-cloud-config-server</artifactId>
        </dependency>
        <dependency>
            <groupId>org.springframework.cloud</groupId>
            <artifactId>spring-cloud-starter-bootstrap</artifactId>
            <version>3.0.2</version>
        </dependency>
3.2 在 application.yml 進行配置
server:
  port: 40000
spring:
  application:
    name: my-config-server
  cloud:
    config:
      server:
        git:
          uri: https://github.com/w84422/my-config-repo.git   # git位址
          force-pull: true  # 強制拉取資源檔案
          default-label: main   # 預設拉取的分支

eureka:
  client:
    service-url:
      defaultZone: http://zhuifengren1:35000/eureka/,http://zhuifengren2:35001/eureka/    # Eureka Server的位址
3.3 啟動類增加注解
@SpringBootApplication
@EnableConfigServer
@EnableDiscoveryClient
public class MyConfigServerApplication {

    public static void main(String[] args) {
        SpringApplication.run(MyConfigServerApplication.class, args);
    }
}
3.4 啟動 Config Server 服務,并進行驗證
1)啟動服務
2)調用 http://localhost:40000/my-config-client/dev/main 接口進行驗證
接口格式為:http://ConfigServer IP:端口/{application}/{profile}/{label}
label:檔案在 Git 存儲的分支
3)調用 http://localhost:40000/main/my-config-client-dev.yml 接口進行驗證
接口格式為:http://ConfigServer IP:端口/{label}/{application}-{profile}.yml(.json,.properties)
4. Config Client 的搭建
4.1 主要依賴
<dependency>
            <groupId>org.springframework.cloud</groupId>
            <artifactId>spring-cloud-starter-netflix-eureka-client</artifactId>
        </dependency>
        <dependency>
            <groupId>org.springframework.boot</groupId>
            <artifactId>spring-boot-starter-web</artifactId>
        </dependency>
        <dependency>
            <groupId>org.springframework.cloud</groupId>
            <artifactId>spring-cloud-starter-config</artifactId>
            <version>3.0.4</version>
        </dependency>
        <dependency>
            <groupId>org.springframework.cloud</groupId>
            <artifactId>spring-cloud-starter-bootstrap</artifactId>
            <version>3.0.2</version>
        </dependency>
4.2 在 bootstrap.yml 進行配置
server:
  port: 41000

spring:
  application:
    name: my-config-client
  cloud:
    config:
      profile: dev  # 拉取檔案的profile
      label: main   # 拉取的分支
      name: my-config-client  # 指定拉取配置檔案的 application,預設使用 spring.application.name 的值
      discovery:
        enabled: true
        service-id: my-config-server    # config服務的服務名稱

myDesc: ${desc}

eureka:
  client:
    service-url:
      defaultZone: http://zhuifengren1:35000/eureka/,http://zhuifengren2:35001/eureka/    # Eureka Server的位址
注意:config的配置,要配置在 bootstrap.yml 中。
4.3 啟動類增加注解
@SpringBootApplication
@EnableDiscoveryClient
public class MyConfigClientApplication {

    public static void main(String[] args) {
        SpringApplication.run(MyConfigClientApplication.class, args);
    }
}
4.4 增加用于實驗的 Controller 類
@RestController
public class MyConfigClientController {

    @Value("${info.profile}")
    private String profile;
    @Value("${name}")
    private String name;
    @Value("${myDesc}")
    private String desc;

    @RequestMapping("/info")
    public String getInfo() {

        String info = "profile:" + profile + "<br>";
        info += "name:" + name + "<br>";
        info += "desc:" + desc;

        return info;
    }
}
4.5 啟動 Config Client 服務,并進行驗證
1)啟動服務
2)調用 Controller 接口驗證,http://localhost:41000/info

5. 使用非對稱秘鑰對配置屬性進行加密
5.1 概述
有時,在 Git 存儲一些敏感資訊是不安全的,是以我們需要加密去存儲他們,可以使用對稱加密和非對稱加密兩種方式,這裡來介紹一下非對稱加密的方式。
5.2 JDK版本要求
需要下載下傳 JDK 8u161 以上的版本,否則,則需要下載下傳JCE更新檔,現在應該很少使用 JDK 8u161以下的版本了,建議更新JDK。
5.3 使用 JDK 中自帶的 keytool 指令生成證書
keytool -genkeypair -alias config-server -keyalg RSA -keystore c:/config-server.keystore 生成過程中的密碼要牢記,後面會用到,我這裡暫時都設定為 123456
5.4 拷貝生成好的證書到 Config Server 的 resources 中
5.5 在 Config Server 的 bootstrap.yml 中進行配置
encrypt:
  key-store:
    location: config-server.keystore
    alias: config-server
    password: 123456
    secret: 123456
5.6 重新開機 Config Server 服務
5.7 調用 Config Server 服務的接口,對文本進行加解密
1)加密接口:POST http://localhost:40000/encrypt
加密文本,寫在 body 中
2)解密接口:POST http://localhost:40000/decrypt
解密文本,寫在 body 中
5.8 将文本 “你好 dev” 進行加密
5.9 将加密字元串拷貝到 Git
注意:加密字元串,在 Git 的配置檔案中,要加上單引号,并在字元串開頭增加 {cipher}
5.10 重新開機 Config Client,調用 Controller 接口測試
調用 Controller 接口驗證,http://localhost:41000/info
6. 配置檔案的動态重新整理
6.1 概述
大家應該也注意到了,每次在 Git 修改配置,都要把 Config Client 重新開機一下,體驗太不好了。
幸好,Springboot 幫我們想到并解決了這個問題,通過調用一個接口,就能實作配置檔案的動态重新整理。
6.2 Config Client 工程引入依賴
<dependency>
            <groupId>org.springframework.boot</groupId>
            <artifactId>spring-boot-starter-actuator</artifactId>
        </dependency>
6.3 Config Client 工程的 bootstrap.yml 檔案增加配置
management:
  endpoints:
    web:
      exposure:
        include: 'health,refresh'
  endpoint:
    health:
      show-details: always
6.4 在需要從配置中,動态取屬性的類上,增加 @RefreshScope 注解
剛剛編寫的實驗 Controller 類,就需要增加 @RefreshScope 注解
@RefreshScope
@RestController
public class MyConfigClientController {

    @Value("${info.profile}")
    private String profile;
    @Value("${name}")
    private String name;
    @Value("${myDesc}")
    private String desc;
6.5 重新開機 Config Client,并調用接口進行配置動态重新整理
1)重新開機
2)調用 http://localhost:41000/actuator/refresh 接口,進行配置的動态重新整理
7. 綜述
今天聊了一下 SpringCloud 的 Config 元件,希望可以對大家的工作有所幫助。
歡迎幫忙點贊、評論、轉發、加關注 :)
關注追風人聊Java,每天更新Java幹貨。
8. 個人公衆号
追風人聊Java,歡迎大家關注