本文基于ShardingSphere的3.x版本,数据库基于MySQL8。
源码地址(亲测可启动+可验证分库分表功能,不行的话,评论区提问,说出具体失败情况):ShardingSphere3.x Demo
创建两个数据库ds0、ds1(我是在自己电脑搭了虚机,在上面安装了两个MySQL8的数据实例,端口分别是23306、23307,读者可按自己需要配置),和对应两个数据表user_0、user_1
ds0
  ├── user_0
  └── user_1
ds1
  ├── user_0
└── user_1 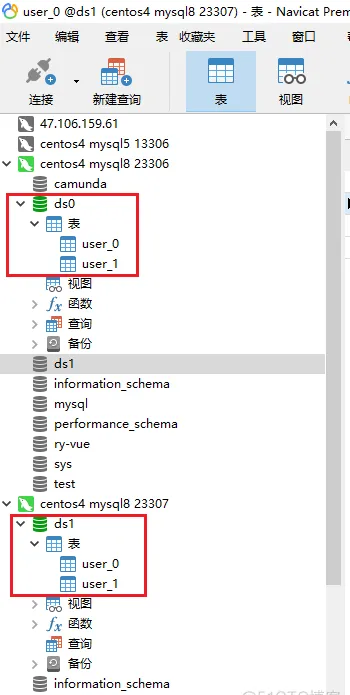
既然是分库分表 库结构与表结构一定是一致的。表脚本在源码路径:
src\main\resources\script\ds0.db

src\main\resources\script\ds1.db
按自己实际情况修改配置文件 application.properties 的数据库配置(主要是改两个数据库的IP和端口号)
启动项目,打开浏览器,分别访问
// 数据在 db1_user0 中
http://localhost:8080/insert?id=1&name=lhd&age=12
// 数据在 db0_user0 中
http://localhost:8080/insert?id=2&name=lhd&age=12
// 数据在 db1_user1 中
http://localhost:8080/insert?id=3&name=lhd&age=13
// 数据在 db0_user1 中
http://localhost:8080/insert?id=4&name=lhd&age=13
可以在控制台看到如下展示,表示插入成功了

根据分片算法和分片策略 不同的id以及age取模落入不同的库表 达到了分库分表的结果
有的人说 查询的话 该怎么做呢 其实也帮我们做好了 打开浏览器 访问:
http://localhost:8080/select 分别从ds0数据库两张表和ds1两张表查询结果 然后汇总结果返回