做应用时,使用text显现出的文字都属于系统默认的字体,有时候达不到自己的需求
Android系统自带了三种字体,分别是sans、serif和monospace,使用方式是在xml中配置typface即可
<TextView
        android:id="@+id/header_textview"
        android:layout_width="wrap_content"
        android:layout_height="wrap_content"
        android:layout_centerInParent="true"
        android:textSize="24sp"
        android:textStyle="bold"
        android:type
        android:textColor="@color/white" />
如果想使用其他的字体,可以按照如下方法:
首先下载想要显示的字体的ttf文件,并且放到assets文件夹下的fonts文件夹中(fonts自己新建一个即可)
然后在代码中设置控件的属性即可:
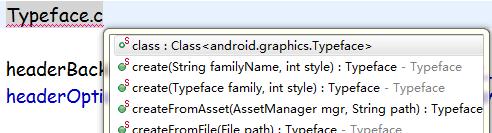
// 使用自定义字体
		Typeface typeface = Typeface.createFromAsset(getContext().getAssets(), "fonts/YEGENYOUTEKAI9-28_0.TTF");
		headerTextView.setTypeface(typeface);
将字体文件存放在assets文件夹中仅是一种方法,保存为文件或者其他形式也能实现
如果想要将全部字体都更改,目前我所知道的办法是遍历所有控件,如果有更好的办法,欢迎大家提供补充
public static void changeFonts(ViewGroup root, Activity activity) {

		       Typeface typeface = Typeface.createFromAsset(activity.getAssets(), "fonts/xxx.ttf");

		       for (int i = 0; i < root.getChildCount(); i++) {

		           View v = root.getChildAt(i);

		           if (v instanceof TextView) {
		              ((TextView) v).setTypeface(typeface);
		           } else if (v instanceof Button) {
		              ((Button) v).setTypeface(typeface);
		           } else if (v instanceof EditText) {
		              ((EditText) v).setTypeface(typeface);
		           } else if (v instanceof ViewGroup) {
		        	   // 递归调用
		              changeFonts((ViewGroup) v, activity);
		           }

		       }

		    }
![与专家面对面:Android开发入门问与答[图]](data:image/gif;base64,R0lGODlhAQABAIAAAP///wAAACwAAAAAAQABAAACAkQBADs=)