一、简介
路由嵌套是在路由配置的时候,使用children配置子路由。
1 <!DOCTYPE html>
2 <html lang="en">
3 <head>
4 <meta charset="UTF-8">
5 <title>路由嵌套</title>
6 <style>
7 /*设置链接点击后的颜色*/
8 .active{
9 color: red;
10 font-size: 24px;
11 /*去除下划线*/
12 text-decoration: none;
13 }
14 </style>
15 <!--引入vue-->
16 <script src="../js/vue.js"></script>
17 <!-- 引入vue-router -->
18 <script src="../js/vue-router.min.js"></script>
19 </head>
20 <body>
21
22 <div id="hello">
23 <div>
24 <!-- 使用router-link组件来定义导航,to属性指定链接url -->
25 <router-link to='/home'>主页</router-link>
26 <router-link to='/news'>新闻</router-link>
27 <router-link to='/user'>用户</router-link>
28 </div>
29 <div>
30 <!-- router-view用来显示路由内容 -->
31 <router-view></router-view>
32 </div>
33 </div>
34
35 <template id="user">
36 <div>
37 <h4>用户信息</h4>
38 <ul>
39 <li><router-link to='/user/login'>登录</router-link></li>
40 <li><router-link to='/user/regist'>注册</router-link></li>
41 </ul>
42 <!-- router-view用来显示路由内容 -->
43 <router-view></router-view>
44 </div>
45 </template>
46
47 <script>
48 //1.定义组件
49 var Home={
50 template:'<h3>我是主页</h3>'
51 }
52 var News={
53 template:'<h3>我是新闻</h3>'
54 }
55 var User={
56 template:'#user'
57 }
58 var Login={
59 template:'<h5>用户登录的界面</h5>'
60 }
61 var Regist={
62 template:'<h5>用户注册的界面</h5>'
63 }
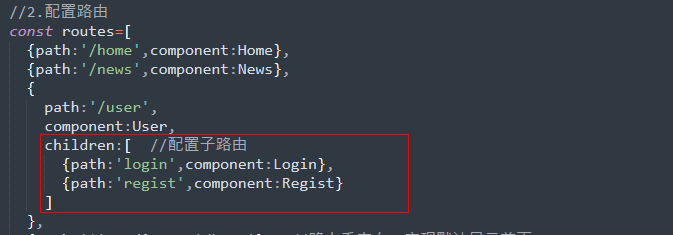
64
65 //2.配置路由
66 const routes=[
67 {path:'/home',component:Home},
68 {path:'/news',component:News},
69 {
70 path:'/user',
71 component:User,
72 children:[ //配置子路由
73 {path:'login',component:Login},
74 {path:'regist',component:Regist}
75 ]
76 },
77 {path:'*',redirect:'/home'} //路由重定向,实现默认显示首页
78 ]
79
80 //3.创建路由实例
81 const router=new VueRouter({
82 routes:routes, //第一个routes是选项,第二个routes是配置路由时自定义的变量名。二者同名,可以直接简写为routes
83 mode:'history', //路由的模式设置为history(默认为hash模式)
84 linkActiveClass:'active' //更改活动链接的class类名
85 });
86
87 //4.将创建的路由实例挂载到Vue实例上
88 let vm = new Vue({
89 el:'#hello',
90 router:router //第一个router是选项,第二个router是创建路由实例时自定义的变量名。二者同名,可以直接简写为router
91 });
92 </script>
93 </body>
94 </html> 三、展示效果
