小程式自定義tabbar
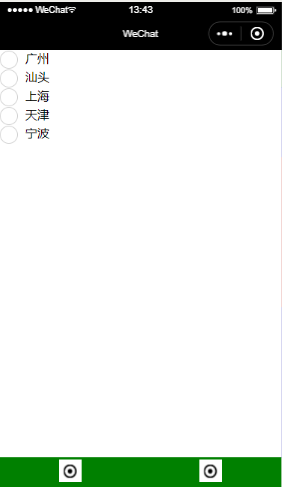
先做一下效果展示吧

本案例是按照官網來做的
app.js代碼:
下面的list,官網說是必須的,但我感受不到它的用處
"tabBar": {
    "custom": true,
    "color": "#000000",
    "selectedColor": "#000000",
    "backgroundColor": "#000000",
    "borderStyle": "white",
    "list": [
      {
        "pagePath": "pages/page/index",
        "text": "首頁",
        "iconPath": "/imgs/tab.png",
        "selectedIconPath": "/imgs/tab.png"
      },
      {
        "pagePath": "pages/scroll/index",
        "text": "滾動",
        "iconPath": "/imgs/tab.png",
        "selectedIconPath": "/imgs/tab.png"
      }
    ]
  },
  "usingComponents": {}
tabbar元件的建立
在根目錄下建立custom-tab-bar目錄,然後在該目錄下建立元件component,注意是元件,不要建成page頁面,雖然都一樣是js/json/wxml/wxss四個檔案
custom-tab-bar/index.js代碼
data: {
  curIndex: 0,
  color: "#00f",
  selectedColor: "#ff0",
  list: [
    {
      pagePath: "/pages/page/index",
      iconPath: "/imgs/tab.png",
      selectedIconPath: "/imgs/tab1.png",
      text: "首頁"
    }, {
      pagePath: "/pages/scroll/index",
      iconPath: "/imgs/tab.png",
      selectedIconPath: "/imgs/tab1.png",
      text: "滾動"
    },
  ]
},
methods: {
  switchTab(e) {
    let url = e.currentTarget.dataset.url
    let index = e.currentTarget.dataset.index
    wx.switchTab({
      url
    })
    // this.setData({
    //   curIndex:index
    // })
    wx.setStorageSync('curIndex', index)
  },
}
custom-tab-bar/index.wxml代碼
<cover-view class="container">
  <cover-view class="item" bindtap='switchTab' wx:for="{{list}}" wx:key="{{index}}" data-index="{{index}}" data-url="{{item.pagePath}}">
    <cover-image class="icon" src='{{index==curIndex?item.selectedIconPath:item.iconPath}}'></cover-image>
    <cover-view class="text" class="{{index==curIndex?'textStyle':''}}">{{item.text}}</cover-view>
  </cover-view>
</cover-view>
custom-tab-bar/index.wxss代碼
.container{
  height: 120rpx;
  background:green;
  display: flex;
}
.item{
  flex:1;
  text-align: center;
  display: flex;
  flex-direction: column;
  justify-content: space-around;
}
.icon{
  width:60rpx;
  height: 60rpx;
  margin:0 auto;
}
.textStyle{
  color:#fff;
}
最好給自定義tabbar設定一個高度,這樣的話,如果頁面需要用到scroll-view那高度也好控制,scroll-view的精确控制可以參考scroll的高度設定
最後,設定tabbar的選中狀态,要在每個tab頁面的onShow中設定
if (typeof this.getTabBar === 'function' && this.getTabBar()) {
      this.getTabBar().setData({
        curIndex: 1
      })
    }
自定義tabbar就這樣可以了
但是,
問題一:進入小程式第一次進行tabbar切換的時候有閃爍問題
問題二:本案例的啟動頁是首頁,第一次切換到滾動也的時候除了閃爍問題外,scroll-view的高度也比正常情況下小了100rpx(正好是滾動頁中topNav的高度),下圖是滾動頁代碼
<view class="topNav"></view>
<scroll-view style="{{'height:'+scrollHeight+'px'}}" scroll-y>
  <view class="red"></view>
  <view class="blue"></view>
  <view class="red"></view>
  <view class="blue"></view>
  <view class="red"></view>
  <view class="blue"></view>
</scroll-view>
是以本例的自定義tabbar就實作了
(ps:如果滾動頁設定為啟動頁,就不會有問題二的出現)
閃爍問題,網上也找不到解決的辦法,官網也未提及,希望有辦法的朋友分享給我
如果想要避免上述問題,來一個完美的tabbar的話,就不要使用官網的方法,而采用單頁面的形式