Allure自動化測試報告我是這樣用的
關于自動化測試報告:
之前用過testNG自帶的測試報告、優化過reportNG的測試報告、extentreport、Zreport(大飛總原創),這些是我之前都用過的,也是在去年雯姐和我說過Allure2這個報告不錯,一直沒時間,正巧最近有用到,接觸下發現确實是個神器。
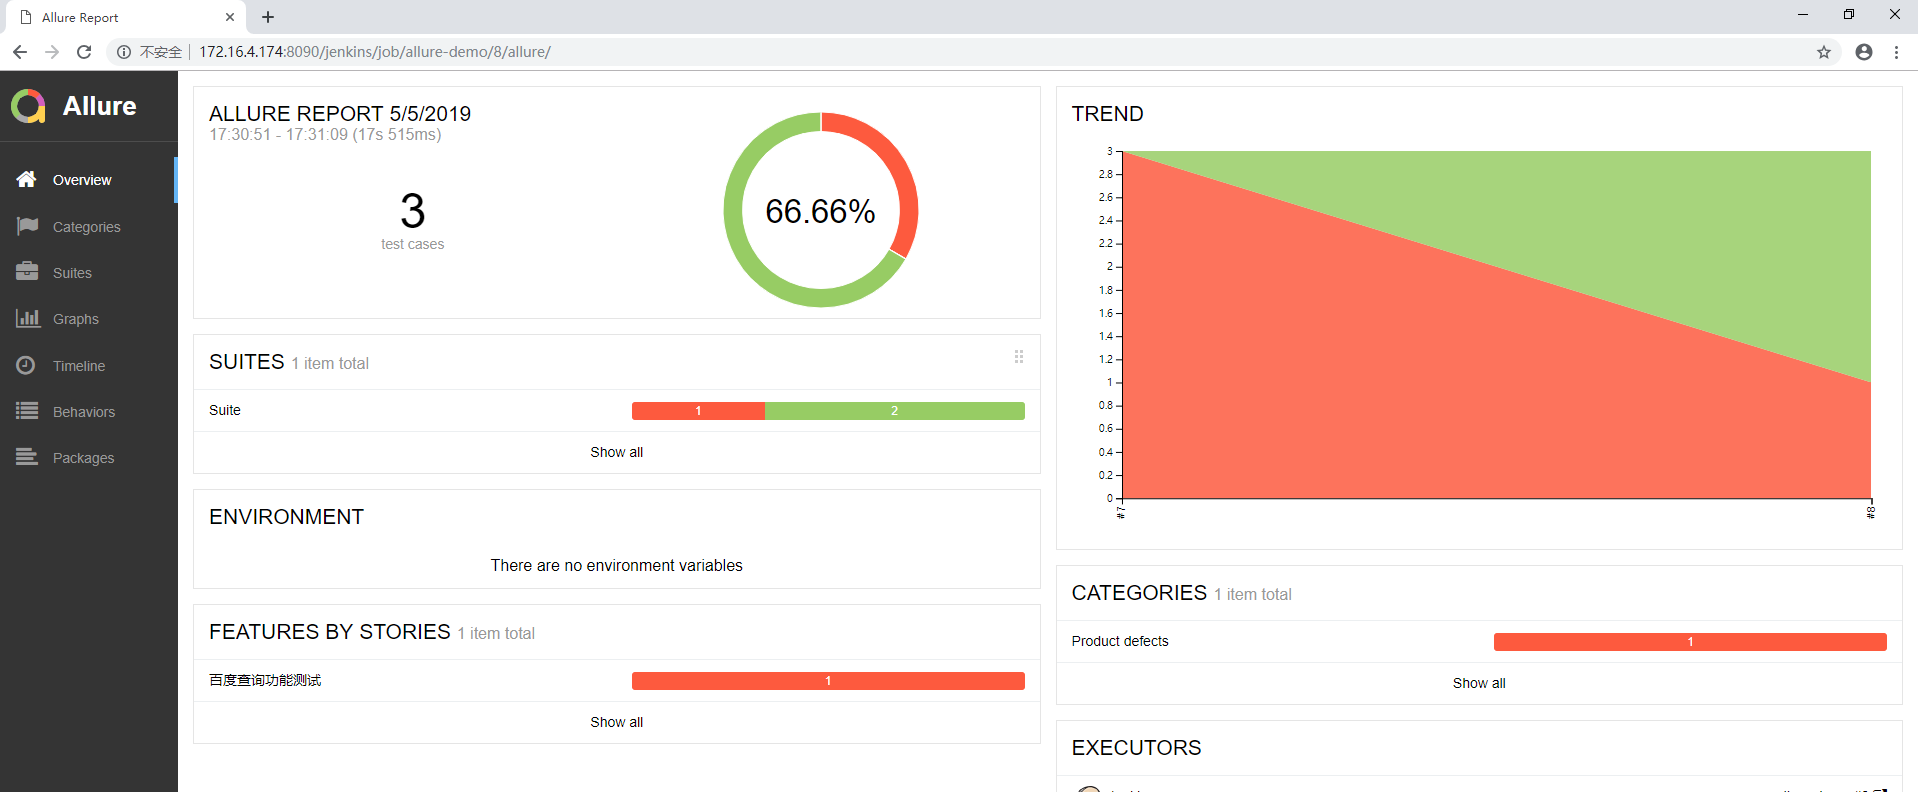
Allure(已經有allure2了,小編用的就是allure2),生成的測試報告與上述對比,簡直堪稱完美!先上個測試報告的圖表,給大家直覺感受下:

下面讓我們一起走進Allure的世界,跟上步伐,相信我這一切并不難
一、pom檔案部分
<?xml version="1.0" encoding="UTF-8"?>
<project xmlns="http://maven.apache.org/POM/4.0.0"
         xmlns:xsi="http://www.w3.org/2001/XMLSchema-instance"
         xsi:schemaLocation="http://maven.apache.org/POM/4.0.0 http://maven.apache.org/xsd/maven-4.0.0.xsd">
    <modelVersion>4.0.0</modelVersion>

    <groupId>allure-demo</groupId>
    <artifactId>allure-demo</artifactId>
    <version>1.0-SNAPSHOT</version>

    <properties>
        <allure.version>2.10.0</allure.version>
        <project.build.sourceEncoding>UTF-8</project.build.sourceEncoding>
        <java.version>1.8</java.version>
        <aspectj.version>1.9.2</aspectj.version>
        <suiteXmlFile>src/test/resources/suite/test-moudle/testng.xml</suiteXmlFile>
    </properties>

    <dependencies>

        <dependency>
            <groupId>selenium-server-standalone</groupId>
            <artifactId>selenium-server-standalone</artifactId>
            <version>3.9.1</version>
        </dependency>

        <dependency>
            <groupId>io.qameta.allure</groupId>
            <artifactId>allure-testng</artifactId>
            <version>${allure.version}</version>
            <scope>test</scope>
        </dependency>

        <dependency>
            <groupId>org.hamcrest</groupId>
            <artifactId>hamcrest-all</artifactId>
            <version>1.3</version>
            <scope>test</scope>
        </dependency>

        <dependency>
            <groupId>org.testng</groupId>
            <artifactId>testng</artifactId>
            <version>6.14.3</version>
        </dependency>

        <dependency>
            <groupId>io.qameta.allure</groupId>
            <artifactId>allure-java-commons</artifactId>
            <version>2.10.0</version>
        </dependency>
    </dependencies>
    <build>
        <plugins>
            <plugin>
                <groupId>org.apache.maven.plugins</groupId>
                <artifactId>maven-compiler-plugin</artifactId>
                <version>3.3</version>
                <configuration>
                    <source>1.8</source>
                    <target>1.8</target>
                    <encoding>UTF-8</encoding>
                </configuration>
            </plugin>
            <plugin>
                <groupId>org.apache.maven.plugins</groupId>
                <artifactId>maven-surefire-plugin</artifactId>
                <version>2.22.1</version>
                <configuration>
                    <argLine>
                        -javaagent:"${settings.localRepository}/org/aspectj/aspectjweaver/${aspectj.version}/aspectjweaver-${aspectj.version}.jar"
                    </argLine>
                    <suiteXmlFiles>
                        <!--該檔案位于工程根目錄時,直接填寫名字,其它位置要加上路徑-->
                        <suiteXmlFile>src/test/resources/testng.xml</suiteXmlFile>
                    </suiteXmlFiles>
                </configuration>
                <dependencies>
                    <dependency>
                        <groupId>org.aspectj</groupId>
                        <artifactId>aspectjweaver</artifactId>
                        <version>${aspectj.version}</version>
                    </dependency>
                </dependencies>
            </plugin>
        </plugins>
    </build>
    <reporting>
        <excludeDefaults>true</excludeDefaults>
        <plugins>
            <plugin>
                <groupId>io.qameta.allure</groupId>
                <artifactId>allure-maven</artifactId>
                <version>2.10.0</version>
                <configuration>
                    <reportVersion>${allure.version}</reportVersion>
                </configuration>
            </plugin>
        </plugins>
    </reporting>
</project>
二、安裝插件
在Jenkins插件管理中,搜尋Allure即可
三、安裝Allure Commandline
安裝完allure插件後,進入系統管理-->全局工具配置,安裝Allure Commandline
儲存即可
此時再通過Jenkins建構并執行測試代碼後,就可以看到Allure的測試報告了。以上,完成了Allure的基本配置。
四、Allure用法
1、注解:
我隻列舉一些常用的注解,其他的可以自行去官網查閱
//用例編号
    @TmsLink("562")
    //bug編号
    @Issue("4042")
    //bug嚴重等級,優先級,包含blocker, critical, normal, minor, trivial 幾個不同的等級
    @Severity(SeverityLevel.TRIVIAL)
    //用例描述
    @Description("測試一個流程,用作回歸冒煙測試")
添加@TmsLink, @Issue注解後,在allure report中會生成相應的連結,但是它是如何通路我們的缺陷管理系統以及用例管理系統給的呢,在官網文檔有說明。
檢視文檔發現,需要有一個配置檔案,将我們系統域名預先設定好,再将{}的内容使用注解進行替換,這樣就能通路到我們想範文的連接配接了。但是官方并沒有說明這個配置檔案的具體配置,好在官方有一些簡單的小demo可供産考;
這是官方的testng的demo位址https://github.com/allure-examples/allure-testng-example/tree/master/src/test/resources
可以看到它有一個檔案名叫做allure.properties
這是檔案的内容
allure.results.directory=target/allure-results
allure.link.issue.pattern=https://example.org/issue/{}
allure.link.tms.pattern=https://example.org/tms/{}
第一個應該是預設的輸出路徑,暫時未用到先不研究,将你需要通路的url替換就可以,比如:
allure.link.issue.pattern=http://jira.XXX.com/browse/{}
allure.link.tms.pattern=http://testlink.XXX.com/{}
這裡需要注意一點,allure.properties的位置必須是跟你路徑下的test同級否則會找不到這個檔案;
我用的是idea建立的maven項目
最終效果如下:
2、自動截圖
allure最吸引我的地方是,不用存到本地,它能将selenium的截圖放到report中
第一步:寫一個監聽類,當執行失敗自動截圖
package com.allure.demo;

import io.qameta.allure.Attachment;
import org.openqa.selenium.OutputType;
import org.openqa.selenium.TakesScreenshot;
import org.testng.ITestResult;
import org.testng.TestListenerAdapter;

public class TestFailListener extends TestListenerAdapter {

    @Override
    public void onTestFailure(ITestResult result) {
        screenshot();
    }

    @Attachment(value = "screen shot",type = "image/png")
    public byte[]  screenshot(){
        byte[] screenshotAs = ((TakesScreenshot)GetDriver.driver).getScreenshotAs(OutputType.BYTES);
        return screenshotAs;
    }

}
第二步:在測試類上,添加Listeners的注解
package com.allure.demo;

import io.qameta.allure.*;
import org.openqa.selenium.By;
import org.openqa.selenium.Keys;
import org.openqa.selenium.WebDriver;
import org.testng.Assert;
import org.testng.annotations.*;

import java.util.concurrent.TimeUnit;

@Epic("百度查詢功能測試")
@Feature("百度查詢功能")
@Listeners(TestFailListener.class)
public class AllureDemo {

    static WebDriver driver;
    static final int MAX_TIMEOUT_IN_SECONDS = 5;

    @BeforeClass
    public static void beforeClass() throws Exception {
        driver = new GetDriver().getDriver();
        String url = "https://www.baidu.com/";
        driver.manage().window().maximize();
        driver.manage().timeouts().implicitlyWait(MAX_TIMEOUT_IN_SECONDS, TimeUnit.SECONDS);
        driver.get(url);
    }

    //用例編号
    @TmsLink("562")
    //bug編号
    @Issue("4042")
    //bug嚴重等級,優先級,包含blocker, critical, normal, minor, trivial 幾個不同的等級
    @Severity(SeverityLevel.TRIVIAL)
    //用例描述
    @Description("測試一個流程,用作回歸冒煙測試")
    /**
     *功能塊,具有相同feature或astory的用例将規整到相同子產品下,執行時可用于篩選
     */
    @Story("查詢場景-正向查詢功能")
    @Test(description = "驗證百度查詢功能", dataProvider = "testDemo")
    public void testDemo(String key) throws Exception {
        driver.findElement(By.id("kw")).clear();
        driver.findElement(By.id("kw")).sendKeys(key, Keys.ENTER);
        Thread.sleep(3000);
        Assert.assertEquals(driver.getTitle(), key + "_百度搜尋");
        if (key.equals("java")){
            Assert.assertEquals(driver.getTitle(),"斷言失敗!");
        }
    }

    @AfterClass
    public static void tearDownAfterClass() {
        if (driver != null) {
            System.out.println("運作結束!");
            driver.quit();
        }
    }

    @DataProvider(name = "testDemo")
    public Object[][] testDemo() {
        return new Object[][]{
                {"軟體測試君"},
                {"refain 部落格園"},
                {"java"},
        };
    }

}
截圖效如下圖:
是不是很nice,還不動手試一試········
EOF
本文作者:久曲建的測試窩
本文連結:https://www.cnblogs.com/longronglang/p/10816871.html
關于部落客:評論和私信會在第一時間回複。或者直接私信我。
版權聲明:本部落格所有文章除特别聲明外,均采用 BY-NC-SA 許可協定。轉載請注明出處!
聲援部落客:如果您覺得文章對您有幫助,可以點選文章右下角【推薦】一下。您的鼓勵是部落客的最大動力!
優秀不夠,你是否無可替代