廢話不多說,直接講解實作步驟
一、首先我們需定義支援WEB HTTP方法調用的WCF服務契約及實作服務契約類(重點關注各attribute),代碼如下:
//IAddService.cs
namespace WcfService1
{
    [ServiceContract]
    public interface IAddService
    {
        [OperationContract]
        [WebInvoke(Method="POST",RequestFormat=WebMessageFormat.Json, ResponseFormat = WebMessageFormat.Json,BodyStyle=WebMessageBodyStyle.WrappedRequest)]
        int Add(int a,int b);
    }
}


//AddService.cs
namespace WcfService1
{
    [AspNetCompatibilityRequirements(RequirementsMode = AspNetCompatibilityRequirementsMode.Allowed)]
    public class AddService : IAddService
    {

        public int Add(int a, int b)
        {
            return a + b;
        }

    }
}
二、然後就是建立一個WCF服務縮主的svc檔案,方法有兩種:
1.在.NET FRAMEWORK 4.0以前,采用如下代碼:
<!--添加一個WCF服務檔案(如:AddService.svc),檔案内容修改成如下:-->
<%@ ServiceHost Language="C#" Debug="true" Service="WcfService1.AddService" %>


<!--配置WEB.CONFIG:-->
  <system.serviceModel>
    <serviceHostingEnvironment multipleSiteBindingsEnabled="true" />
    <bindings>
    </bindings>
    <behaviors>
      <serviceBehaviors>
        <behavior>
          <!-- 為避免洩漏中繼資料資訊,請在部署前将以下值設定為 false 并删除上面的中繼資料終結點 -->
          <serviceMetadata httpGetEnabled="true"/>
          <!-- 要接收故障異常詳細資訊以進行調試,請将以下值設定為 true。在部署前設定為 false 以避免洩漏異常資訊 -->
          <serviceDebug includeExceptionDetailInFaults="true"/>
        </behavior>
      </serviceBehaviors>
      <endpointBehaviors>
        <behavior name="AddServiceBehavior">
          <enableWebScript />
        </behavior>
      </endpointBehaviors>
    </behaviors>
    <services>
      <service name="WcfService1.AddService">
        <endpoint address=""  binding="webHttpBinding" contract="WcfService1.IAddService" behaviorConfiguration="AddServiceBehavior" ></endpoint>
      </service>
    </services>
  </system.serviceModel>
2.在.NET FRAMEWORK 4.0及以後,采用如下代碼:(無需建立SVC檔案,直接在WEB.CONFIG檔案中指定一個位址,重點關注:serviceHostingEnvironment 節點)
<system.serviceModel>
    <bindings>
    </bindings>
    <behaviors>
      <serviceBehaviors>
        <behavior>
          <!-- 為避免洩漏中繼資料資訊,請在部署前将以下值設定為 false 并删除上面的中繼資料終結點 -->
          <serviceMetadata httpGetEnabled="true"/>
          <!-- 要接收故障異常詳細資訊以進行調試,請将以下值設定為 true。在部署前設定為 false 以避免洩漏異常資訊 -->
          <serviceDebug includeExceptionDetailInFaults="true"/>
        </behavior>
      </serviceBehaviors>
    </behaviors>
    <serviceHostingEnvironment aspNetCompatibilityEnabled="true">
      <serviceActivations>
        <add relativeAddress="AddService.svc" service="WcfService1.AddService" factory="System.ServiceModel.Activation.WebScriptServiceHostFactory"/>
      </serviceActivations>
    </serviceHostingEnvironment>
  </system.serviceModel>
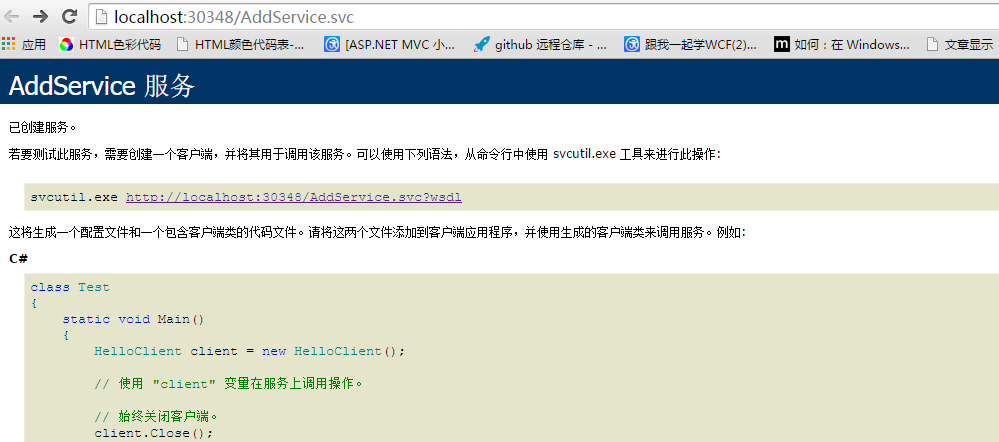
建立好後,直接運作該工程,出現如下畫面則表示運作成功:
三、在同工程下新增一個WEB頁面(格式不限,ASPX,HTML都可以),然後實作WEB用戶端調用WCF服務的代碼,我這裡分為兩種方式來完成,一是采用原生的XMLHttpRequest來調用,二是采用jQuery.ajax來調用,其内部原理相同,在此隻是為了讓大家更清楚一些。
采用原生的XMLHttpRequest來調用代碼如下:
//簡單封裝一下:
        var $ = function (id) {
            return document.getElementById(id);
        };


        //擷取原生的XMLHttpRequest對象
        function getXMLHTTPRequest() {
            var req = false;
            try {
                req = new XMLHttpRequest();
            } catch (err) {
                try {
                    req = new ActiveXObject("Msxml2.XMLHTTP");
                } catch (err) {
                    try {
                        req = new ActiveXObject("Microsoft.XMLHTTP");
                    } catch (err) {
                        req = false;
                    }
                }
            }
            return req;
        }

        $("btnGet").onclick = function () {

            var xmlhttp = getXMLHTTPRequest();
            xmlhttp.open("POST", "http://localhost:30348/AddService.svc/Add", true);
            xmlhttp.setRequestHeader("Content-type", "application/json");
            xmlhttp.onreadystatechange = function () {
                if (xmlhttp.readyState == 4 && xmlhttp.status == 200) {
                    var r = JSON.parse(xmlhttp.responseText);
                    $("result").value = r.d;
                }
            };
            xmlhttp.send('{"a":' + $("num1").value + ',"b":' + $("num2").value + '}');
        }
采用jQuery.ajax來調用代碼如下:
var jq = jQuery.noConflict();
        jq("#btnGet").click(function () {
            alert("click");
            jq.ajax("http://localhost:30348/AddService.svc/Add", {
                type: "POST",
                //dataType: "json",
                contentType: "application/json",
                data: '{"a":' + jq("#num1").val() + ',"b":' + jq("#num2").val() + '}',
                //data: 'a=' + jq("#num1").val() + '&b=' + jq("#num2").val(),
                success: function (data) {
                    jq("#result").val(data.d);
                },
                error: function (x, textStatus, errorThrown) {
                    alert(textStatus);
                }
            });
        });
最終實作效果如下:

特别說明,以上實作隻支援在同一域名下進行調用,跨域調用則會報錯,下次我将分享跨域調用WCF服務的方法,敬請期待,不足之處,歡迎指出,謝謝!