為什麼要使用https協定
因為不用協定的話,https
用戶端需要修改配置,如果docker
用戶端多的話配置起來就很麻煩。docker
版本資訊
- OS:
CentOS Linux 7.6 Release
- Docker:
18.09.6
- Docker-compose:
1.24.1
- Harbor:
harbor-offline-installer-v1.9.0
- IP:
172.0.0.11
1. 安裝docker
1.1 配置repository:
yum install -y yum-utils device-mapper-persistent-data lvm2
yum-config-manager --add-repo https://download.docker.com/linux/centos/docker-ce.repo
1.2 安裝最新版本docker-ce
yum install -y docker-ce 1.3 配置docker加速
- 參考docker.hub: https://www.daocloud.io/mirror
curl -sSL https://get.daocloud.io/daotools/set_mirror.sh | sh -s http://f1361db2.m.daocloud.io
systemctl restart docker.service
1.4 啟動docker:
systemctl start docker
systemctl enable docker
2. 安裝docker-compose
2.1 下載下傳二進制檔案
curl -L "https://github.com/docker/compose/releases/download/1.24.1/docker-compose-$(uname -s)-$(uname -m)" -o /usr/local/bin/docker-compose - 如果需要安裝其他版本的話,請修改上面指令中的版本号。
2.2 賦予二進制檔案可執行權限
chmod +x /usr/local/bin/docker-compose
ln -s /usr/local/bin/docker-compose /usr/bin/docker-compose
2.3 根據自己的情況決定是否安裝指令補全功能
yum install -y bash-completion
curl -L https://raw.githubusercontent.com/docker/compose/1.24.1/contrib/completion/bash/docker-compose -o /etc/bash_completion.d/docker-compose
2.4 測試是否安裝成功
docker-compose --version 3. harbor開啟https
- 如果使用
1.8
1.9
https
port
3.1 建立 ca
ca
mkdir -p /data/cert
cd /data/cert
3.2 生成 CA
key
CA
key
cd /data/cert
openssl genrsa -out ca.key 4096
3.3 生成 CA
crt
CA
crt
cd /data/cert
openssl req -x509 -new -nodes -sha512 -days 3650 \
    -subj "/C=CN/ST=Beijing/L=Beijing/O=chinatelecom/OU=ecloudcaas/CN=172.0.0.11" \
    -key ca.key \
    -out ca.crt
3.4 生成自己域名的 key
key
cd /data/cert
openssl genrsa -out 172.0.0.11.key 4096
3.5 生成自己域名的 csr
csr
cd /data/cert
openssl req -sha512 -new \
    -subj "/C=CN/ST=Beijing/L=Beijing/O=chinatelecom/OU=ecloudcaas/CN=172.0.0.11" \
    -key 172.0.0.11.key \
    -out 172.0.0.11.csr
3.6 生成一個 openssl
openssl
主要是subjectAltName,這裡寫的IP.1=yourip還可以寫DNS.1=yourdomainname
cd /data/cert
cat > v3.ext <<-EOF
authorityKeyIdentifier=keyid,issuer
basicConstraints=CA:FALSE
keyUsage = digitalSignature, nonRepudiation, keyEncipherment, dataEncipherment
extendedKeyUsage = serverAuth
subjectAltName = @alt_names
[alt_names]
IP=172.0.0.11
EOF
3.7 通過 ext
csr
crt
ext
csr
crt
cd /data/cert
openssl x509 -req -sha512 -days 3650 \
    -extfile v3.ext \
    -CA ca.crt -CAkey ca.key -CAcreateserial \
    -in 172.0.0.11.csr \
    -out 172.0.0.11.crt
3.8 将服務端的 crt
cert
crt
cert
cd /data/cert
openssl x509 -inform PEM -in 172.0.0.11.crt -out 172.0.0.11.cert
3.9 将帶域名的 cert
key
ca.crt
/etc/docker/certs.d/yourdomain/
cert
key
ca.crt
/etc/docker/certs.d/yourdomain/
mkdir -p /etc/docker/cert/172.0.0.11
cp /data/cert/172.0.0.11.cert /etc/docker/cert/172.0.0.11/
cp /data/cert/172.0.0.11.key /etc/docker/cert/172.0.0.11/
cp /data/cert/ca.crt /etc/docker/cert/172.0.0.11/
3.10 建立 /etc/docker/daemon
/etc/docker/daemon
cat > /etc/docker/daemon.json << EOF
{ "insecure-registries":["http://172.0.0.11"] }
EOF
3.11 重新開機 docker
docker
systemctl daemon-reload
systemctl restart docker
4. 安裝 Harbor
Harbor
4.1 下載下傳 harbor
harbor
mkdir -p /home/harbor/
wget -P /home/harbor/ https://storage.googleapis.com/harbor-releases/release-1.9.0/harbor-offline-installer-v1.9.0.tgz
cd /home/harbor/
tar xf harbor-offline-installer-v1.9.0.tgz
cd /home/harbor/harbor
cp harbor.yml harbor.yml.bak
4.2 修改配置檔案
- 其他地方不修改,隻改以下幾處:
cd /home/harbor/harbor/
[root@harbor harbor]# egrep -v "^#|^$" harbor.yml|grep -v "#"
https:
   port: 443
   certificate: /home/harbor/cert/172.0.0.11.crt
   private_key: /home/harbor/cert/172.0.0.11.key
4.3 更新參數
cd /home/harbor/harbor/
./prepare
4.4 安裝
cd /home/harbor/harbor/
./install
4.5 檢視
-
Harbor
docker-compose
Harbor
docker
docker ps
docker-compose
cd /home/harbor/harbor/
[root@harbor harbor]# docker-compose ps
       Name                     Command                       State                                        Ports
----------------------------------------------------------------------------------------------------------------------------------------------
harbor-adminserver   /harbor/start.sh                 Restarting
harbor-core          /harbor/start.sh                 Up (health: starting)
harbor-db            /entrypoint.sh postgres          Up (healthy)            5432/tcp
harbor-jobservice    /harbor/start.sh                 Up
harbor-log           /bin/sh -c /usr/local/bin/ ...   Up (healthy)            127.0.0.1:1514->10514/tcp
harbor-portal        nginx -g daemon off;             Up (healthy)            80/tcp
nginx                nginx -g daemon off;             Up (healthy)            0.0.0.0:443->443/tcp, 0.0.0.0:4443->4443/tcp, 0.0.0.0:80->80/tcp
redis                docker-entrypoint.sh redis ...   Up                      6379/tcp
registry             /entrypoint.sh /etc/regist ...   Up (healthy)            5000/tcp
registryctl          /harbor/start.sh                 Up (healthy)
[root@harbor harbor]#
5. 網頁登入和建立項目
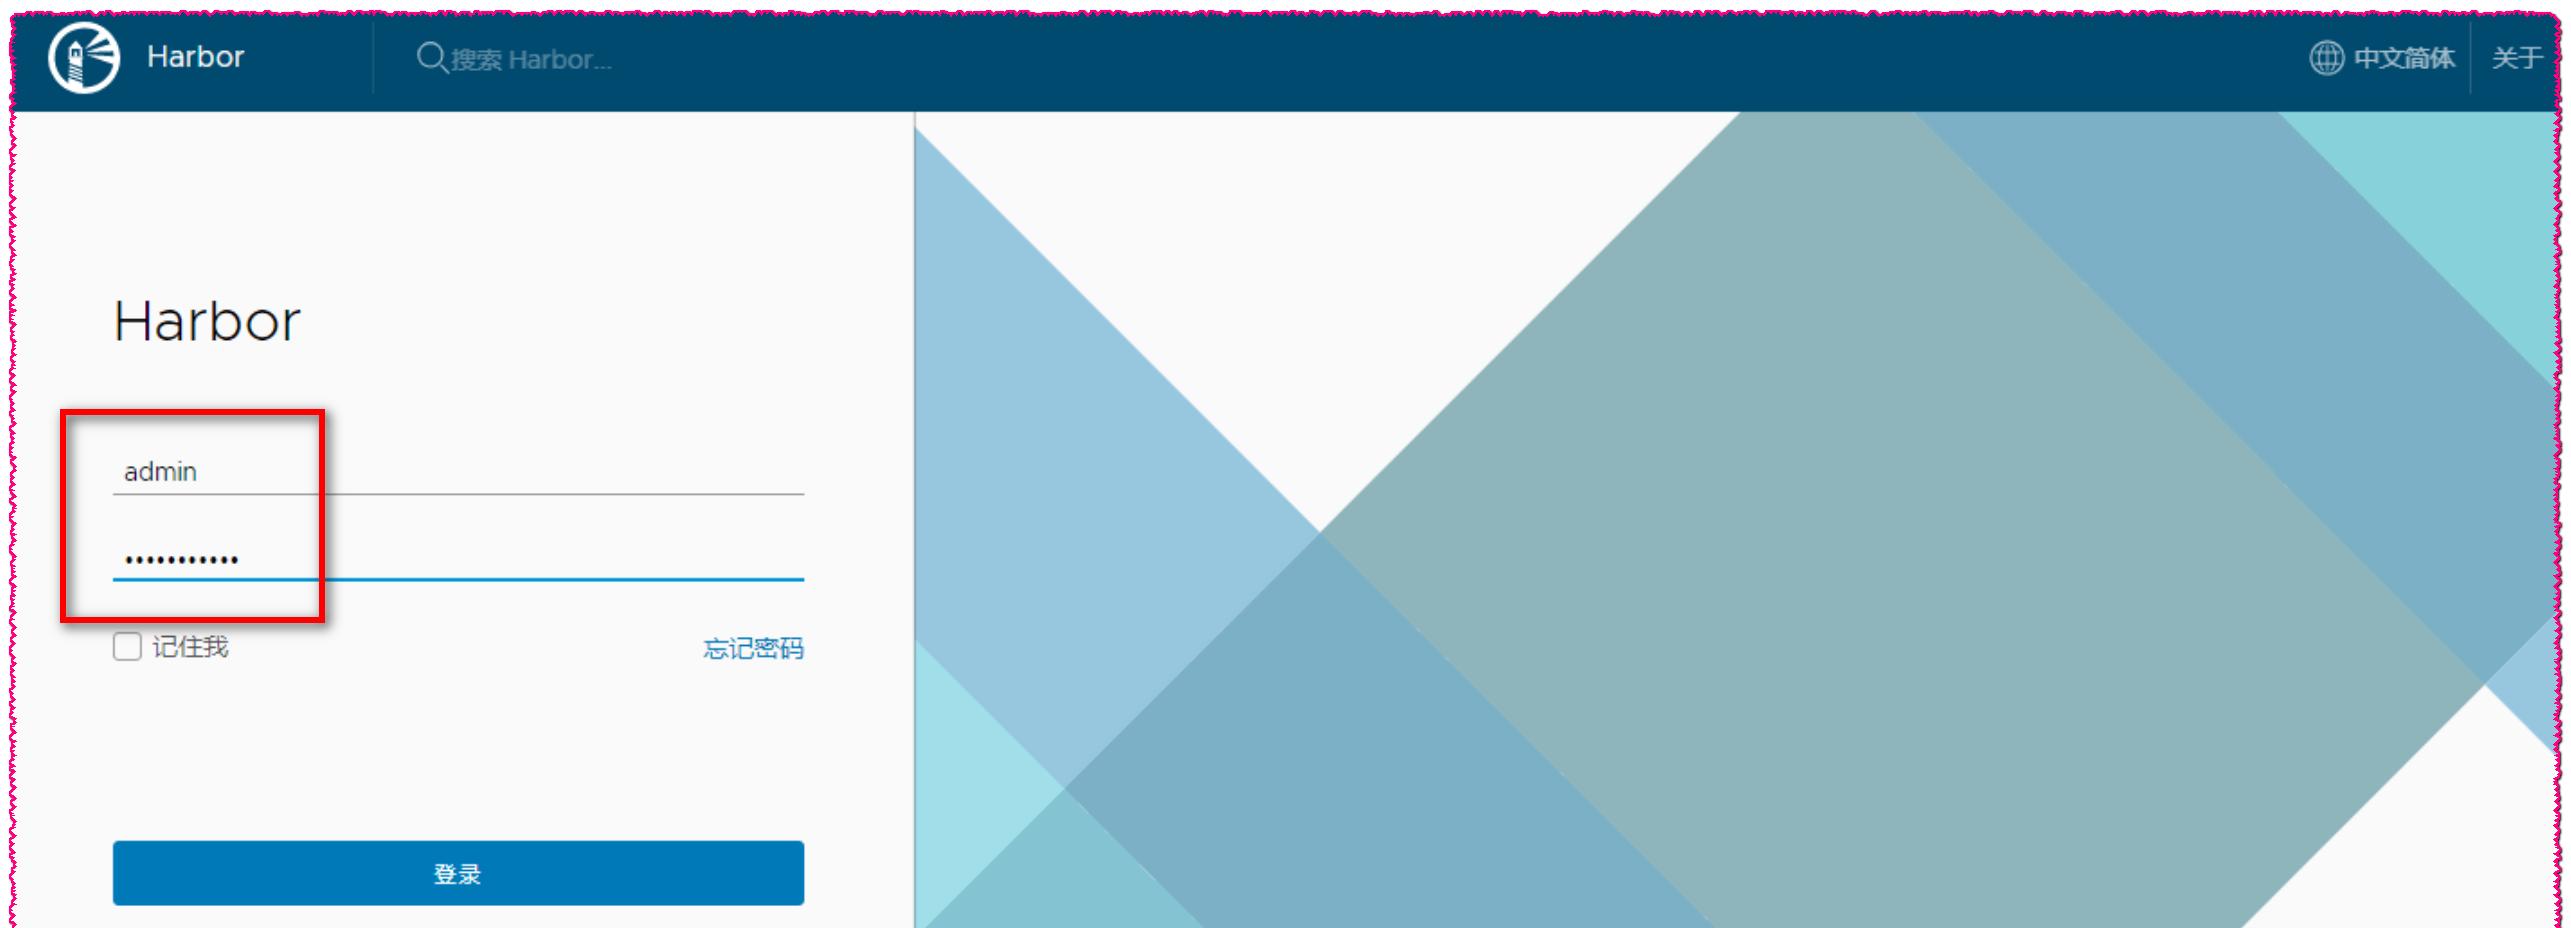
- 在浏覽器輸入:
https://172.0.0.11
- 預設賬号密碼:
admin / Harbor12345
- 建立一個項目:
os
Harbor1.9 部署并配置https

6. 鏡像的推送
6.1 下載下傳官方的 centos
centos
docker pull centos:7.4.1708 6.2 修改 TAG
TAG
docker tag centos:7.4.1708 172.0.0.11/os/centos:7.4.1708
docker images | grep centos
172.0.0.11/os/centos           7.4.1708            3afd47092a0e        2 months ago        197MB
centos                           7.4.1708            3afd47092a0e        2 months ago        197MB
6.3 指令行登入 harbor
harbor
cat > /etc/docker/daemon.json << EOF
{ "insecure-registries":["http://172.0.0.11"] }
EOF
systemctl daemon-reload
systemctl restart docker
[root@harbor harbor]# docker login 172.0.0.11
Username: admin
Password: Harbor12345
WARNING! Your password will be stored unencrypted in /root/.docker/config.json.
Configure a credential helper to remove this warning. See
https://docs.docker.com/engine/reference/commandline/login/#credentials-store
Login Succeeded
6.4 推送鏡像到harbor(需要login)
docker push 172.0.0.11/os/centos:7.4.1708 6.5 在 harbor
harbor
7. 鏡像的拉取
- 假設是一台沒有登入此
harbor
docker
7.1 建立 /etc/docker/daemon.json
/etc/docker/daemon.json
{
  "registry-mirrors": ["https:mirror.ccs.tencentyun.com","https://kuamavit.mirror.aliyuncs.com", "https://registry.docker-cn.com", "https://docker.mirrors.ustc.edu.cn"],
  "insecure-registries" : ["http://172.0.0.11"],
  "max-concurrent-downloads": 10,
  "log-driver": "json-file",
  "log-level": "warn",
  "log-opts": {
    "max-size": "10m",
    "max-file": "3"
    }
}
7.2 重新開機Docker生效
systemctl daemon-reload
systemctl restart docker
7.3 拉取 harbor
harbor
docker login 172.0.0.11
docker pull 172.0.0.11/os/centos:7.4.1708