1、配置啟動腳本
version: '3.1'
services:
  gitlab-ce:
    image: 'gitlab/gitlab-ce:latest'
    container_name: gitlab-ce
    restart: always
    hostname: 'gitlab.localhost.com'
    environment:
      GITLAB_OMNIBUS_CONFIG: |
        external_url 'http://192.168.31.109'
# external_url是項目生成時的字首域名
    ports:
      - '80:80'
      - '443:443'
      - '10022:22'
    volumes:
      - '/root/gitlab-ce/home/config:/etc/gitlab'
      - '/root/gitlab-ce/home/logs:/var/log/gitlab'
      - '/root/gitlab-ce/home/data:/var/opt/gitlab'
    networks:
      - 'default'

  gitlab-runner:
    image: 'gitlab/gitlab-runner:latest'
    container_name: gitlab-runner
    depends_on:
      - 'gitlab-ce'
    restart: always
    volumes:
      - '/root/gitlab-ce/runnerconfig:/etc/gitlab-runner'
      - '/var/run/docker.sock:/var/run/docker.sock'
    networks:
      - 'default'
    links:
      - 'gitlab-ce:gitlab.localhost.com'

networks:
  default:
    driver: 'bridge'
兩個容器使用gitlab.localhost.com一個域名,以便在注冊runner時可以通路網絡
2、注冊runner
docker-compose exec gitlab-runner /bin/bash # 連接配接進入 gitlab-runner 容器
gitlab-runner register # 進入容器後執行的指令
Please enter the gitlab-ci coordinator URL (e.g. https://gitlab.com/):
http://gitlab.localhost.com # gitlab 的通路路徑
Please enter the gitlab-ci token for this runner:
JLP2Rk2qcUZEfs_WLrTv # 注冊令牌,在 gitlab 中擷取
Please enter the gitlab-ci description for this runner:
[gitlab-runner]: test_runner # runner 的名字
Please enter the gitlab-ci tags for this runner (comma separated):
test # runner 的 tag
Registering runner... succeeded runner=JLP2Rk2q
Please enter the executor: docker-ssh, parallels, docker+machine, docker-ssh+machine, docker, shell, ssh, virtualbox, kubernetes:
docker # 使用 docker 作為輸出模式
Please enter the default Docker image (e.g. ruby:2.1):
alpine:latest # 使用的基礎鏡像
Runner registered successfully. Feel free to start it, but if it's running already the config should be automatically reloaded!
############################# 注冊成功後會顯示以上資訊,然後執行下面的指令進行啟動 ###################################
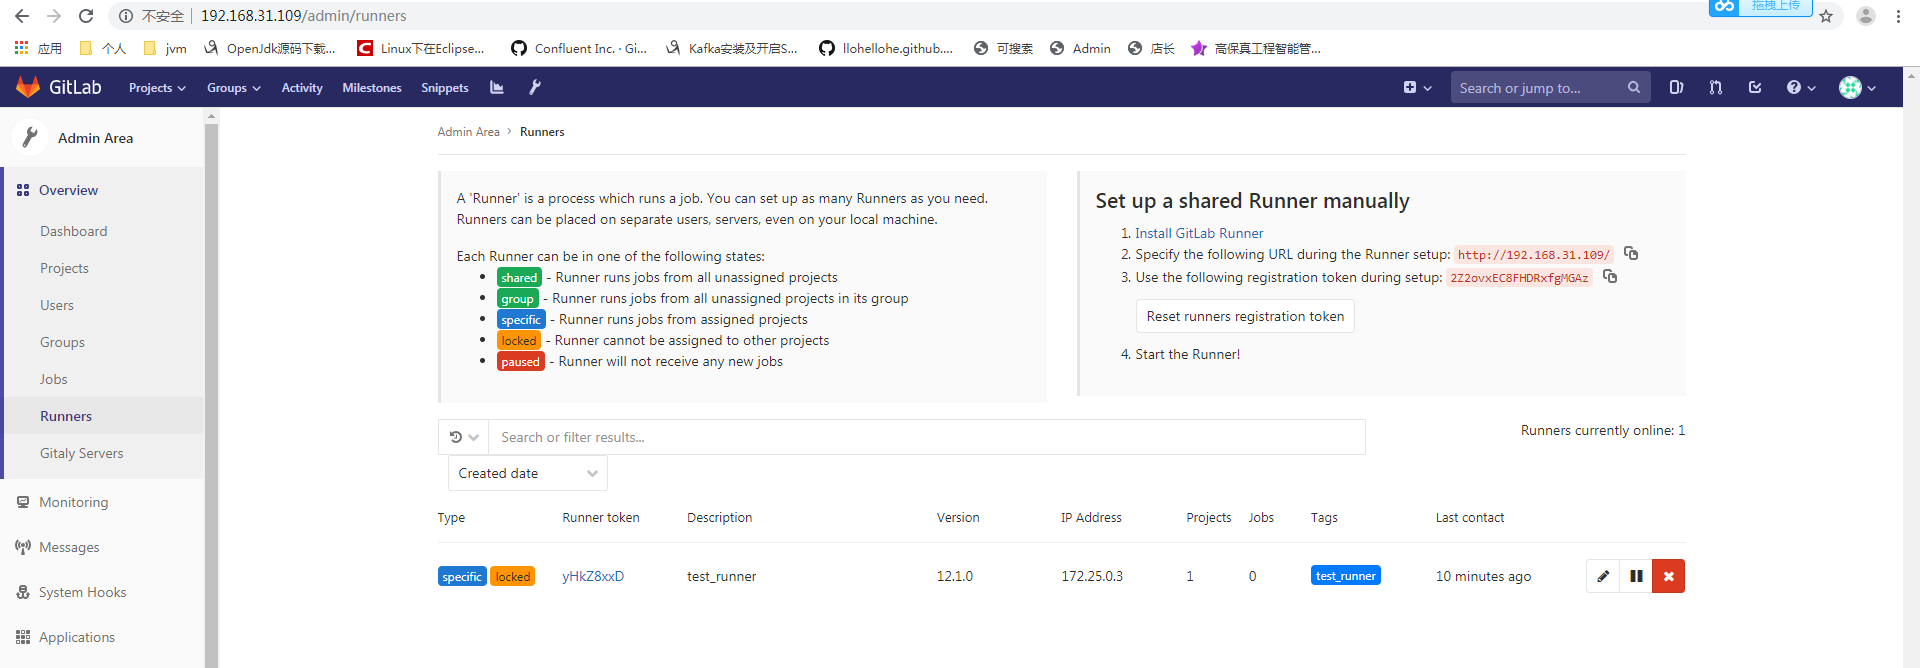
gitlab-runner start # 啟動該 runner 3、檢查runner狀态
![1.Linux指令行使用技巧[圖]](data:image/gif;base64,R0lGODlhAQABAIAAAP///wAAACwAAAAAAQABAAACAkQBADs=)