Django預設使用SQLite作為資料庫,配置檔案在settings.py
讓我們來看一下
"""
Django settings for test1 project.

Generated by 'django-admin startproject' using Django 2.1.4.

For more information on this file, see
https://docs.djangoproject.com/en/2.1/topics/settings/

For the full list of settings and their values, see
https://docs.djangoproject.com/en/2.1/ref/settings/
"""

import os

# Build paths inside the project like this: os.path.join(BASE_DIR, ...)
BASE_DIR = os.path.dirname(os.path.dirname(os.path.abspath(__file__)))


# Quick-start development settings - unsuitable for production
# See https://docs.djangoproject.com/en/2.1/howto/deployment/checklist/

# SECURITY WARNING: keep the secret key used in production secret!
SECRET_KEY = 'm5e#rg35zpd6m+ms*(rv0prfw#(()suuily9jr((-9dlq5b(j1'

# SECURITY WARNING: don't run with debug turned on in production!
DEBUG = True

ALLOWED_HOSTS = []


# Application definition

INSTALLED_APPS = [
    'django.contrib.admin',
    'django.contrib.auth',
    'django.contrib.contenttypes',
    'django.contrib.sessions',
    'django.contrib.messages',
    'django.contrib.staticfiles',
]

MIDDLEWARE = [
    'django.middleware.security.SecurityMiddleware',
    'django.contrib.sessions.middleware.SessionMiddleware',
    'django.middleware.common.CommonMiddleware',
    'django.middleware.csrf.CsrfViewMiddleware',
    'django.contrib.auth.middleware.AuthenticationMiddleware',
    'django.contrib.messages.middleware.MessageMiddleware',
    'django.middleware.clickjacking.XFrameOptionsMiddleware',
]

ROOT_URLCONF = 'test1.urls'

TEMPLATES = [
    {
        'BACKEND': 'django.template.backends.django.DjangoTemplates',
        'DIRS': [os.path.join(BASE_DIR, 'templates')]
        ,
        'APP_DIRS': True,
        'OPTIONS': {
            'context_processors': [
                'django.template.context_processors.debug',
                'django.template.context_processors.request',
                'django.contrib.auth.context_processors.auth',
                'django.contrib.messages.context_processors.messages',
            ],
        },
    },
]

WSGI_APPLICATION = 'test1.wsgi.application'


# Database
# https://docs.djangoproject.com/en/2.1/ref/settings/#databases

DATABASES = {
    'default': {
        'ENGINE': 'django.db.backends.sqlite3',
        'NAME': os.path.join(BASE_DIR, 'db.sqlite3'),
    }
}


# Password validation
# https://docs.djangoproject.com/en/2.1/ref/settings/#auth-password-validators

AUTH_PASSWORD_VALIDATORS = [
    {
        'NAME': 'django.contrib.auth.password_validation.UserAttributeSimilarityValidator',
    },
    {
        'NAME': 'django.contrib.auth.password_validation.MinimumLengthValidator',
    },
    {
        'NAME': 'django.contrib.auth.password_validation.CommonPasswordValidator',
    },
    {
        'NAME': 'django.contrib.auth.password_validation.NumericPasswordValidator',
    },
]


# Internationalization
# https://docs.djangoproject.com/en/2.1/topics/i18n/

LANGUAGE_CODE = 'en-us'

TIME_ZONE = 'UTC'

USE_I18N = True

USE_L10N = True

USE_TZ = True


# Static files (CSS, JavaScript, Images)
# https://docs.djangoproject.com/en/2.1/howto/static-files/

STATIC_URL = '/static/'
我們可以看到其中的
DATABASES = {
    'default': {
        'ENGINE': 'django.db.backends.sqlite3',
        'NAME': os.path.join(BASE_DIR, 'db.sqlite3'),
    }
}
就是預設的配置了,預設配置的SQLite資料庫并不需要添加其它的東西
但是由于我們要使用Mysql/mariadb,是以我們要配置一些其他的東西,例如資料庫位址、端口等
如何配置Mysql/Mariadb資料庫
首先我們需要安裝合适的database bindings,這裡我們選擇安裝PyMySQL
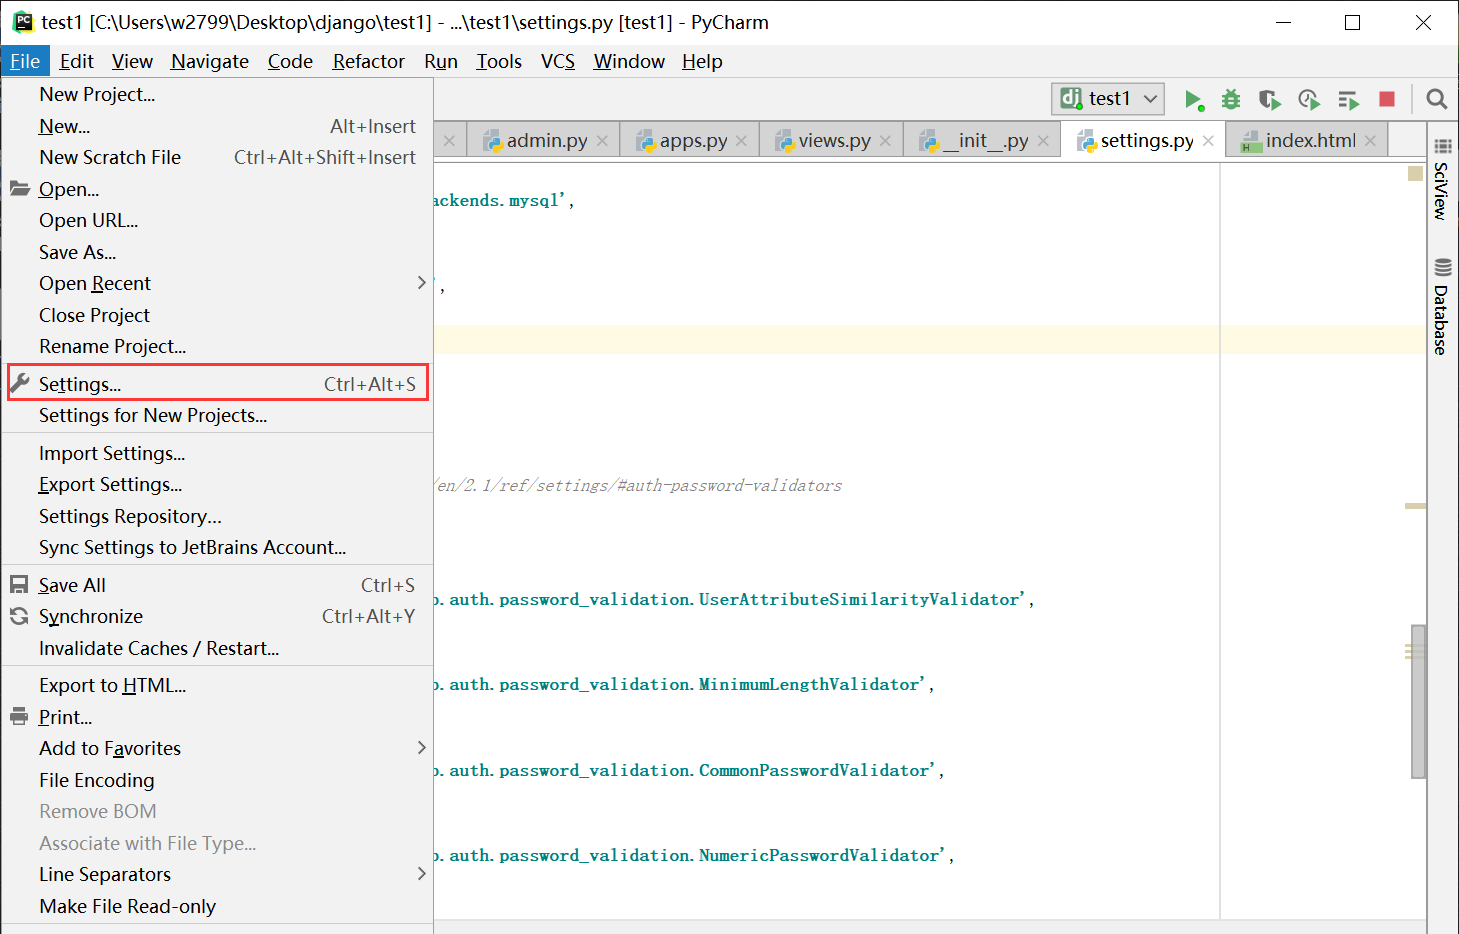
打開設定

選擇project
最上面我們可以選擇使用本機安裝的那個Python,點選右邊的加号即可添加其它的包
點選+号,搜尋pymysql,點選添加即可
安裝成功示意
接下來我們要在外層的__init__.py檔案中寫入如下代碼
import pymysql

pymysql.install_as_MySQLdb()
最後配置settings.py中的DATABASES部分就可以了
DATABASES = {
    'default': {
        'ENGINE': 'django.db.backends.mysql',
        'NAME': 'test',
        'USER': 'root',
        'PASSWORD':'密碼',
        'HOST':'localhost',
        'PORT':'3306',
    }
}
各項配置解釋
ENGINE資料庫引擎,可選項'django.db.backends.sqlite3','django.db.backends.postgresql','django.db.backends.mysql',或
'django.db.backends.oracle'等
資料庫的名字
USER資料庫使用者名
PASSWORD資料庫密碼
HOST資料庫位址
PORT資料庫端口
修改時間
Django預設使用的是UTC時間,如果不修改的話在之後的使用中可能會遇到一些問題,是以這裡不要忘記修改一下時間
修改settings.py檔案中的TIME_ZONE即可
TIME_ZONE = 'UTC'
改為
TIME_ZONE = 'Asia/Shanghai'
測試資料庫是否成功連接配接
進入外層目錄也就是manage.py所在的目錄,cmd指令行下執行以下指令
python manage.py migrate 出現如下指令,并且檢視資料庫建立了一些表,說明配置是正确的
注:生成的表可能不一樣這個與settings.py 檔案和每個應用的資料庫遷移檔案有關