
执行 1
sudo yum install -y curl policycoreutils-python openssh-server
sudo systemctl enable sshd
sudo systemctl start sshd
sudo firewall-cmd --permanent --add-service=http
sudo firewall-cmd --permanent --add-service=https
sudo systemctl reload firewalld
如果遇到
原因是
由于yum命令一次只能下载一个软件,所以当你需要下载第二个软件包的时候,系统会用进程锁锁定yum解决办法:rm -f /var/run/yum.pid 将该文件删除,然后再次运行yum
执行后再执行1
执行 2
#安装 Postfix并开机启动 启用
sudo yum install postfix
sudo systemctl enable postfix
sudo systemctl start postfix
执行 3
curl https://packages.gitlab.com/install/repositories/gitlab/gitlab-ee/script.rpm.sh | sudo bash
执行 4 执行安装
说明EXTERNAL_URL的内容为访问的地址需配置对
这步很重要
sudo EXTERNAL_URL="https://192.168.1.112" yum install -y gitlab-ee
这步下载需等待
如果启动后访问遇到502
需要修改端口
sudo gitlab-ctl stop
sudo vim /etc/gitlab/gitlab.rb
增加或修改
external_url 'http://192.168.56.136:1890'
gitlab_workhorse['auth_backend'] = "http://localhost:8081"
unicorn['port'] = 8081
更新配置
gitlab-ctl reconfigure
重启
sudo gitlab-ctl start
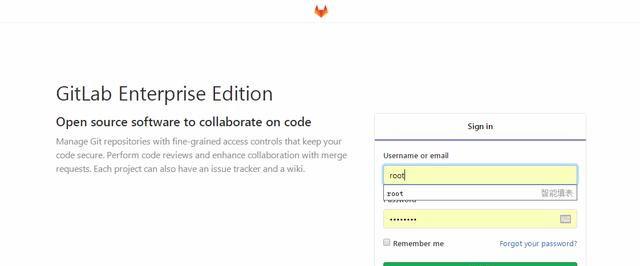
启动成功首先是设置密码
启动成功默认用户是root,密码是首次进去设置的
其他命令
设置开机启动
systemctl enable gitlab-runsvdir.service
修改配置后的初始化
gitlab-ctl reconfigure
启动sudo gitlab-ctl start
停止sudo gitlab-ctl stop
重启sudo gitlab-ctl restart
禁止开机自启动
systemctl disable gitlab-runsvdir.service
防火墙命令
1.查看状态
systemctl status firewalld.service
2.关闭
systemctl stop firewalld.service
3.禁止开机启动
systemctl disable firewalld.service