一:概述
百度百科对于此的解释是:GitLab 是一个用于仓库管理系统的开源项目,使用Git作为代码管理工具,并在此基础上搭建起来的Web服务。
二:准备和安装
我这里是通过yum下载,如果要是使用默认镜像下载的话,会非常的慢,我们需要把yum源换成清华的,以下是准备步骤:
1.新建一个文件,用于yum下载gitlab的配置:
# vim /etc/yum.repos.d/gitlab-ce.repo

[gitlab-ce]
name=Gitlab CE Repository
baseurl=https://mirrors.tuna.tsinghua.edu.cn/gitlab-ce/yum/el$releasever/
gpgcheck=0
enabled=1
2.更新完gitlab的yum源,需要更新一下
# yum makecache
3.安装社区版的gitlab
# yum install gitlab-ce
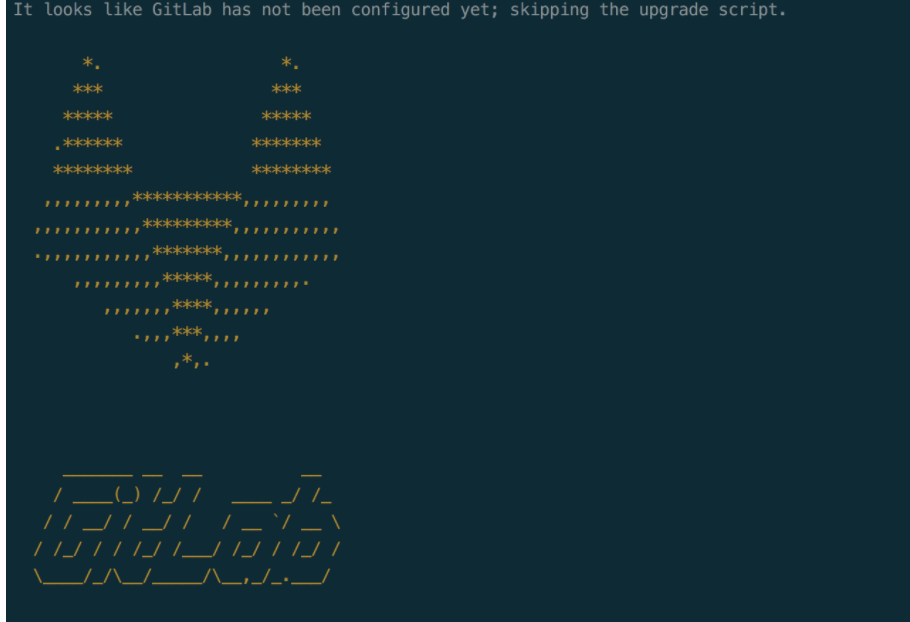
看到如下界面说明安装成功:
4.修改gitlab服务的ip为本机ip:port
# vim /etc/gitlab/gitlab.rb

5.刷新gitlab配置并重启gitlab
# gitlab-ctl reconfigure
# gitlab-ctl restart
三:访问
通过ip:port即可进入gitlab首页,进入后root用户需要重置密码,完成后登录即可
四:注意和总结
一:访问
1.如果你输入ip没有响应的话,就是firewall防火墙的http服务端口未打开。如果你配置了https的话还需要打开443端口,打开指令如下:
# firewall-cmd --permanent --add-service=http
2.重新加载
# firewall-cmd --reload
3.如果嫌弃麻烦不知道要开放哪些端口,也可以直接关闭firewall并禁用开机自启:
# systemctl stop firewalld
# systemctl disable firewalld
二:踩坑
有时候服务器已有nginx,所以gitlab的自带的nginx端口号冲突,需要修改端口号,编辑配置文件,将监听的端口listen改为"*:gitlab端口",与本机事先装好的nginx区分。接着重新加载配置重启gitlab即可
# vim /var/opt/gitlab/nginx/conf/gitlab-http.conf
三:gitlab常用命令
# gitlab-ctl reconfigure                            # 重新编译配置
# gitlab-ctl start                                  # 启动
# gitlab-ctl stop                                   # 停止
# gitlab-ctl restart                                # 重启
# gitlab-ctl status                                 # 查看状态
# vim /etc/gitlab/gitlab.rb                         # 修改配置
# gitlab-rake gitlab:check SANITIZE=true --trace    # 检查gitlab
# gitlab-ctl tail                                   # 查看日志
# gitlab-ctl tail nginx/gitlab_access.log