Step1、相关软件下载地址
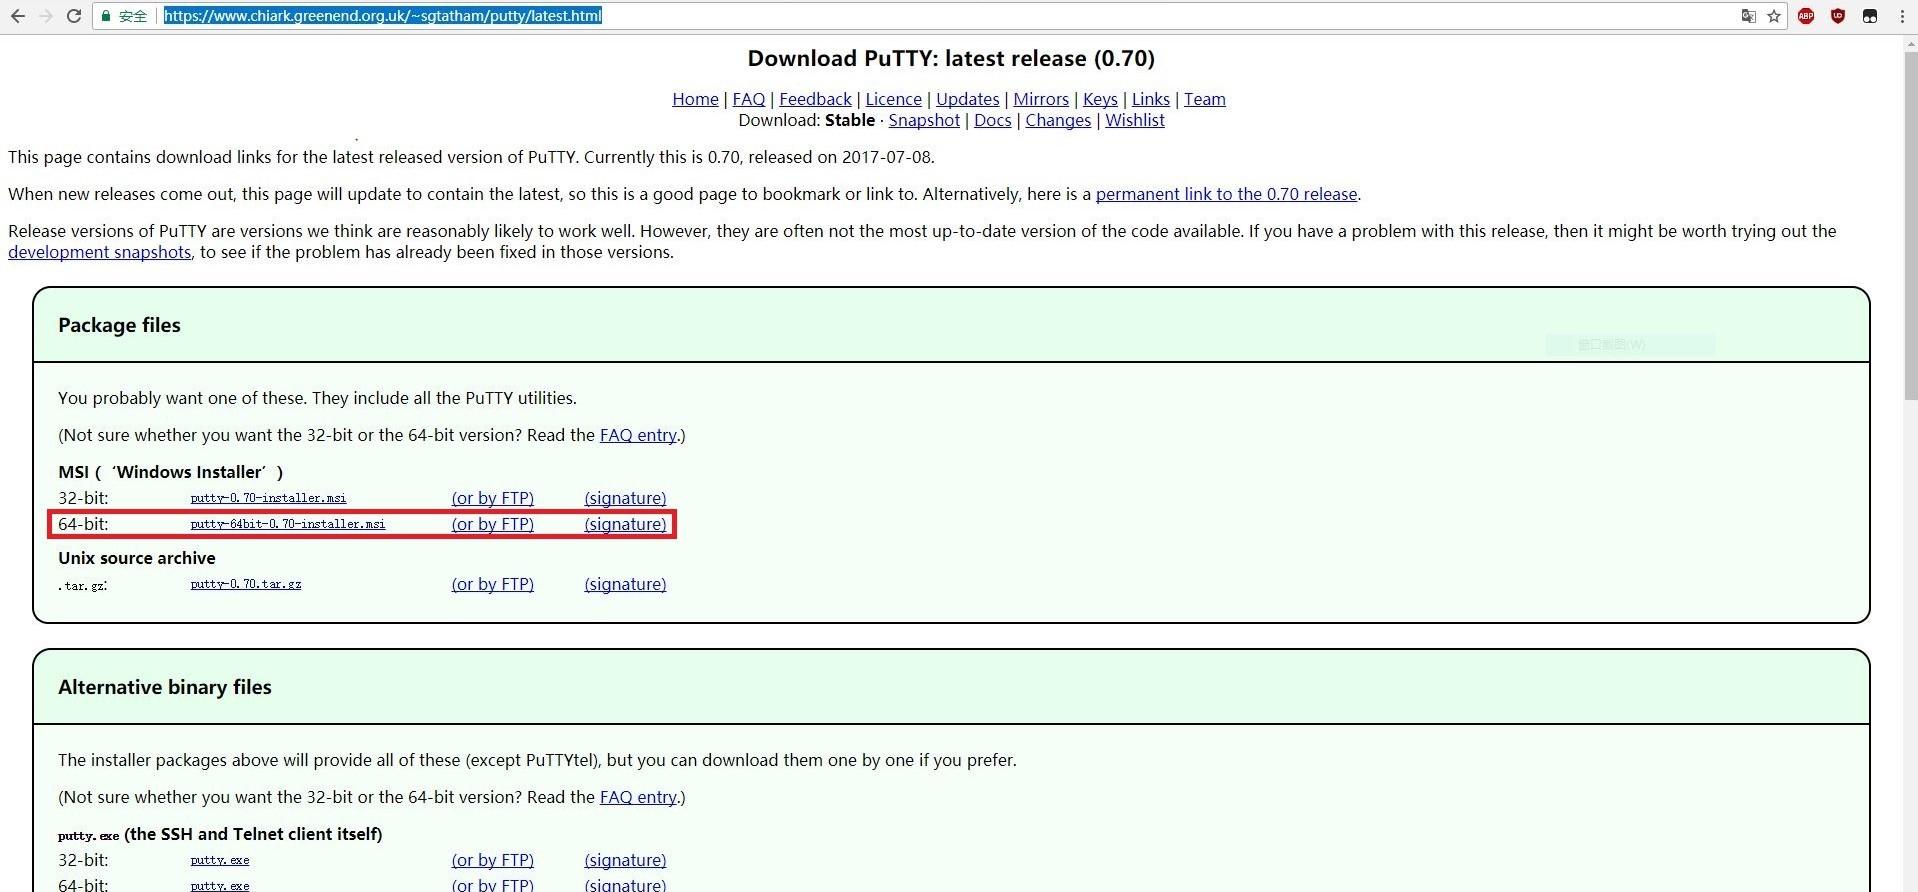
Putty:
下载界面图
 12月13日笔记 远程连接Centos7系统mkdir /root/.sshchmod 700 /root/.sshvi /root/.ssh/authorized_keys
 标红框那个
Xshell5:
下载已经做好的便携版,官网安装版有试用期限。
 12月13日笔记 远程连接Centos7系统mkdir /root/.sshchmod 700 /root/.sshvi /root/.ssh/authorized_keys
 注意便携版的xshell运行会报错,需要用补丁
出错示意图
12月13日笔记 远程连接Centos7系统mkdir /root/.sshchmod 700 /root/.sshvi /root/.ssh/authorized_keys 解决Initialize Flexnet Service failed / Error code: 50003补丁
备注:不要下载1326版Xshell5,有严重漏洞。
Step2、软件使用
没啥好说的基本傻瓜式操作。host name输入你的centos7的网络地址即可,端口改了的话跟着改,真实场景为了安全一般都要改。
12月13日笔记 远程连接Centos7系统mkdir /root/.sshchmod 700 /root/.sshvi /root/.ssh/authorized_keys 首次连接保存下key,选是即可。
12月13日笔记 远程连接Centos7系统mkdir /root/.sshchmod 700 /root/.sshvi /root/.ssh/authorized_keys 跟虚拟机中操作一样了,注意不要再putty连接的界面中改IP否则会中断连接。
12月13日笔记 远程连接Centos7系统mkdir /root/.sshchmod 700 /root/.sshvi /root/.ssh/authorized_keys 感觉好单调,不如Xshell好玩,但他是免费的,Xshell和CRT你都是在用X版,有法律风险。
Xshell5
界面美观
12月13日笔记 远程连接Centos7系统mkdir /root/.sshchmod 700 /root/.sshvi /root/.ssh/authorized_keys 一样的
12月13日笔记 远程连接Centos7系统mkdir /root/.sshchmod 700 /root/.sshvi /root/.ssh/authorized_keys 相关的选型要一并改,字体大小14,就是上面那个2个A的按钮。其他先维持默认,玩熟了再改。比如说加个记录操作日志。
Step3.配置密钥连接
只玩Xshell了,putty太单调了
1、生成密钥
工具》》生成密钥向导
12月13日笔记 远程连接Centos7系统mkdir /root/.sshchmod 700 /root/.sshvi /root/.ssh/authorized_keys 12月13日笔记 远程连接Centos7系统mkdir /root/.sshchmod 700 /root/.sshvi /root/.ssh/authorized_keys 生成后自己保存一份公钥到桌面
2、在服务器上保存密钥
敲命令
把刚那串公钥复制进去
前面加个##,标注下是什么东东的密钥,以后加多了容易忘。
3、登陆时选密钥登陆。
12月13日笔记 远程连接Centos7系统mkdir /root/.sshchmod 700 /root/.sshvi /root/.ssh/authorized_keys 这里个人有个疑问,如果不写root会怎样,恳请牛人指导。
登进去啦!!!
12月13日笔记 远程连接Centos7系统mkdir /root/.sshchmod 700 /root/.sshvi /root/.ssh/authorized_keys 本文转自 whytl 51CTO博客,原文链接:http://blog.51cto.com/11934539/2050465