主機環境 redhat6.5 64位
實驗環境 服務端1 ip 172.25.29.1 主機名:server1.example.com iscsi apache
服務端2 ip 172.25.29.2 主機名:server2.example.com iscsi apache
管理端1 ip 172.25.29.3 主機名:server3.example.com scsi
防火牆狀态:關閉
前面的博文已經寫過高可用叢集的搭建,現在就不再重複了。這次就以鋪設apche和iscsi業務為例,來測試搭建的高可用叢集。
在搭建業務之前要保證安裝了httpd服務(服務端1和服務端2)
1.安裝、開啟scsi(管理端)
[root@server3 ~]# yum install scsi* -y #安裝scsi
[root@server3 ~]# vim /etc/tgt/targets.conf #修改配置檔案
38 <target iqn.2008-09.com.example:server.target1>
39 backing-store /dev/vdb #共享磁盤的名稱
40 initiator_address 172.25.29.1 #位址
41 initiator-address 172.25.29.2
42</target>
[root@server3 ~]# /etc/init.d/tgtd start #開啟tgtd
Starting SCSI target daemon: [ OK ]
[root@server3 ~]# tgt-admin -s #檢視
Target 1:iqn.2008-09.com.example:server.target1
System information:
Driver: iscsi
State: ready
I_T nexus information:
LUN information:
LUN: 0
Type: controller
SCSI ID: IET 00010000
SCSI SN: beaf10
Size: 0 MB, Block size: 1
Online: Yes
Removable media: No
Prevent removal: No
Readonly: No
Backing store type: null
Backing store path: None
Backing store flags:
LUN: 1
Type: disk
SCSI ID: IET 00010001
SCSI SN: beaf11
Size: 4295 MB, Block size: 512
Backing store type: rdwr
Backing store path: /dev/sda #磁盤
Account information:
ACL information:
172.25.29.1 #1p
172.25.29.2
2.安裝、開啟iscsi、将共享分區分成邏輯卷(服務端1)
[root@server1 ~]# yum install iscsi* -y #安裝iscsi
[root@server1 ~]# iscsiadm -m discovery -tst -p 172.25.29.3 #檢視
Starting iscsid: [ OK ]
172.25.29.3:3260,1iqn.2008-09.com.example:server.target1
[root@server1 ~]# iscsiadm -m node -l
Logging in to [iface: default, target:iqn.2008-09.com.example:server.target1, portal: 172.25.29.3,3260] (multiple)
Login to [iface: default, target: iqn.2008-09.com.example:server.target1,portal: 172.25.29.3,3260] successful.
[root@server1 ~]# pvcreate /dev/sda #分成實體邏輯單元
Physical volume "/dev/sda" successfully created
[root@server1 ~]# pvs
PV VG Fmt Attr PSize PFree
/dev/sda lvm2 a-- 4.00g 4.00g
/dev/vda2 VolGroup lvm2 a-- 8.51g 0
/dev/vdb1 VolGroup lvm2 a-- 8.00g 0
[root@server1 ~]# vgcreate clustervg/dev/sda #組成邏輯卷組
Clustered volume group "clustervg" successfully created
[root@server1 ~]# lvcreate -l 1023 -n democlustervg #用lvm分區
Logical volume "demo" created
[root@server1 ~]# lvs
LV VG Attr LSize Pool Origin Data% Move LogCpy%Sync Convert
lv_root VolGroup -wi-ao---- 15.61g
lv_swap VolGroup -wi-ao----920.00m
demo clustervg -wi-a----- 4.00g
[root@server1 ~]# mkfs.ext4/dev/clustervg/demo #格式化
mke2fs 1.41.12 (17-May-2010)
Filesystem label=
OS type: Linux
Block size=4096 (log=2)
Fragment size=4096 (log=2)
Stride=0 blocks, Stripe width=0 blocks
262144 inodes, 1047552 blocks
52377 blocks (5.00%) reserved for the superuser
First data block=0
Maximum filesystem blocks=1073741824
32 block groups
32768 blocks per group, 32768 fragments pergroup
8192 inodes per group
Superblock backups stored on blocks:
32768,98304, 163840, 229376, 294912, 819200, 884736
Writing inode tables: done
Creating journal (16384 blocks): done
Writing superblocks and filesystemaccounting information: done
This filesystem will be automaticallychecked every 32 mounts or
180 days, whichever comes first. Use tune2fs -c or -i to override.
[root@server1 /]# mount /dev/clustervg/demo/mnt/ #将磁盤挂載到mnt上
[root@server1 mnt]# vim index.html #寫個簡單的測試頁
server1
[root@server1 /]# umount /mnt/ #解除安裝
#服務端2
[root@server2 ~]# yum install iscsi* -y #安裝iscsi
[root@server2 ~]# iscsiadm -m discovery -tst -p 172.25.29.3 #檢視
[root@server2 ~]# iscsiadm -m node -l
服務端2不用作修改,将分區化成lvm,服務端1上的分區會同步到服務端2上,但可用用指令檢視是否同步如[root@server2 ~]# lvs
lv_root VolGroup -wi-ao---- 7.61g
demo clustervg -wi-a----- 4.00g
pvs 、vgs等的都可以檢視
[root@server3 ~]# /etc/init.d/luci start #将luci開啟
Starting saslauthd: [ OK ]
Start luci... [ OK ]
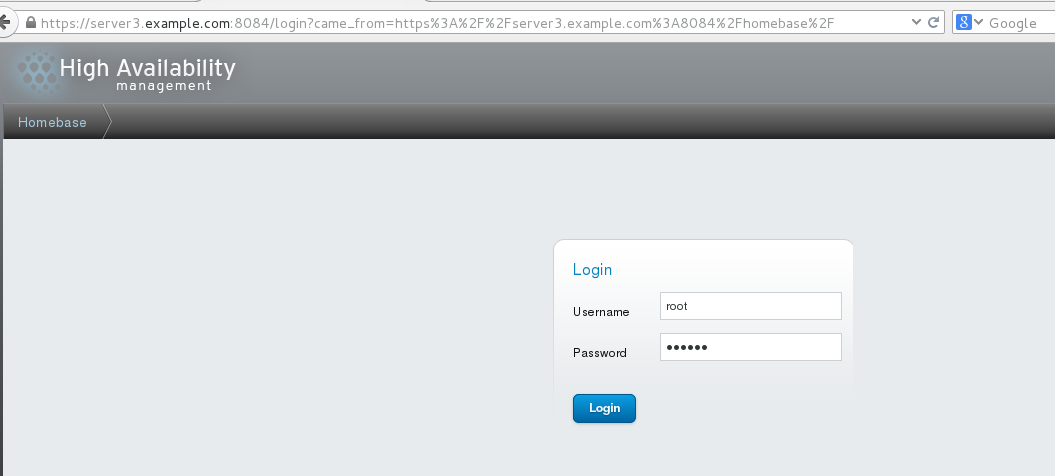
Point your web browser tohttps://server3.example.com:8084 (or equivalent) to access luci
3.在搭建好的叢集上添加服務(雙機熱備),以apche和iscsi為例
1.添加服務 這裡采用的是雙機熱備
登陸https://server3.example.com:8084
選擇Failover Domains,如圖,填寫Name,如圖選擇,前面打勾的三個分别是結點失效之後可以跳到另一個結點、隻服務運作指定的結點、當結點失效之跳到另一個結點之後,原先的結點恢複之後,不會跳回原先的結點。下面的Member打勾,是指服務運作server1.example.com和server2.exampe.com結點,後面的Priority值越小,優先級越高,選擇Creale

選擇Resourcs,點選Add,選擇添加IPAddress如圖,添加的ip必須是未被占用的ip,24是子網路遮罩的位數,10指的是等待時間為10秒。選擇Submit
以相同的方法添加Script,httpd是服務的名字,/etc/init.d/httpd是服務啟動腳本的路徑,選擇Submit
添加Resource,類型為Filesystem,如圖,
選擇Service Groups,點選Add如圖,apache是服務的名字,下面兩個勾指分别的是
自動開啟服務、運作 ,選擇Add Resource
選擇172.25.29.100/24之後,如圖點選Add Resource
選擇先選擇webdata之後,點選Add Resource再選擇httpd,點選Submit,完成
2.測試
在測試之前 server1和server2必須安裝httpd。注意:不要開啟httpd服務,在通路的時候,會自動開啟(如果在通路之前開啟了服務,通路的時候會報錯)
測試 172.25.29.100(vip)
[root@server1~]# ip addr show #檢視
1:lo: <LOOPBACK,UP,LOWER_UP> mtu 16436 qdisc noqueue state UNKNOWN
link/loopback 00:00:00:00:00:00 brd00:00:00:00:00:00
inet 127.0.0.1/8 scope host lo
inet6 ::1/128 scope host
valid_lft forever preferred_lft forever
2:eth0: <BROADCAST,MULTICAST,UP,LOWER_UP> mtu 1500 qdisc pfifo_fast stateUP qlen 1000
link/ether 52:54:00:94:2f:4f brdff:ff:ff:ff:ff:ff
inet 172.25.29.1/24 brd 172.25.29.255 scopeglobal eth0
inet 172.25.29.100/24 scope globalsecondary eth0 #自動添加了ip 172.25.29.100
inet6 fe80::5054:ff:fe94:2f4f/64 scope link
[root@server1~]# clustat #檢視服務
ClusterStatus for wen @ Tue Sep 27 18:12:38 2016
MemberStatus: Quorate
Member Name ID Status
------ ---- ---- ------
server1.example.com 1 Online, Local,rgmanager
server2.example.com 2 Online, rgmanager
Service Name Owner (Last) State
------- ---- ----- ------ -----
service:apache server1.example.com started #serve1在服務
[root@server1~]# /etc/init.d/network stop #當網絡斷開之後,fence控制server1自動斷電,然後啟動;服務轉到server2
測試
[root@server2~]# ip addr show #檢視
link/ether 52:54:00:23:81:98 brdff:ff:ff:ff:ff:ff
inet172.25.29.2/24 brd 172.25.29.255 scope global eth0
inet 172.25.29.100/24 scope globalsecondary eth0 #自動添加
inet6 fe80::5054:ff:fe23:8198/64 scope link
附加:
将iscsi分區的格式換稱gfs2格式,再做lvm的拉伸如下:
[root@server1~]# clustat #檢視服務
ClusterStatus for wen @ Tue Sep 27 18:22:20 2016
------- ---- ----- ------ ------
service:apache server2.example.com started #server2服務
[root@server1 /]# clusvcadm -d apache #将apache disaled掉
Local machine disablingservice:apache...Success
[root@server1 /]# lvremove/dev/clustervg/demo #删除裝置
Do you really want to remove activeclustered logical volume demo? [y/n]: y
Logical volume "demo" successfully removed
[root@server1 /]# lvcreate -L 2g -n democlustervg #重新指定裝置的大小
[root@server1 /]# mkfs.gfs2 -p lock_dlm -twen:mygfs2 -j 3 /dev/clustervg/demo #格式化(類型:gfs2)
This will destroy any data on/dev/clustervg/demo.
It appears to contain: symbolic link to`../dm-2'
Are you sure you want to proceed? [y/n] y
Device: /dev/clustervg/demo
Blocksize: 4096
Device Size 2.00 GB (524288 blocks)
Filesystem Size: 2.00 GB (524288 blocks)
Journals: 3
Resource Groups: 8
Locking Protocol: "lock_dlm"
Lock Table: "wen:mygfs2"
UUID: 10486879-ea8c-3244-a2cd-00297f342973
[root@server1 /]# mount /dev/clustervg/demo/mnt/ #将裝置挂載到/mnt
[root@server1 mnt]# vim index.html #寫簡單的測試頁
www.server.example.com
[root@server2 /]# mount /dev/clustervg/demo/mnt/ #将裝置挂載到/mnt(服務端2)
[root@server2 /]# cd /mnt/
[root@server2 mnt]# ls
index.html
[root@server2 mnt]# cat index.html
[root@server2 mnt]# vim index.html
[root@server2 mnt]# cat index.html #修改測試頁
www.server2.example.com
[root@server1 mnt]# cat index.html #檢視(服務端1),實作了實時同步
[root@server1 mnt]# cd ..
[root@server1 /]# umount /mnt/
[root@server1 /]# vim /etc/fstab #設定開機自動挂載
UUID="10486879-ea8c-3244-a2cd-00297f342973"/var/www/html gfs2 _netdev 0 0
[root@server1 /]# mount -a #重新整理
[root@server1 /]# df #檢視
Filesystem 1K-blocks Used Available Use% Mounted on
/dev/mapper/VolGroup-lv_root 16106940 10258892 5031528 68% /
tmpfs 961188 31816 929372 4% /dev/shm
/dev/vda1 495844 33457 436787 8% /boot
/dev/mapper/clustervg-demo 2096912 397152 1699760 19% /var/www/html #挂載上了
[root@server1 /]# clusvcadm -e apache #eabled apache
Local machine trying to enableservice:apache...Service is already running
在測試之前,将上面在ServiceGroups中添加的Filesystem移除掉,在進行測試(如果不移除,系統就會報錯)
[root@server1 /]# lvextend -l +511/dev/clustervg/demo #在檔案系統層面擴充裝置的大小
Extending logical volume demo to 4.00 GiB
Logical volume demo successfully resized
[root@server1 /]# gfs2_grow/dev/clustervg/demo #在實體層面進行擴充
FS: Mount Point: /var/www/html
FS: Device: /dev/dm-2
FS: Size: 524288 (0x80000)
FS: RG size: 65533 (0xfffd)
DEV: Size: 1047552 (0xffc00)
The file system grew by 2044MB.
gfs2_grow complete.
[root@server1 /]# df -lh #檢視大小
Filesystem Size Used Avail Use% Mounted on
/dev/mapper/VolGroup-lv_root 16G 9.8G 4.8G 68% /
tmpfs 939M 32M 908M 4% /dev/shm
/dev/vda1 485M 33M 427M 8% /boot