引言
前段時間調整了一下 iTerm2 的環境,感覺比以前好看多了,并且更加高效,這裡做一個記錄,希望能給大家一些啟發,同時也是想以後能根據此文章快速複現"貝貝貓-iTerm2-Style"。
工具介紹
- brew:Mac OS 下強大的包管理軟體。
- iTerm2:iTerm2是 Mac OS 終端的替代品,也是iTerm的繼承者。iTerm2将終端帶入了"隻有想不到,沒有做不到"的時代。
- zsh:zsh 是 shell 語言類型,相容bash,提供強大的互動式指令行功能,比如 tab 補全,自動糾錯功能等。但是有一個很大的缺點,就是配置太麻煩。
- oh-my-zsh:管理 zsh 配置的架構,隻需要簡單的改改配置檔案,就能讓 zsh 用的很順手。
本文叙述的内容主要就圍繞這這幾款在 Mac OS 下比較流行的工具,brew 幫我們安裝一些需要的包,iTerm2 是我們的 shell 終端程式,zsh 給我們極佳的指令行互動體驗,oh-my-zsh 幫我們更加友善的配置 zsh。
安裝步驟
安裝 brew
/usr/bin/ruby -e "$(curl -fsSL https://raw.githubusercontent.com/Homebrew/install/master/install)" 如果上述代碼失效,可以參考
官網。
在安裝本文所述的所有軟體時,可能會因為國内通路國外資源網絡比較慢,而效率低下。是以對于那些有代理伺服器的朋友,可以在每條指令前加一句,我這裡的 ss 代理,開放的本地端口是10808。當然您也可以執行ALL_PROXY=socks5://127.0.0.1:10808
,使其作用于整個 shell session。export ALL_PROXY=socks5://127.0.0.1:10808
安裝 & 配置 iTerm2
安裝
brew tap homebrew/cask-fonts
brew cask install iterm2
安裝成功後在 Launchpad 中可以看到 iTerm2 的應用圖示出現,打開 iTerm2。
配置顔色
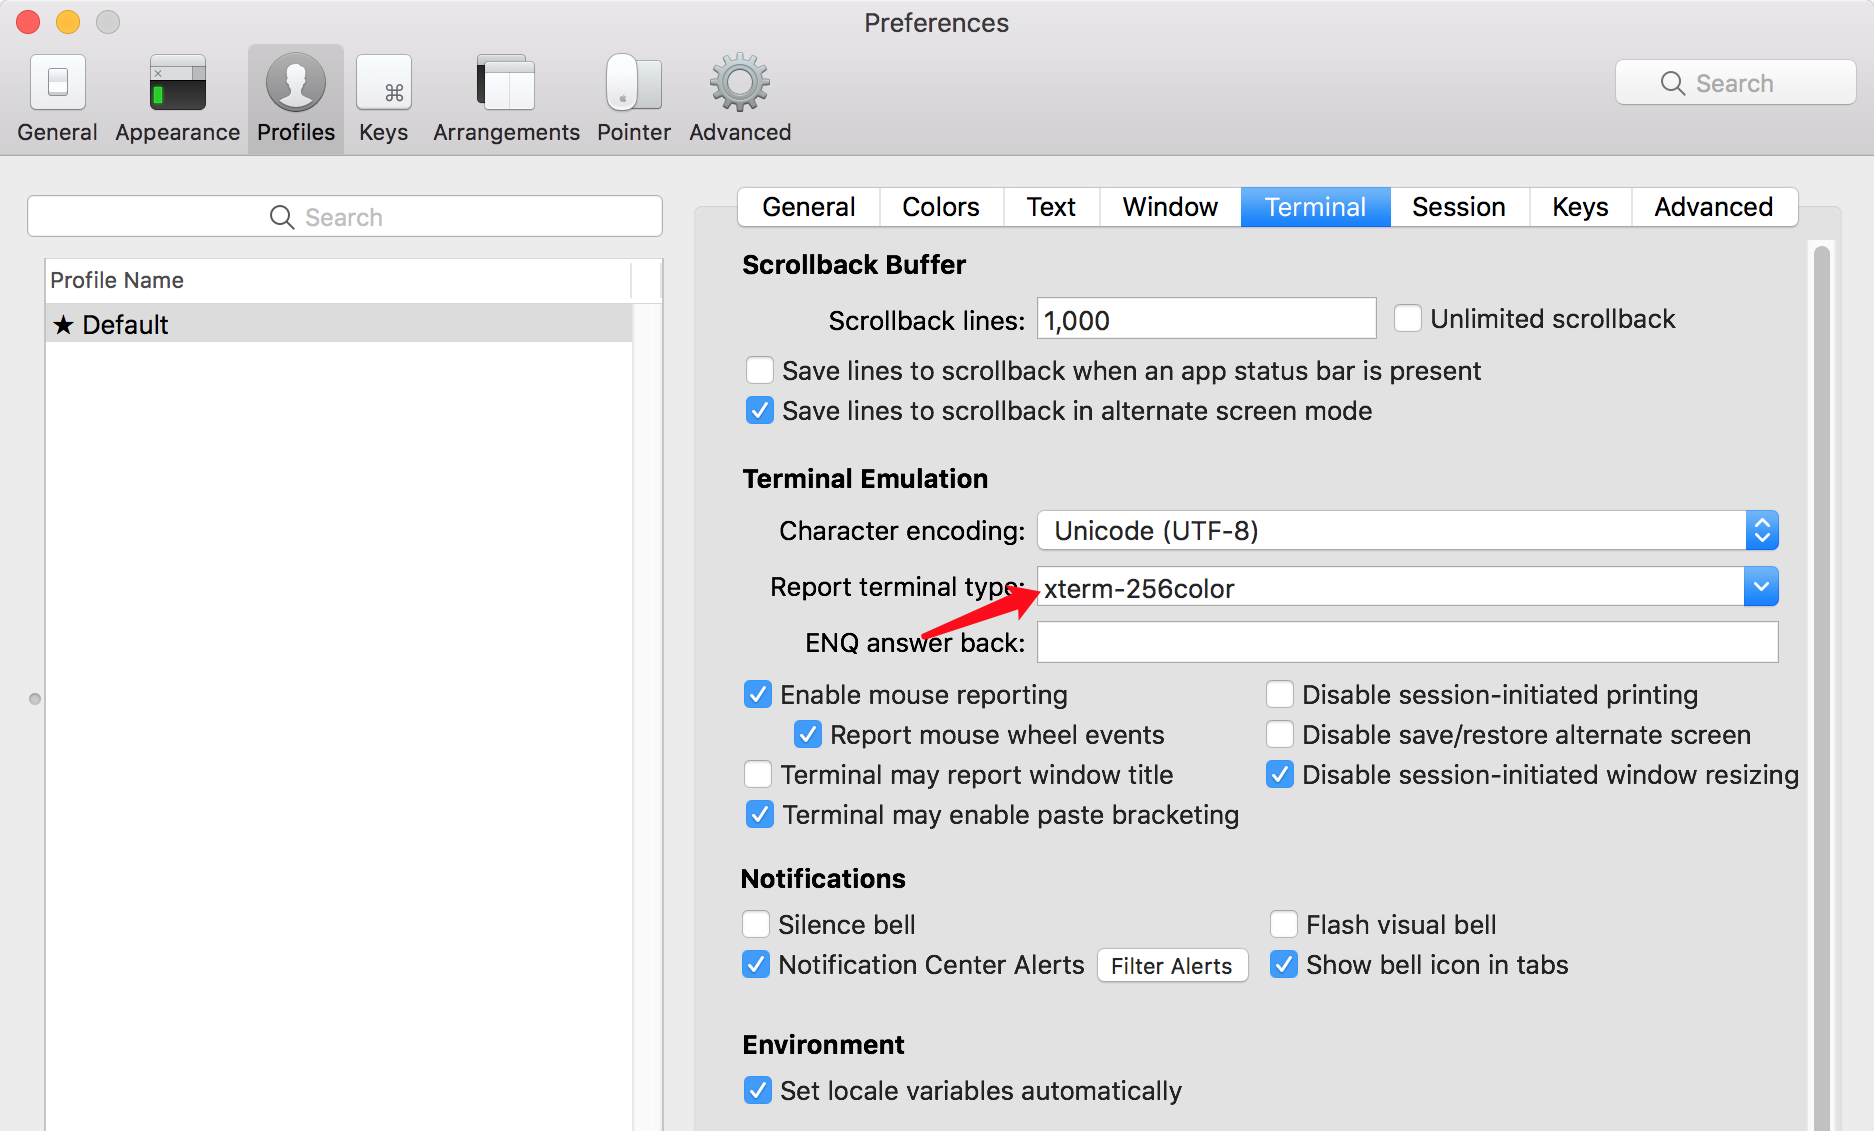
先檢查下 iTerm2 顔色類型為
xterm-256color
,位置在
iTerm2 -> Preferences -> Profiles -> Terminal
接下來我們調整一下 iTerm2 的配色方案,讓它更加好看,這裡我們先下載下傳配色合集。
mkdir ~/iterm2 && cd ~/iterm2
git clone https://github.com/mbadolato/iTerm2-Color-Schemes
然後打開 iTerm2 的配置,調整其配色方案,位置在
iTerm2 -> Preferences -> Profiles -> Default -> Colors -> Color Presets... -> Import
,然後選擇
~/iterm2/schemes
下的所有檔案。

導入剛才下載下傳好的所有配色方案後,就可以在
Color Preset
中進行選擇,我這裡選擇了
Dracula
配置字元集
配好顔色方案後,開始配置字元集,之後我們在使用 zsh 時,會涉及到許多圖示類的字元,這些在預設字元集中是沒有的,是以我們這裡安裝一個包含所有圖示的字元集
nerd-fonts 使用 brew 安裝:
brew tap homebrew/cask-fonts
brew cask install font-hack-nerd-font
安裝成功後需要在 iTerm2 中配置一下,在
iTerm2 -> Preferences -> Profiles -> Default -> Text -> Font
,Text 下面勾選
Use a different font for non-ASCII text
,然後在 Non-ASCII font 中選擇
Hack Nerd Font
安裝 zsh
使用 brew 安裝:
brew install zsh 然後将預設 shell 切換成 zsh:
sudo sh -c "echo $(which zsh) >> /etc/shells"
chsh -s $(which zsh)
安裝 oh-my-zsh
安裝過程如下:
sh -c "$(curl -fsSL https://raw.githubusercontent.com/robbyrussell/oh-my-zsh/master/tools/install.sh)" 如果安裝出錯,可以參考
官方文檔安裝好之後可以看到界面發生了一點點變化,同時會産生一個名為 .zshrc 的配置檔案,在使用者目錄下面,我們以後主要就是修改它了。
配置過程
配置主題
oh-my-zsh 的所有主題檔案都存儲在
~/.oh-my-zsh/themes
目錄下,接下來我們安裝一個好看的主題
powerlevel9kgit clone https://github.com/bhilburn/powerlevel9k.git ~/.oh-my-zsh/custom/themes/powerlevel9k 然後修改配置檔案
open -e ~/.zshrc
:
ZSH_THEME="powerlevel9k/powerlevel9k" 修改完成後重新整理一下配置:
source ~/.zshrc 接下來,我們再配置一下
powerlevel9k
的主題,在
~/.zshrc
中加入如下内容:
# 設定字元集
POWERLEVEL9K_MODE="nerdfont-complete"
# Customise the Powerlevel9k prompts
# 指令行開頭的元素
POWERLEVEL9K_LEFT_PROMPT_ELEMENTS=(ssh context dir vcs newline status)
# 指令行結尾的元素
POWERLEVEL9K_RIGHT_PROMPT_ELEMENTS=(status root_indicator background_jobs history dir_writable time )
上述是我使用的主題配置,更詳細的配置項可以參考官方指南
Prompt Customization和
Stylizing Your Prompt添加别名
配置好主題之後,我們在
~/.zshrc
中,再加入一些指令别名的設定,這能讓我們操作的更有效率。
alias cls='clear'
alias ll='ls -l'
alias la='ls -a'
alias vi='vim'
alias proxy="ALL_PROXY=socks5://127.0.0.1:10808"
alias grep='grep --color=auto'
使用插件
zsh 除了上述基本配置外,還有許多不錯的插件,這裡有一個
插件合集,各位同學可以自由選擇,這裡隻介紹我使用的插件。
fast-syntax-highlighting
zsh-syntax-highlighting 用于高亮你的 zsh 可用指令,比如輸入 sleep、cat 這些指令的時候就會高亮。
git clone https://github.com/zdharma/fast-syntax-highlighting.git ~/.oh-my-zsh/custom/plugins/fast-syntax-highlighting 下載下傳完成後,将
fast-syntax-highlighting
添加到
~/.zshrc
的插件清單中
plugins=(here to list your plugins)
zsh-autosuggestions
根據曾經輸入過的指令,進行指令行提示,按➡️鍵就能自動補全。
git clone https://github.com/zsh-users/zsh-autosuggestions ~/.oh-my-zsh/custom/plugins/zsh-autosuggestions 下載下傳完成後,将其添加到
~/.zshrc
plugins=(zsh-autosuggestions)
整體配置
我的最終配置如下:
# If you come from bash you might have to change your $PATH.
# export PATH=$HOME/bin:/usr/local/bin:$PATH

# Path to your oh-my-zsh installation.
export ZSH="/Users/CL10060-N/.oh-my-zsh"

# Set name of the theme to load --- if set to "random", it will
# load a random theme each time oh-my-zsh is loaded, in which case,
# to know which specific one was loaded, run: echo $RANDOM_THEME
# See https://github.com/robbyrussell/oh-my-zsh/wiki/Themes
ZSH_THEME="powerlevel9k/powerlevel9k"

# Set list of themes to pick from when loading at random
# Setting this variable when ZSH_THEME=random will cause zsh to load
# a theme from this variable instead of looking in ~/.oh-my-zsh/themes/
# If set to an empty array, this variable will have no effect.
# ZSH_THEME_RANDOM_CANDIDATES=( "robbyrussell" "agnoster" )

# Uncomment the following line to use case-sensitive completion.
# CASE_SENSITIVE="true"

# Uncomment the following line to use hyphen-insensitive completion.
# Case-sensitive completion must be off. _ and - will be interchangeable.
# HYPHEN_INSENSITIVE="true"

# Uncomment the following line to disable bi-weekly auto-update checks.
# DISABLE_AUTO_UPDATE="true"

# Uncomment the following line to automatically update without prompting.
# DISABLE_UPDATE_PROMPT="true"

# Uncomment the following line to change how often to auto-update (in days).
# export UPDATE_ZSH_DAYS=13

# Uncomment the following line if pasting URLs and other text is messed up.
# DISABLE_MAGIC_FUNCTIONS=true

# Uncomment the following line to disable colors in ls.
# DISABLE_LS_COLORS="true"

# Uncomment the following line to disable auto-setting terminal title.
# DISABLE_AUTO_TITLE="true"

# Uncomment the following line to enable command auto-correction.
ENABLE_CORRECTION="true"

# Uncomment the following line to display red dots whilst waiting for completion.
# COMPLETION_WAITING_DOTS="true"

# Uncomment the following line if you want to disable marking untracked files
# under VCS as dirty. This makes repository status check for large repositories
# much, much faster.
# DISABLE_UNTRACKED_FILES_DIRTY="true"

# Uncomment the following line if you want to change the command execution time
# stamp shown in the history command output.
# You can set one of the optional three formats:
# "mm/dd/yyyy"|"dd.mm.yyyy"|"yyyy-mm-dd"
# or set a custom format using the strftime function format specifications,
# see 'man strftime' for details.
# HIST_STAMPS="mm/dd/yyyy"

# Would you like to use another custom folder than $ZSH/custom?
# ZSH_CUSTOM=/path/to/new-custom-folder

# Which plugins would you like to load?
# Standard plugins can be found in ~/.oh-my-zsh/plugins/*
# Custom plugins may be added to ~/.oh-my-zsh/custom/plugins/
# Example format: plugins=(rails git textmate ruby lighthouse)
# Add wisely, as too many plugins slow down shell startup.
plugins=(git zsh-autosuggestions fast-syntax-highlighting
)

source $ZSH/oh-my-zsh.sh

# User configuration

# export MANPATH="/usr/local/man:$MANPATH"

# You may need to manually set your language environment
# export LANG=en_US.UTF-8

# Preferred editor for local and remote sessions
# if [[ -n $SSH_CONNECTION ]]; then
#   export EDITOR='vim'
# else
#   export EDITOR='mvim'
# fi

# Compilation flags
# export ARCHFLAGS="-arch x86_64"

# Set personal aliases, overriding those provided by oh-my-zsh libs,
# plugins, and themes. Aliases can be placed here, though oh-my-zsh
# users are encouraged to define aliases within the ZSH_CUSTOM folder.
# For a full list of active aliases, run `alias`.
#
# Example aliases
# alias zshconfig="mate ~/.zshrc"
# alias ohmyzsh="mate ~/.oh-my-zsh"

# aliases:
alias cls='clear'
alias ll='ls -l'
alias la='ls -a'
alias vi='vim'
alias proxy="ALL_PROXY=socks5://127.0.0.1:10808"
alias grep='grep --color=auto'

POWERLEVEL9K_MODE="nerdfont-complete"
# Customise the Powerlevel9k prompts
POWERLEVEL9K_LEFT_PROMPT_ELEMENTS=(ssh context dir vcs newline status)
POWERLEVEL9K_RIGHT_PROMPT_ELEMENTS=(status root_indicator background_jobs history dir_writable time )
POWERLEVEL9K_PROMPT_ADD_NEWLINE=true
IDE 适配
使用 zsh 後,IDE 的預設 Terminal 也可以換成了它,這裡以 IntelliJ IDEA 為例,主要需要設定 shell path 和 font 字型集。
shell path 的設定過程:
IntelliJ IDEA -> Preferences -> Tools -> Terminal
,将其改成自己 zsh 的路徑。
font 字型集的設定過程:
IntelliJ IDEA -> Preferences -> Editor -> Font
,将其改成
Hack Nerd Font
文章說明
更多有價值的文章均收錄于
貝貝貓的文章目錄 版權聲明: 本部落格所有文章除特别聲明外,均采用 BY-NC-SA 許可協定。轉載請注明出處!
創作聲明: 本文基于下列所有參考内容進行創作,其中可能涉及複制、修改或者轉換,圖檔均來自網絡,如有侵權請聯系我,我會第一時間進行删除。
參考内容
[1]
打造 Mac 下高顔值好用的終端環境