主窗體程式:
using System;
using System.Collections.Generic;
using System.ComponentModel;
using System.Data;
using System.Drawing;
using System.Linq;
using System.Text;
using System.Threading.Tasks;
using System.Windows.Forms;

namespace WindowsFormsApp20
{
    public partial class Form1 : Form
    {
        public Form1()
        {
            InitializeComponent();
        }

        private void Form1_Load(object sender, EventArgs e)
        {
            Class1 cs = new Class1();
            cs.test();
        }
    }
}
class1:
using System;
using System.Collections.Generic;
using System.Linq;
using System.Text;
using System.Threading.Tasks;

namespace WindowsFormsApp20
{
    class Class1
    {
        public void test()
        {

            Form1 f1 = new Form1();
            f1.richTextBox1.Text = "123";
        }
    }
}
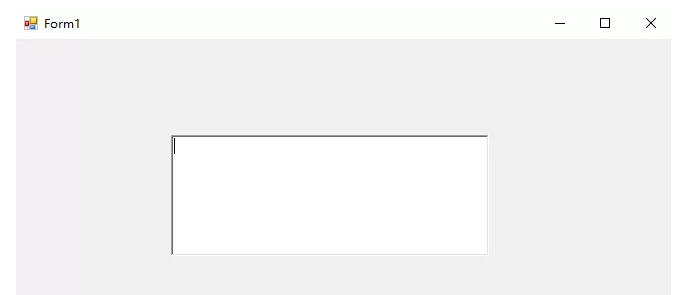
運作結果啥也沒,。。。。。。。。。
解決辦法:
将窗體作為參數傳入類,然後可以根據屬性來對其進行相應的操作
執行個體修改如下:
using System;
using System.Collections.Generic;
using System.ComponentModel;
using System.Data;
using System.Drawing;
using System.Linq;
using System.Text;
using System.Threading.Tasks;
using System.Windows.Forms;

namespace WindowsFormsApp20
{
    public partial class Form1 : Form
    {
        public Form1()
        {
            InitializeComponent();
        }

        private void Form1_Load(object sender, EventArgs e)
        {
            Class1 cs = new Class1();
            cs.test(this);
        }
    }
}
using System;
using System.Collections.Generic;
using System.Linq;
using System.Text;
using System.Threading.Tasks;

namespace WindowsFormsApp20
{
    class Class1
    {
        public void test(Form1 obj)
        {


            obj.richTextBox1.Text = "123";
        }
    }
}
是不是很簡單!!!
運作結果:别忘了将主要件的modifiers屬性改為public

想了解更多C#知識,請掃描下方二維碼
需加微信交流群的,請加小編微信号z438679770,切記備注 加群,小編将會第一時間邀請你進群!