之前的學習,都是使用graphiql或者postman驗證背景api.作為全棧工程師,這不能夠啊,必須要有前端,必須的
今天學習在vue中使用graphql——vue-apollo.
使用apollo有兩個選擇:Apollo Boost或者Apollo Client. 這兩者的差別是:Apollo Boost更傻瓜化,預設幫我們做了很多的配置;而Apollo Client需要自己詳細的配置.對于我這種二把刀的全棧工程師,還是選擇Apollo Boost好了.
安裝node.js什麼的就不贅述了. 先安裝vue cli
1. npm install -g @vue/cli
2. vue create demo
選擇預設模闆建立項目就可以了.建立成功後,會有如下輸出:
🎉  Successfully created project demo.
👉  Get started with the following commands:

 $ cd demo
 $ npm run serve
按照提示,我們進入demo,執行npm run serve,成功資訊
DONE Compiled successfully in 2702ms9:47:28 AM
<s> [webpack.Progress] 100%
App running at:
- Local: http://localhost:8080/
- Network: http://10.5.92.149:8080/
Note that the development build is not optimized.
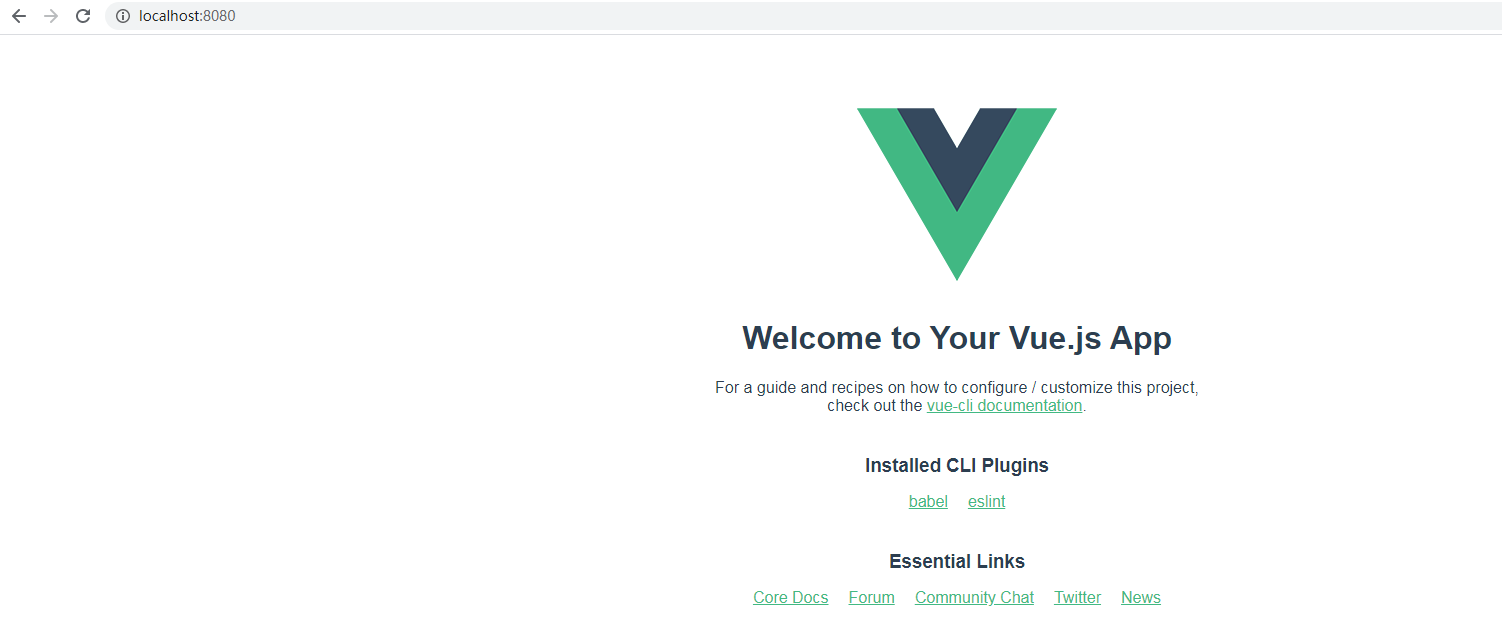
To create a production build, run npm run build. 浏覽器裡可以看到:
準備工作就做好了.
接下來需要增加apollo元件. 執行
npm install --save vue-apollo graphql apollo-boost graphql-tag 在繼續前端之前,我們需要後端做點小修改: 因為前端後端都使用8080端口監聽,是以我們修改一下後端的端口,改成監聽9090.另外,還需要引入新的package "github.com/rs/cors"解決跨域的問題:
// main
func main() {
    h := Register()
    // 解決跨域的問題
    hdl := cors.Default().Handler(h)
    http.Handle("/graphql", hdl)
    fmt.Println("Now server is running on port 9090")
    http.ListenAndServe(":9090", nil)
}
還有,需要改正一個bug, models/article.go裡的update()函數,要改成如下:
// Update a article
func UpdateArticle(id int, title, content string) (*Article, error) {
    for k, _ := range articleList {
        if articleList[k].ID == id {
            if title != "" {
                articleList[k].Title = title
            }
            if content != "" {
                articleList[k].Content = content
            }
            return &articleList[k], nil
        }
    }
    return nil, errors.New("Article not found")
}
繼續前端的工作. 建立demo/src/utils目錄,添加檔案apollo.js:
import ApolloClient from 'apollo-boost';
const apolloClient = new ApolloClient({
  // 這裡指向後端的位址、端口和URL
  uri: 'http://127.0.0.1:9090/graphql'
})
export default apolloClient;
建立/demo/src/graphql目錄,添加檔案article.js:
import gql from 'graphql-tag'
import apolloClient from '../utils/apollo'

// 文章清單
export function getArticles(params) {
 return apolloClient.query({
  query: gql `{
   articles{
    id
    title
    content
   }
  }`,
  variables: params
 })
}

// 單篇文章詳情
export function getArticle(params) {
  return apolloClient.query({
    query: gql `query ($id : Int) {
      article(id: $id) {
        id
        title
        content
      }
    }`,
    variables: params
  })
}

// 添加新文章
export function createArticle(params) {
 return apolloClient.mutate({
  mutation: gql `mutation ($title: String, $content: String) {
   add(title: $title, content: $content){
    id
    title
    content
   }
  }`,
  variables: params
 })
}

// 編輯文章
export function editArticle(params) {
  return apolloClient.mutate({
   mutation: gql `mutation ($id: Int, $title: String, $content: String) {
    update(id: $id, title: $title, content: $content){
     id
     title
     content
    }
   }`,
   variables: params
  })
 }

// 删除文章
export function deleteArticle(params) {
  return apolloClient.mutate({
   mutation: gql `mutation ($id: Int) {
    delete(id: $id){
     id
     title
     content
    }
   }`,
   variables: params
  })
 }
這裡比較難了解的是傳入參數的解析,對照一下頁面模闆傳入的參數,多比較就能明白了.
然後在demo/components下建立Article.vue檔案,内容如下:
<template>
  <div id="article">
    <div class="list">
      <h1>{{ msg }}</h1>
      <ul>
        <li v-for="(v, k) of list" :key="k">
          文章名稱: {{ v.id }}----------------({{ v.title }})
          <button @click="getArticle(v.id)">詳情</button>
          <button @click="deleteArticle(v.id)">删除</button>
        </li>
      </ul>
    </div>
    <div v-if="article.id > 0">
      <div>文章id:{{ article.id }}</div>
      标題:<input v-model="article.title" type="text"><br>
      文章内容: <textarea v-model="article.content" name="" id="" cols="30" rows="10"></textarea><br>
      <button @click="editArticle">編輯</button><button @click="article={}">取消</button>
    </div>
    <div class="form">
      <h1>添加文章</h1>
      标題:<input v-model="formData.title" type="text"><br>
      文章内容: <textarea v-model="formData.content" name="" id="" cols="30" rows="10"></textarea><br>
      <button @click="createArticle">添加</button>
    </div>
  </div>

</template>

<script>
import { getArticles,getArticle,createArticle,deleteArticle,editArticle } from '../graphql/article'

export default {
  name: 'Article',
  props: {
    msg: String
  },
  data() {
    return {
      list: [],
      formData: {
        title: '',
        content: ''
      },
      article: {
        id: 0,
        title: '',
        content: ''
      }
    }
  },
  methods: {
    initData() {
      getArticles()
      .then(res=>{
        console.log('request success')
        this.list = res.data.articles
      })
      .catch(err=>{
        console.log(err)
      })
    },
    getArticle(id) {
      getArticle({id:id})
      .then(res =>{
        this.article = res.data.article
      })
      .catch(err =>{
        console.log(err)
      })
    },
    createArticle() {
      createArticle(this.formData)
      .then(()=>{
        this.initData()
      })
      .catch(err=>{
        console.log(err)
      })
    },
    deleteArticle(id) {
      deleteArticle({id: id})
      .then(() =>{
        this.initData()
      })
      .catch(err=>{
        console.log(err)
      })
    },
    editArticle() {
      editArticle(this.article)
      .then(() =>{
        this.initData()
      })
      .catch(err=>{
        console.log(err)
      })
    }
  },
  mounted() {
    this.initData()
  }
}
</script>

<style>

</style>
最後修改demo/App.vue:
<template>
  <div id="app">
    <!-- <img alt="Vue logo" src="./assets/logo.png">
    <HelloWorld msg="Welcome to Your Vue.js App"/> -->
    <Article msg="Article List" />
  </div>
</template>

<script>
// import HelloWorld from './components/HelloWorld.vue'
import Article from './components/Article.vue'

export default {
  name: 'App',
  components: {
    // HelloWorld
    Article
  }
}
</script>

<style>
#app {
  font-family: Avenir, Helvetica, Arial, sans-serif;
  -webkit-font-smoothing: antialiased;
  -moz-osx-font-smoothing: grayscale;
  text-align: center;
  color: #2c3e50;
  margin-top: 60px;
}
</style>
因為頁面比較醜,而且增删改後要重新整理頁面才會顯示新的資料.就不截圖展示了
![主流浏覽器四大綜合性能測試[圖]](data:image/gif;base64,R0lGODlhAQABAIAAAP///wAAACwAAAAAAQABAAACAkQBADs=)