原文: Nancy之檔案上傳與下載下傳
零、前言
由于前段時間一直在找工作,找到工作後又比較忙,又加班又通宵的趕項目,是以部落格有段時間沒有更新了。
今天稍微空閑一點,碰巧前幾天看到有園友問我Nancy中下載下傳檔案的問題,然後就趁着休息的時間寫下了這篇部落格。
直接進正題吧!
一、建立一個空的asp.net應用程式
通過nuget安裝相應的packages
二、添加Modules和Views檔案夾
用于存放我們的“控制器”和視圖(這一步不是必須的喔!)
三、建立CustomRootPathProvider.cs
具體如下:
1     public class CustomRootPathProvider : IRootPathProvider
2     {
3         public string GetRootPath()
4         {
5             return AppDomain.CurrentDomain.GetData(".appPath").ToString();
6         }
7     }
四、編寫Bootstrapper.cs
1     public class Bootstrapper : DefaultNancyBootstrapper
 2     {
 3         protected override IRootPathProvider RootPathProvider
 4         {
 5             get
 6             {
 7                 return new CustomRootPathProvider();
 8             }
 9         }
10     }
五、編寫Module
這裡我是建立了一個HomeModule.cs
需要注意的是,要在構造函數中添加一點東西
IRootPathProvider pathProvider
下面貼上HomeModule.cs的完整代碼
1 using Nancy;
 2 using System.Collections.Generic;
 3 using System.IO;
 4
 5 namespace NancyUpLoadAndDownloadDemo.Modules
 6 {
 7     public class HomeModule : NancyModule
 8     {
 9         public HomeModule(IRootPathProvider pathProvider) : base("/")
10         {
11             var uploadDirectory = Path.Combine(pathProvider.GetRootPath(), "Content", "uploads");
12
13             Get["/"] = _ =>
14             {
15                 return View["UpLoad"];
16             };
17
18             Post["/"] = _ =>
19             {
20
21                 if (!Directory.Exists(uploadDirectory))
22                 {
23                     Directory.CreateDirectory(uploadDirectory);
24                 }
25
26                 foreach (var file in Request.Files)
27                 {
28                     var filename = Path.Combine(uploadDirectory, file.Name);
29                     using (FileStream fileStream = new FileStream(filename, FileMode.Create))
30                     {
31                         file.Value.CopyTo(fileStream);
32                     }
33                 }
34                 return Response.AsRedirect("/show") ;
35             };
36
37             Get["/down/{name}"] = _ =>
38             {
39                 string fileName = _.name;
40                 var relatePath = @"Content\uploads\"+fileName;
41                 return Response.AsFile(relatePath);
42             };
43
44             Get["/show"] = _ =>
45             {
46                 var folder = new DirectoryInfo(uploadDirectory);
47                 IList<string> files = new List<string>();
48                 foreach (var file in folder.GetFiles())
49                 {
50                     files.Add(file.Name);
51                 }
52                 return View["Show", files];
53             };
54         }
55     }
56 }
下面簡單說一下這些是用來幹嘛的:
Get["/"] 顯示upload這個頁面
Post["/"] 上傳檔案的
Get["/down/{name}"] 下載下傳檔案,{name}是參數 檔案名
Get["/show"] 顯示可下載下傳的檔案
上傳檔案和下載下傳檔案的具體細節會在看完示範後細說。
六、建立視圖
Show.cshtml
1 @{
 2     Layout = null;
 3 }
 4
 5 <!DOCTYPE html>
 6
 7 <html>
 8 <head>
 9     <meta name="viewport" content="width=device-width" />
10     <title></title>
11 </head>
12 <body>
13     <ul>
14         @foreach (var item in Model)
15         {
16             <li>
17                 <a href="/down/@item">
18                     @item
19                 </a>
20             </li>
21         }
22     </ul>
23 </body>
24 </html>
25
UpLoad.cshtml
1 @{
 2     Layout = null;
 3 }
 4
 5 <!DOCTYPE html>
 6
 7 <html>
 8 <head>
 9     <meta name="viewport" content="width=device-width" />
10     <title>UpLoad</title>
11 </head>
12 <body>
13     <h1>這是上傳檔案的示範</h1>
14     <hr />
15     <form action="/" method="post" enctype="multipart/form-data">
16
17         <div>
18             <label>請選擇要上傳的檔案</label>
19             <input type="file" name="myFile" />
20         </div>
21         <div>
22             <input type="submit" value="上傳" />
23         </div>
24
25     </form>
26 </body>
27 </html>
視圖就比較簡單,沒什麼樣式。就是簡單的列出檔案名稱和上傳檔案的表單
下面來看看效果:
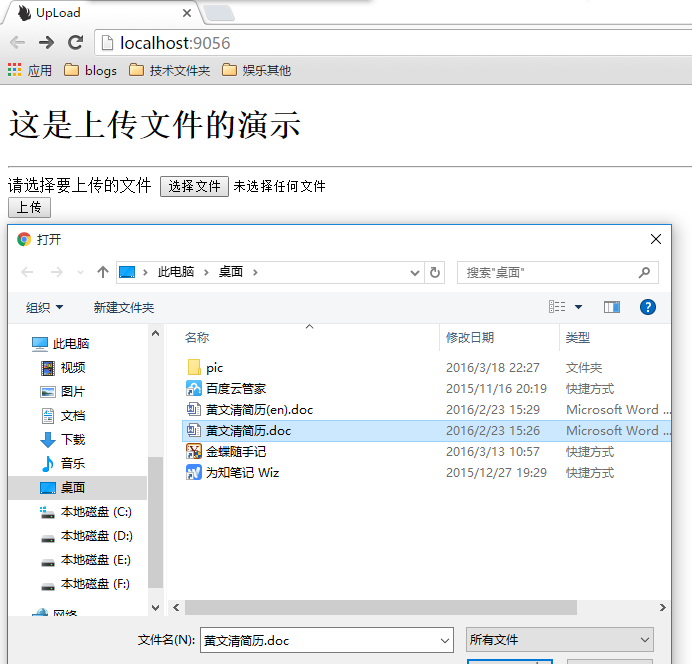

就這樣完成了簡單的上傳和下載下傳功能,也是挺簡單的。
七、上傳與下載下傳的細節
上傳:
相信之前大家在asp.net中進行上傳時,下面這個httppostedfilebase類,肯定是經常用的
https://msdn.microsoft.com/en-us/library/system.web.httppostedfilebase(v=vs.110).aspx但是這個是基于system.web的,而Nancy是不依賴于system.web的!!!那麼Nancy是怎麼處理這個的呢
Nancy有自己的一套東西來處理這個,可以看看這個類
https://github.com/NancyFx/Nancy/blob/master/src/Nancy/HttpFile.cs也可以看看httppostfilebase這個類
http://referencesource.microsoft.com/#System.Web/Abstractions/HttpPostedFileBase.cs像處理這些問題,Nancy都有自己的實作,用起來跟平常的用法有點差別,這個是需要注意的!!
還有一個要注意的是路徑的問題,這個問題可以參見
https://github.com/NancyFx/Nancy/wiki/The-root-path下載下傳:
在asp.net mvc中,下載下傳我們用的比較多的是 fileresult
https://msdn.microsoft.com/en-us/library/system.web.mvc.fileresult(v=vs.118).aspx其實,Nancy也提供了類似的方法
用法就是 response.asfile()
可以參見下面的
https://github.com/NancyFx/Nancy/blob/master/src/Nancy/FormatterExtensions.cs https://github.com/NancyFx/Nancy/blob/master/src/Nancy/Responses/GenericFileResponse.cs