體驗 Nocalhost 帶來的雲原生開發全新方式
本文作者:黃鑫鑫 - Nocalhost 項目核心開發者 騰訊雲 CODING DevOps 研發工程師。碩士畢業于中山大學資料科學與計算機學院,曾負責過平安雲主機及國家超算中心容器雲平台等相關業務,熟悉虛拟機,容器,K8s 相關技術,專注于雲原生領域
本文通過使用 Nocalhost 将本地開發機無縫連接配接到一個遠端 Kubernetes 叢集, 并在本地使用 Goland 來開發和調試 Kubernetes 叢集中的 <code>Apache APISIX ingress controller</code>。Nocalhost 讓我們可以使用現有的技術棧來順暢地開發和調試類似 <code>APISIX ingress controller</code> 的 K8s 應用。
本文包括:
在 IDE 中部署 <code>APISIX Ingress controller</code> 到遠端 Kubernetes 叢集
使用 Nocalhost 開發和調試 Kubernetes 叢集上的 <code>APISIX ingress controller</code>
準備一個可用的 Kubernetes 叢集。 可以使用任意擁有命名空間管理權限的 Kubernetes 叢集
確定本地已安裝好 Helm v3.0+
叢集中已安裝好 APISIX (APISIX Ingress controller 的依賴)
GoLand IDE 2020.03+
安裝 Nocalhost JetBrains 插件
安裝 Go 1.13 及以上版本
按照以下步驟,在 GoLand 中通過 Nocalhost 部署 APISIX Ingress Controller:
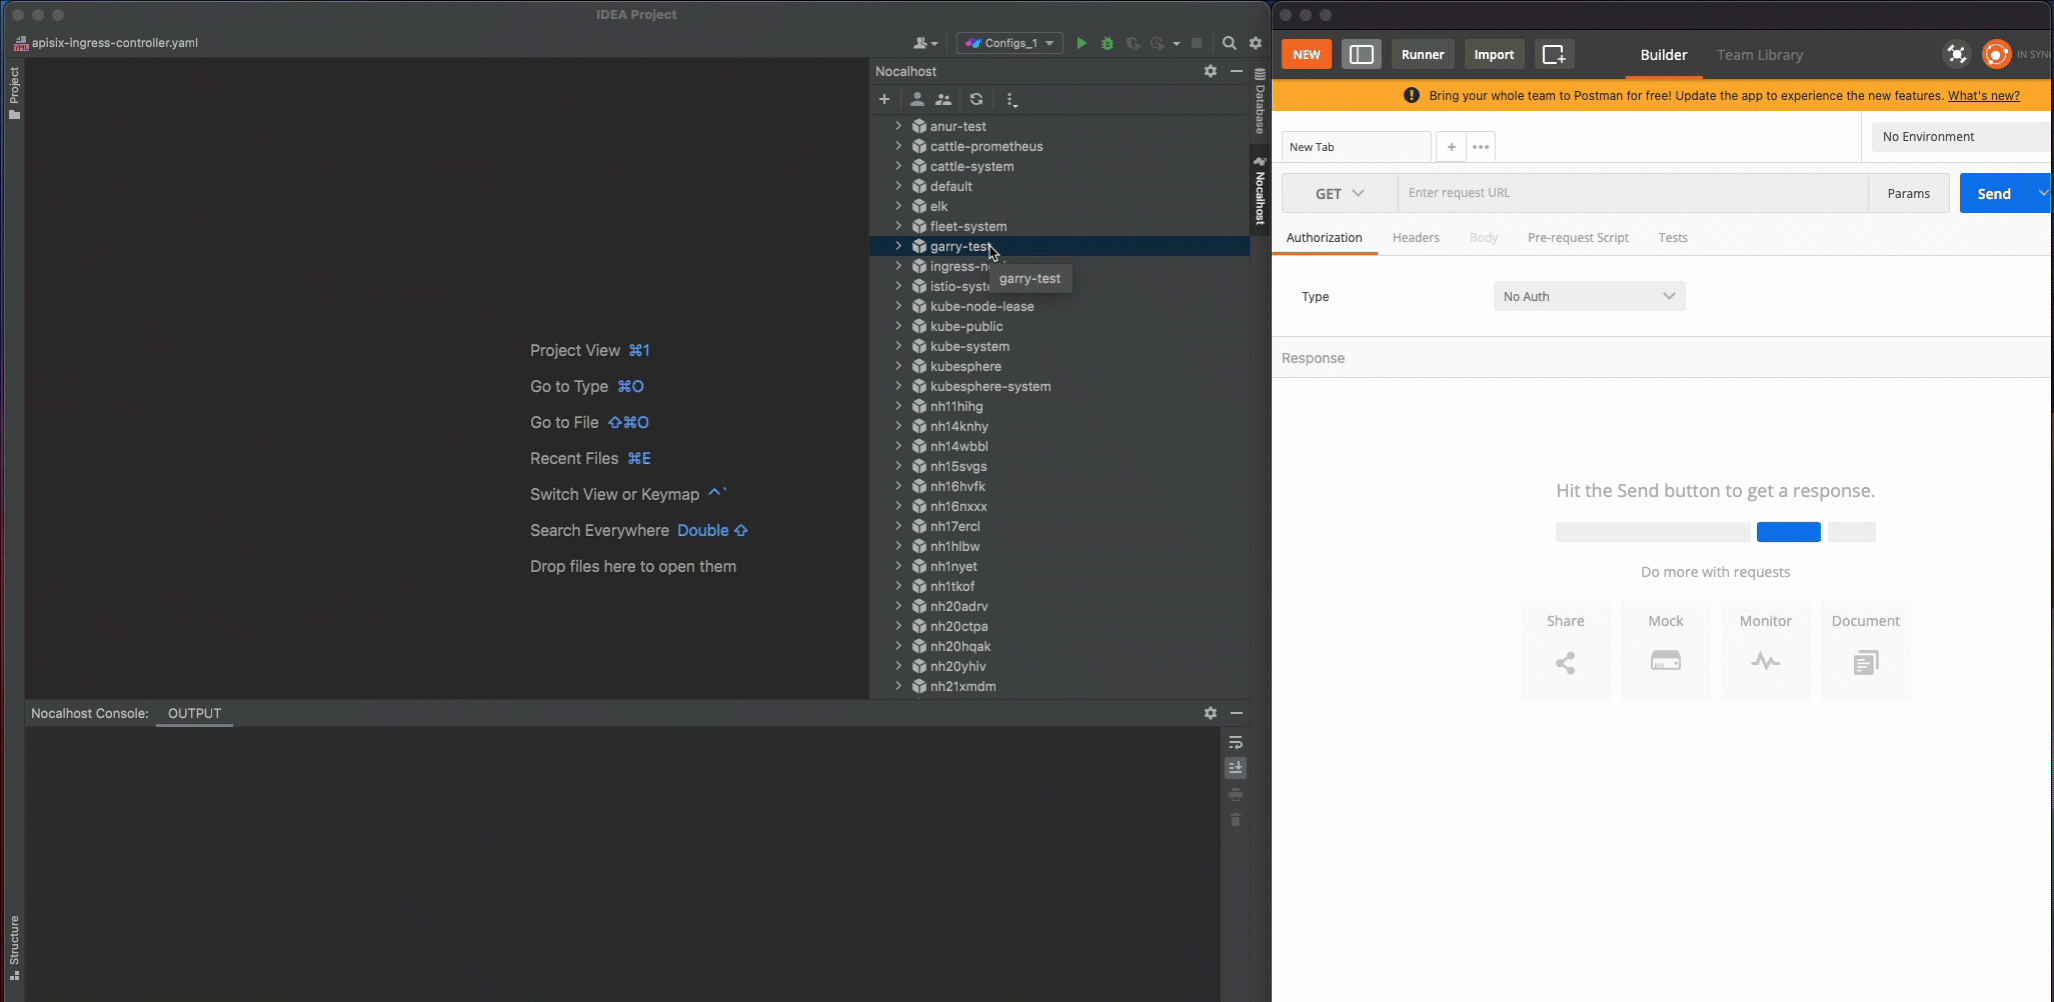
在 GoLand 中打開 Nocalhost 插件
選擇将要部署 APISIX Ingress Controller 的命名空間
右鍵點選標明的命名空間, 選擇 <code>Deploy Application</code>, 然後選擇 <code>Helm Repo</code> 作為安裝方法
在對話框中 <code>Name</code> 中輸入:<code>apisix-ingress-controller</code>,在 <code>Chart URL</code>中輸入:<code>https://charts.apiseven.com</code>

部署完成後,我們通過在 IDE 内啟用端口轉發來測試 <code>apisix-ingress-controller</code>:
在 Nocalhost 插件的 Workloads 中找到 <code>apisix-ingress-controller</code> ,右鍵點選并選擇 <code>Port Forward</code>
添加端口轉發 <code>8080:8080</code>
在本地通路 <code>http://127.0.0.1:8080/healthz</code> 并檢查結果
右鍵點選 <code>apisix-ingress-controller</code> 工作負載, 選擇 <code>Start DevMode</code>
如果已經将源碼克隆到本地,請選擇源代碼目錄。 否則通過輸入 <code>apisix-ingress-controller</code> 的源碼倉庫位址 <code>https://github.com/apache/apisix-ingress-controller.git</code> 來讓 Nocalhost 克隆源代碼到本地
等待操作完成,Nocalhost 将在進入 DevMode 後在 IDE 内打開遠端終端
打開遠端終端後,通過在遠端終端中輸入以下指令來啟動 <code>apisix-ingress-controller</code> 程序:
<code>apisix-ingress-controller</code> 啟動後,通過 <code>http://127.0.0.1:8080/healthz</code> 通路服務, 并檢查結果:
現在我們來修改一下代碼并看看效果:
停止 <code>apisix-ingress-controller</code> 程序
在 Goland 中搜尋 healthz 并找到 router.go 檔案。 将 healthzResponse 的狀态代碼從 ok 更改為 Hello Nocalhost
重新啟動程序并在本地檢查更改結果
可以看到我們無需重新建構鏡像,幾秒後便可以看到改動的結果:
開發完畢後,我們可以通過以下步驟結束 DevMode:
右鍵點選 <code>apisix-ingress-controller</code>
選擇并點選 <code>End DevMode</code>
Nocalhost 将會讓 <code>apisix-ingress-controller</code> 結束 DevMode, 并重置 <code>apisix-ingress-controller</code> 到其原始版本。 啟用端口轉發來看看結束 DevMode 後的結果:
需要注意的是,DevMode 模式下,所有代碼更改都隻在 開發容器 中生效。退出 DevMode 後,Nocalhost 将會将遠端容器重置為原始狀态(進入 DevMode 之前的版本)。 通過這種方式,在退出 DevMode 以後,在 DevMode 模式下做的修改都不會影響原有環境。
調試應用程式是一件麻煩的事,在 Kubernetes 叢集中調試應用程式則更加麻煩。 Nocalhost 可以幫助我們在調試 Kubernetes 叢集中的程式時獲得和在 IDE 中直接調試本地程式同樣的體驗。
我們可以通過以下方式開始遠端調試:
右鍵點選 <code>apisix-ingress-controller</code> 并選擇 <code>Remote Debug</code>
Nocalhost 将會先讓 apisix-ingress-controller 進入DevMode, 并運作在 <code>dev config</code> 中定義的調試指令
我們在 healthz 函數上設定一個斷點, 設定好斷點後,在浏覽器中通路 http://127.0.0.1:8080/healthz ,會觸發斷點,GoLand 會跳到前台。 點選調試相關按鈕可對程式進行調試:
Nocalhost 不僅僅可以用來遠端調試應用,通過使用 <code>Remote Run</code> 功能,還可以讓為我們快速地在 Kubernetes 叢集中運作開發中的應用程式。
我們可以通過以下步驟使用 <code>Remote Run</code> 功能:
右鍵點選 <code>apisix-ingress-controller</code> ,并選擇 <code>Remote Run</code>
Nocalhost 将會先讓 <code>apisix-ingress-controller</code> 進入 <code>DevMode</code>, 并運作在 <code>dev config</code> 定義的運作指令
每次更改代碼完代碼後,Nocalhost 都會自動觸發運作指令,将程式運作起來:
通過以上步驟,我們已經學會如何使用 Nocalhost 來開發和調試 Kubernetes 叢集中的 APISX ingress controller。 使用 Nocalhost,我們不再需要等待緩慢的本地開發循環回報,而是通過一種高效的雲原生開發方式來得到快速的回報。
Apache APISIX getting started guide
Developing for Apache APISIX Ingress Controller
一鍵開啟雲原生開發環境