安裝前提:記憶體不少于2G,安裝在centos7上
若是此方式不行,就用官網的
1、安裝gitlab社群版本,官網的源比較慢,用下面的鏡像(清華大學的伺服器)
[root@test-7 ~]# vim /etc/yum.repos.d/gitlab.repo
[gitlab-ce]
name=Gitlab CE Repository
gpgcheck=0
enabled=1
2、安裝這個包有300多M
yum install -y gitlab-ce
3、配置也需要幾分鐘時間
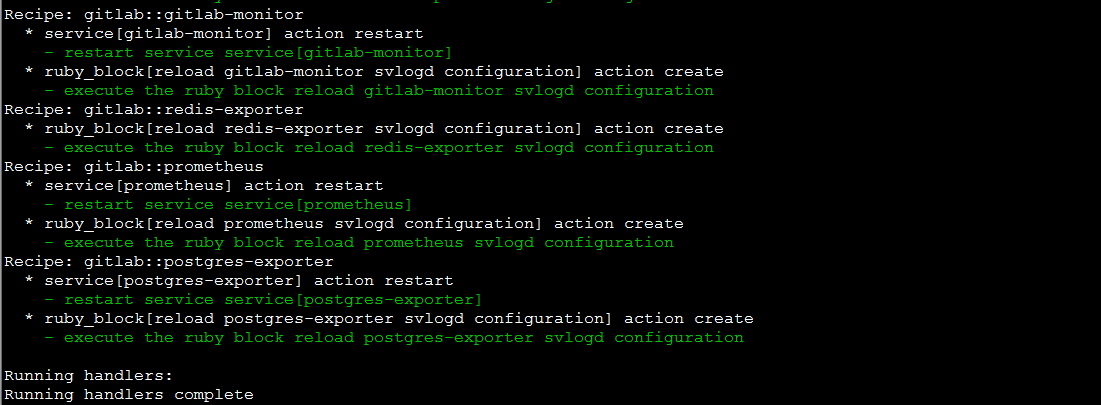
[root@test-7 ~]# gitlab-ctl reconfigure
4、以下表示配置完成

5、先停掉
[root@test-7 ~]# gitlab-ctl stop
6、再啟動
[root@test-7 ~]# gitlab-ctl start
7、浏覽器通路,輸入IP即可
8、[root@test-7 ~]# systemctl stop firewalld
[root@test-7 ~]# systemctl stop iptable
9、設定root的密碼
10、
1、nginx相關配置
[root@test-7 ~]# ls /var/opt/gitlab/nginx/conf/nginx.conf
/var/opt/gitlab/nginx/conf/nginx.conf
2、gitlab相關配置檔案
[root@test-7 ~]# ls /var/opt/gitlab/nginx/conf/gitlab-http.conf
/var/opt/gitlab/nginx/conf/gitlab-http.conf
3、若是外網通路則需要修改servername即可
4、建立組web、java、IOS
5、建立使用者
6、
7、首先建立組,然後是使用者,最後項目關聯到組
8、gitlab備份
gitlab備份: gitlab-rake gitlab:backup:create
備份目錄:
[root@test-7 ~]# ls /var/opt/gitlab/backups/
1513173483_2017_12_13_10.2.4_gitlab_backup.tar
gitlab恢複
1、停服務
[root@test-7 ~]# gitlab-ctl stop unicorn ; gitlab-ctl stop sidekiq
ok: down: unicorn: 1s, normally up
ok: down: sidekiq: 1s, normally up
2、gitlab-rake gitlab:backup:restore BACKUP=xxxxx (這裡是一個編号,即備份檔案的字首)
[root@test-7 ~]# gitlab-rake gitlab:backup:restore BACKUP=1513173483_2017_12_13_10.2.4
輸入2個yes
3、再啟動服務 gitlab-ctl start
本文轉自 iekegz 51CTO部落格,原文連結:http://blog.51cto.com/jacksoner/2050426,如需轉載請自行聯系原作者